
Basement Floors, Basement Floods
I’ve been thinking about replacing the wall-to-wall carpet in the basement with something that would better suit my needs… primarily, the ability to get dirty. And let’s face it… peed on. Now, before you think I’ve created some den of kink in my basement, let me clarify: it’s a workout space for me, and a play space for the dogs. Sometimes the little fur babies get so excited they just can’t control themselves. And sometimes the older fur babies decide they love it here, and claim it as their own. Either way, pee happens. Carpet is a bad idea.
So I browsed. I ordered samples. I measured and calculated and drew diagrams and 3-D mockups. But mostly, I procrastinated.

The ‘Romper Room’ area is getting carpet removed, and rubber flooring installed.
Rubber is exactly what I need. Shock absorbing and easy to clean, this will create a perfect exercise floor for humans and canines alike. It’s easy enough to install myself… just a straight edge and razor to shape the pieces around corners. No glue required.


So while I was in the midst of all that procrastination, the basement flooded because the refrigerator water-dispenser line disconnected itself and streamed down the wall all night long. It’s just water… not sewage or oil or anything gross. But still, it’s annoying. The rug pad was glued down to the concrete, and (to its credit) had a moisture barrier on the top side. While this is a great feature for preventing spills and accidents from seeping down into the pad, it is the opposite of helpful when the basement flood soaks up from below. The pad was the consistency of wet cake. Out it went.
Also, I ordered a freeze/flood sensor. It might not stop water from ever touching my basement again, but at least I’ll be able to react faster next time.


Yeah, okay… so, I could have bought new rug pad for the soaked corner, and set up the basement with dehumidifiers and fans and smoothed the carpet back out. But where’s the fun in that? Out came the utility knife. Out went the soggy carpet.
The new flooring is 70% black recycled rubber and 30% colored virgin rubber. My 154 rubber floor tiles saved 62 tires from ending up in landfills. YAY! 🌎 ♻️

This is what 1100 pounds of rubber looks like. These tiles are HEAVY!

The first corner.
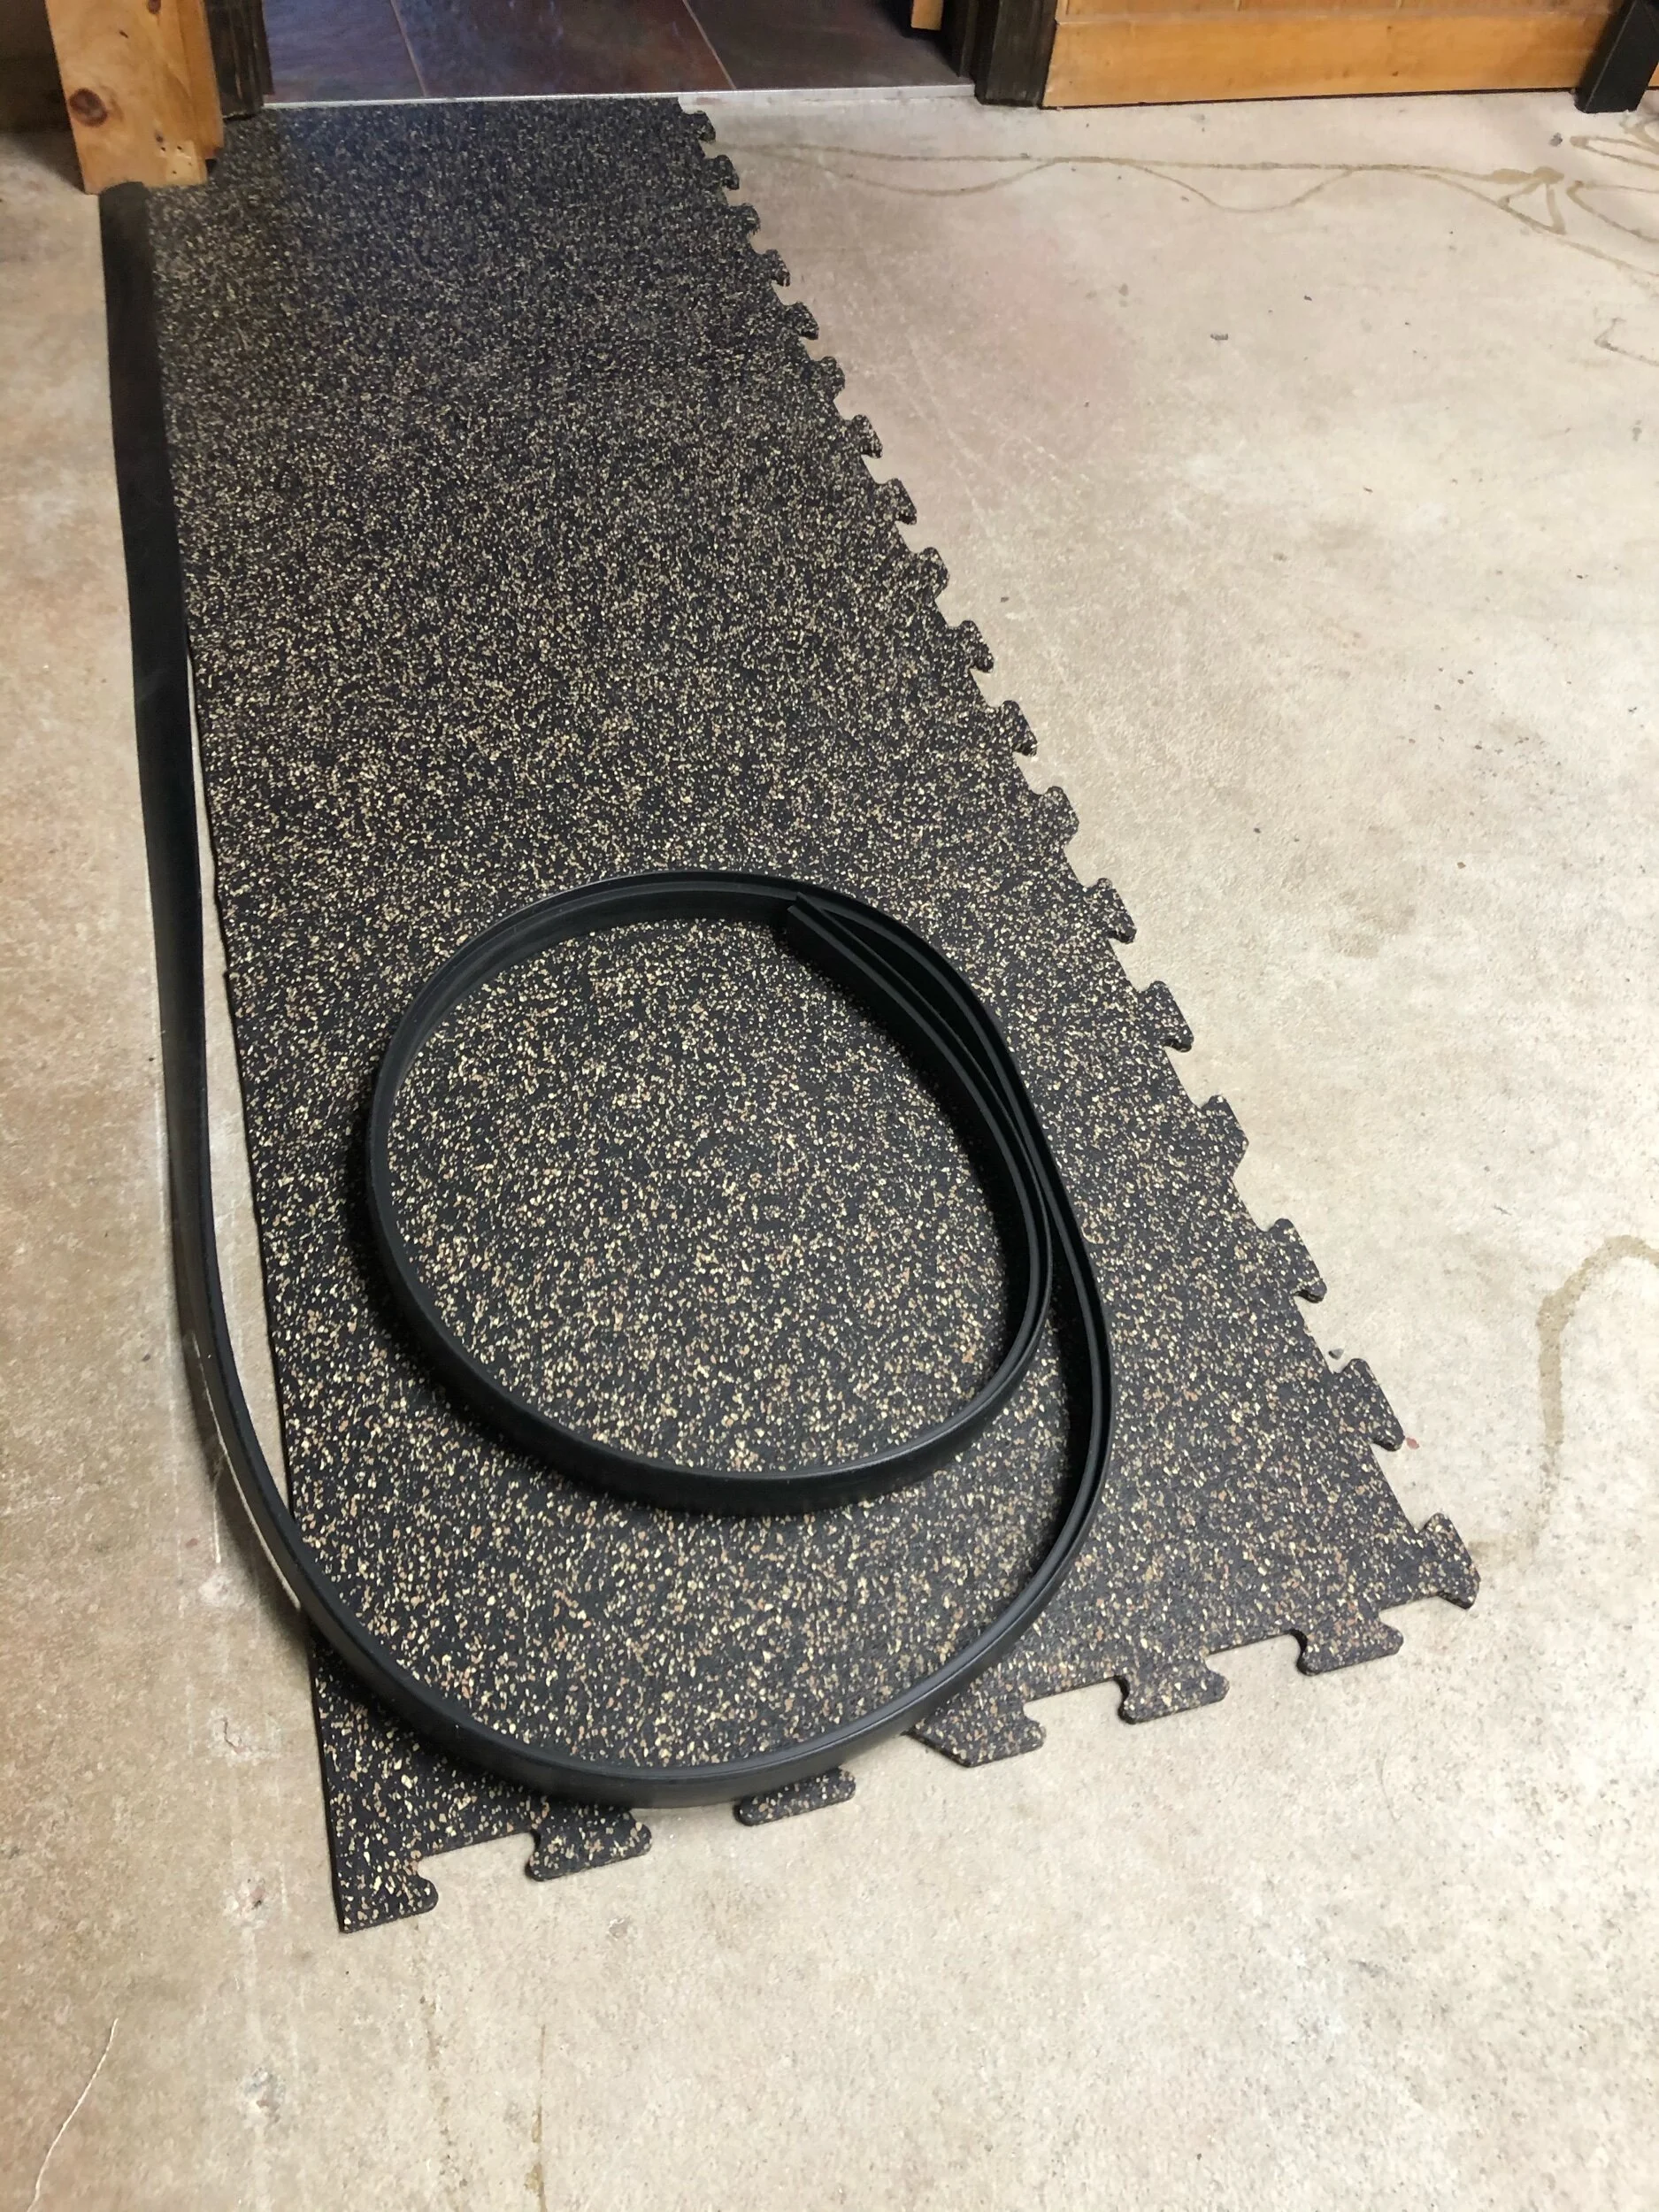
Laying down the edge to the workshop, with a step-down transition strip to keep it from lifting, and prevent people from tripping.

First day’s effort: 16 tiles. Only 138 more to go!

40 down, 114 to go. I fought with buckling and gaps for quite a while today trying to insist that my basement is square and my measurements are perfect. In the end, it’s easier just to trim another 1/4” off the tile and call it good.

Making progress! Time to move all the junk over to the completed side.

So close… at this point the OCD is kicking in, and I’ll be done in no time.

DONE! I have 14 tiles left over, which will be plenty to fill in the side closet when the oil tank gets pulled out.
De-Brassifying Doors
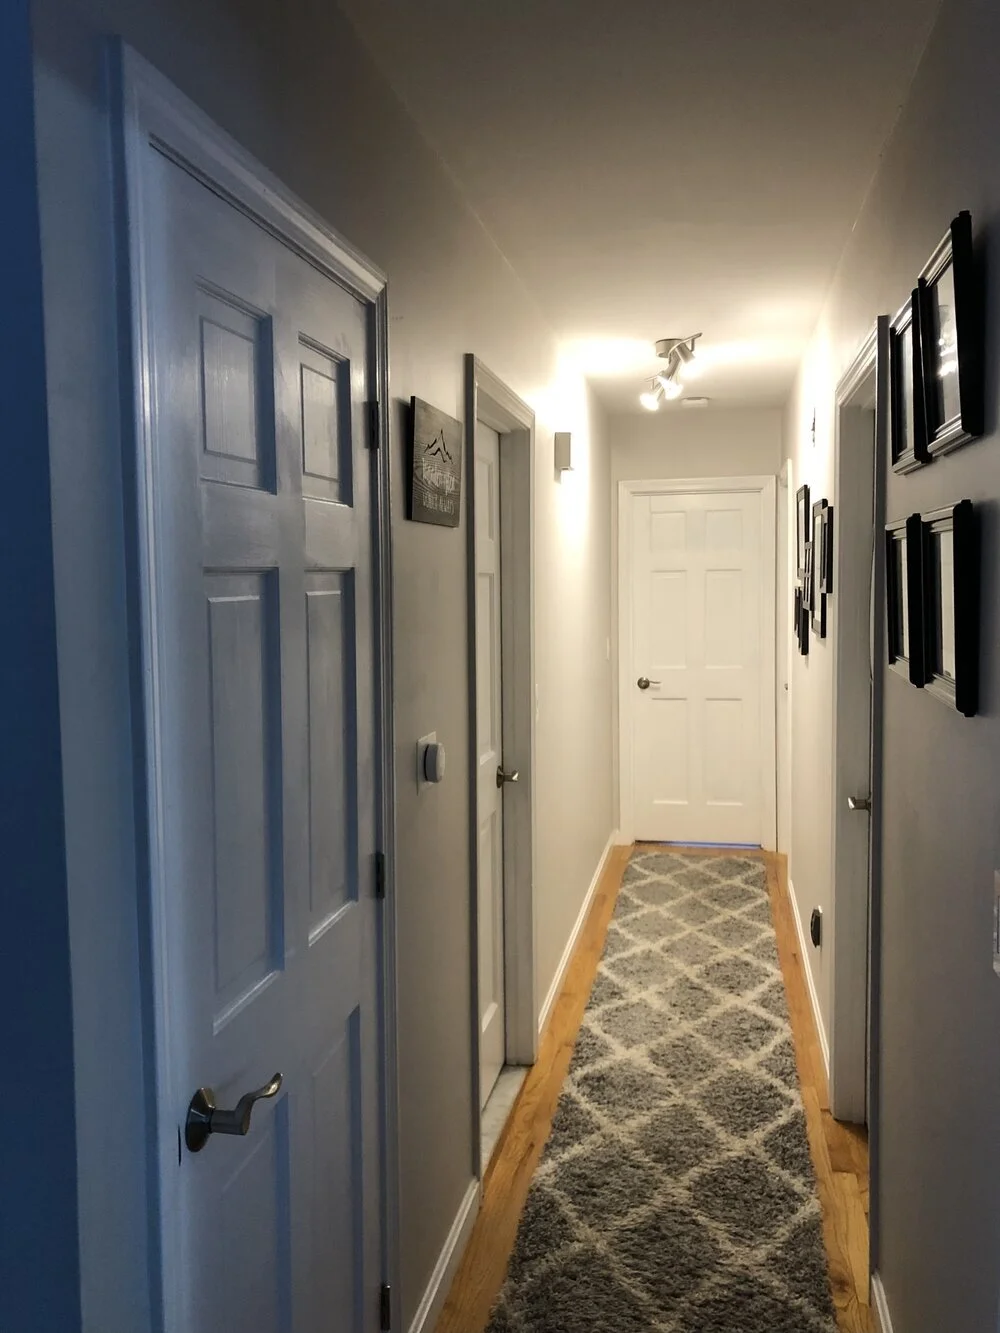
I live in a long narrow ranch, which means I’ve got a hallway full of doors that reminds me of The Matrix.
Okay, well… maybe not exactly.

There are nine swinging interior doors on the main floor of my house: three bedrooms, two bathrooms, three closets, and one staircase. The doors were trimmed with a mix of handles and knobs… mostly shiny yellow brass, but some chrome mixed in just for good measure. I had given the once-ivory doors a first coat of white paint, but it was a half-complete job.


The hall is a pale grey with white doors and trim, so I decided brushed nickel would look best. It also matches the bathroom fixtures.
The downstairs has two doors, both a medium blonde wood tone. I decided it was less important to have doors on different floors match each other, so these doors will get the same shape handle, but in aged bronze.


With a mix of rooms and doors, I needed to pay attention to the “passage” versus “privacy” handle types, but Schlage “Sacramento” handles are designed to be flipped so that I didn’t need to worry about left- or right-hand openings. I’ll save this handy graphic for next time I need it… hopefully never.


Hallway with brushed nickel handles and hinges.

Downstairs doors: before (left) and after (right)
This left me with the conundrum over what to do with the exterior doors. Both sets of French doors (one wood tone, one white paint) have shiny yellow-brass handles. The locking mechanism is more complicated than a normal door, and I couldn’t find a replacement until I went to the Anderson website. Boy, I was in for a shock. Weighing in at nearly $900 per door, I became highly motivated to find a way to re-color the existing hardware. There are many opinions (and failed spray-paint attempts) out on the interwebs, so I’ll do some experimenting with the box of discarded handles. I’ve read good things about self-etching primer, as well as autobody services. I’ll keep ya posted.


Basement Storage
My basement came with a storage closet in the corner that is also home to numerous plumbing pipes and my hot water heater. There was some minor shelving, but nothing that would accommodate my storage needs. There is also a small counter with a pass-through opening through a set of louvered bi-fold window shutters… the only thing I can imagine is that this had been intended to be the bar for some sort of basement lounge space. Or a strange addiction to louvered EVERTHING.


The thin shelving on the right side came out easily. I cut down the bar-like counter on the left to make room for more shelves on that side too.
Then came the storage bins. Not giant, too-heavy-to-manage totes, but matching 25- and 50-quart Sterilite ShelfTotes designed to stack neatly into the new 5-shelf storage rack.


Mooring Time
So, now that I have a boat, I need a parking spot for it. A wet one.
The Massabesic Yacht Club membership grants me access to a mooring location, but I need to provide and maintain the equipment. It just so happened that a retiring member was willing to sell me his equipment in place… so I don't need to worry about assembling and dropping it before I can launch next spring.
Most of the equipment is at the bottom of the lake, so I won’t get to see it until the spring inspection. But here’s the gist:
Mushroom anchor. We have a muddy lake bottom, so these mushroom-shaped anchors dig themselves in to use not only their weight but also suction to keep your boat tethered.
Heavy chain offers drag against the bottom.
Lighter chain extends from the bottom to the surface.
Various shackles and swivels.
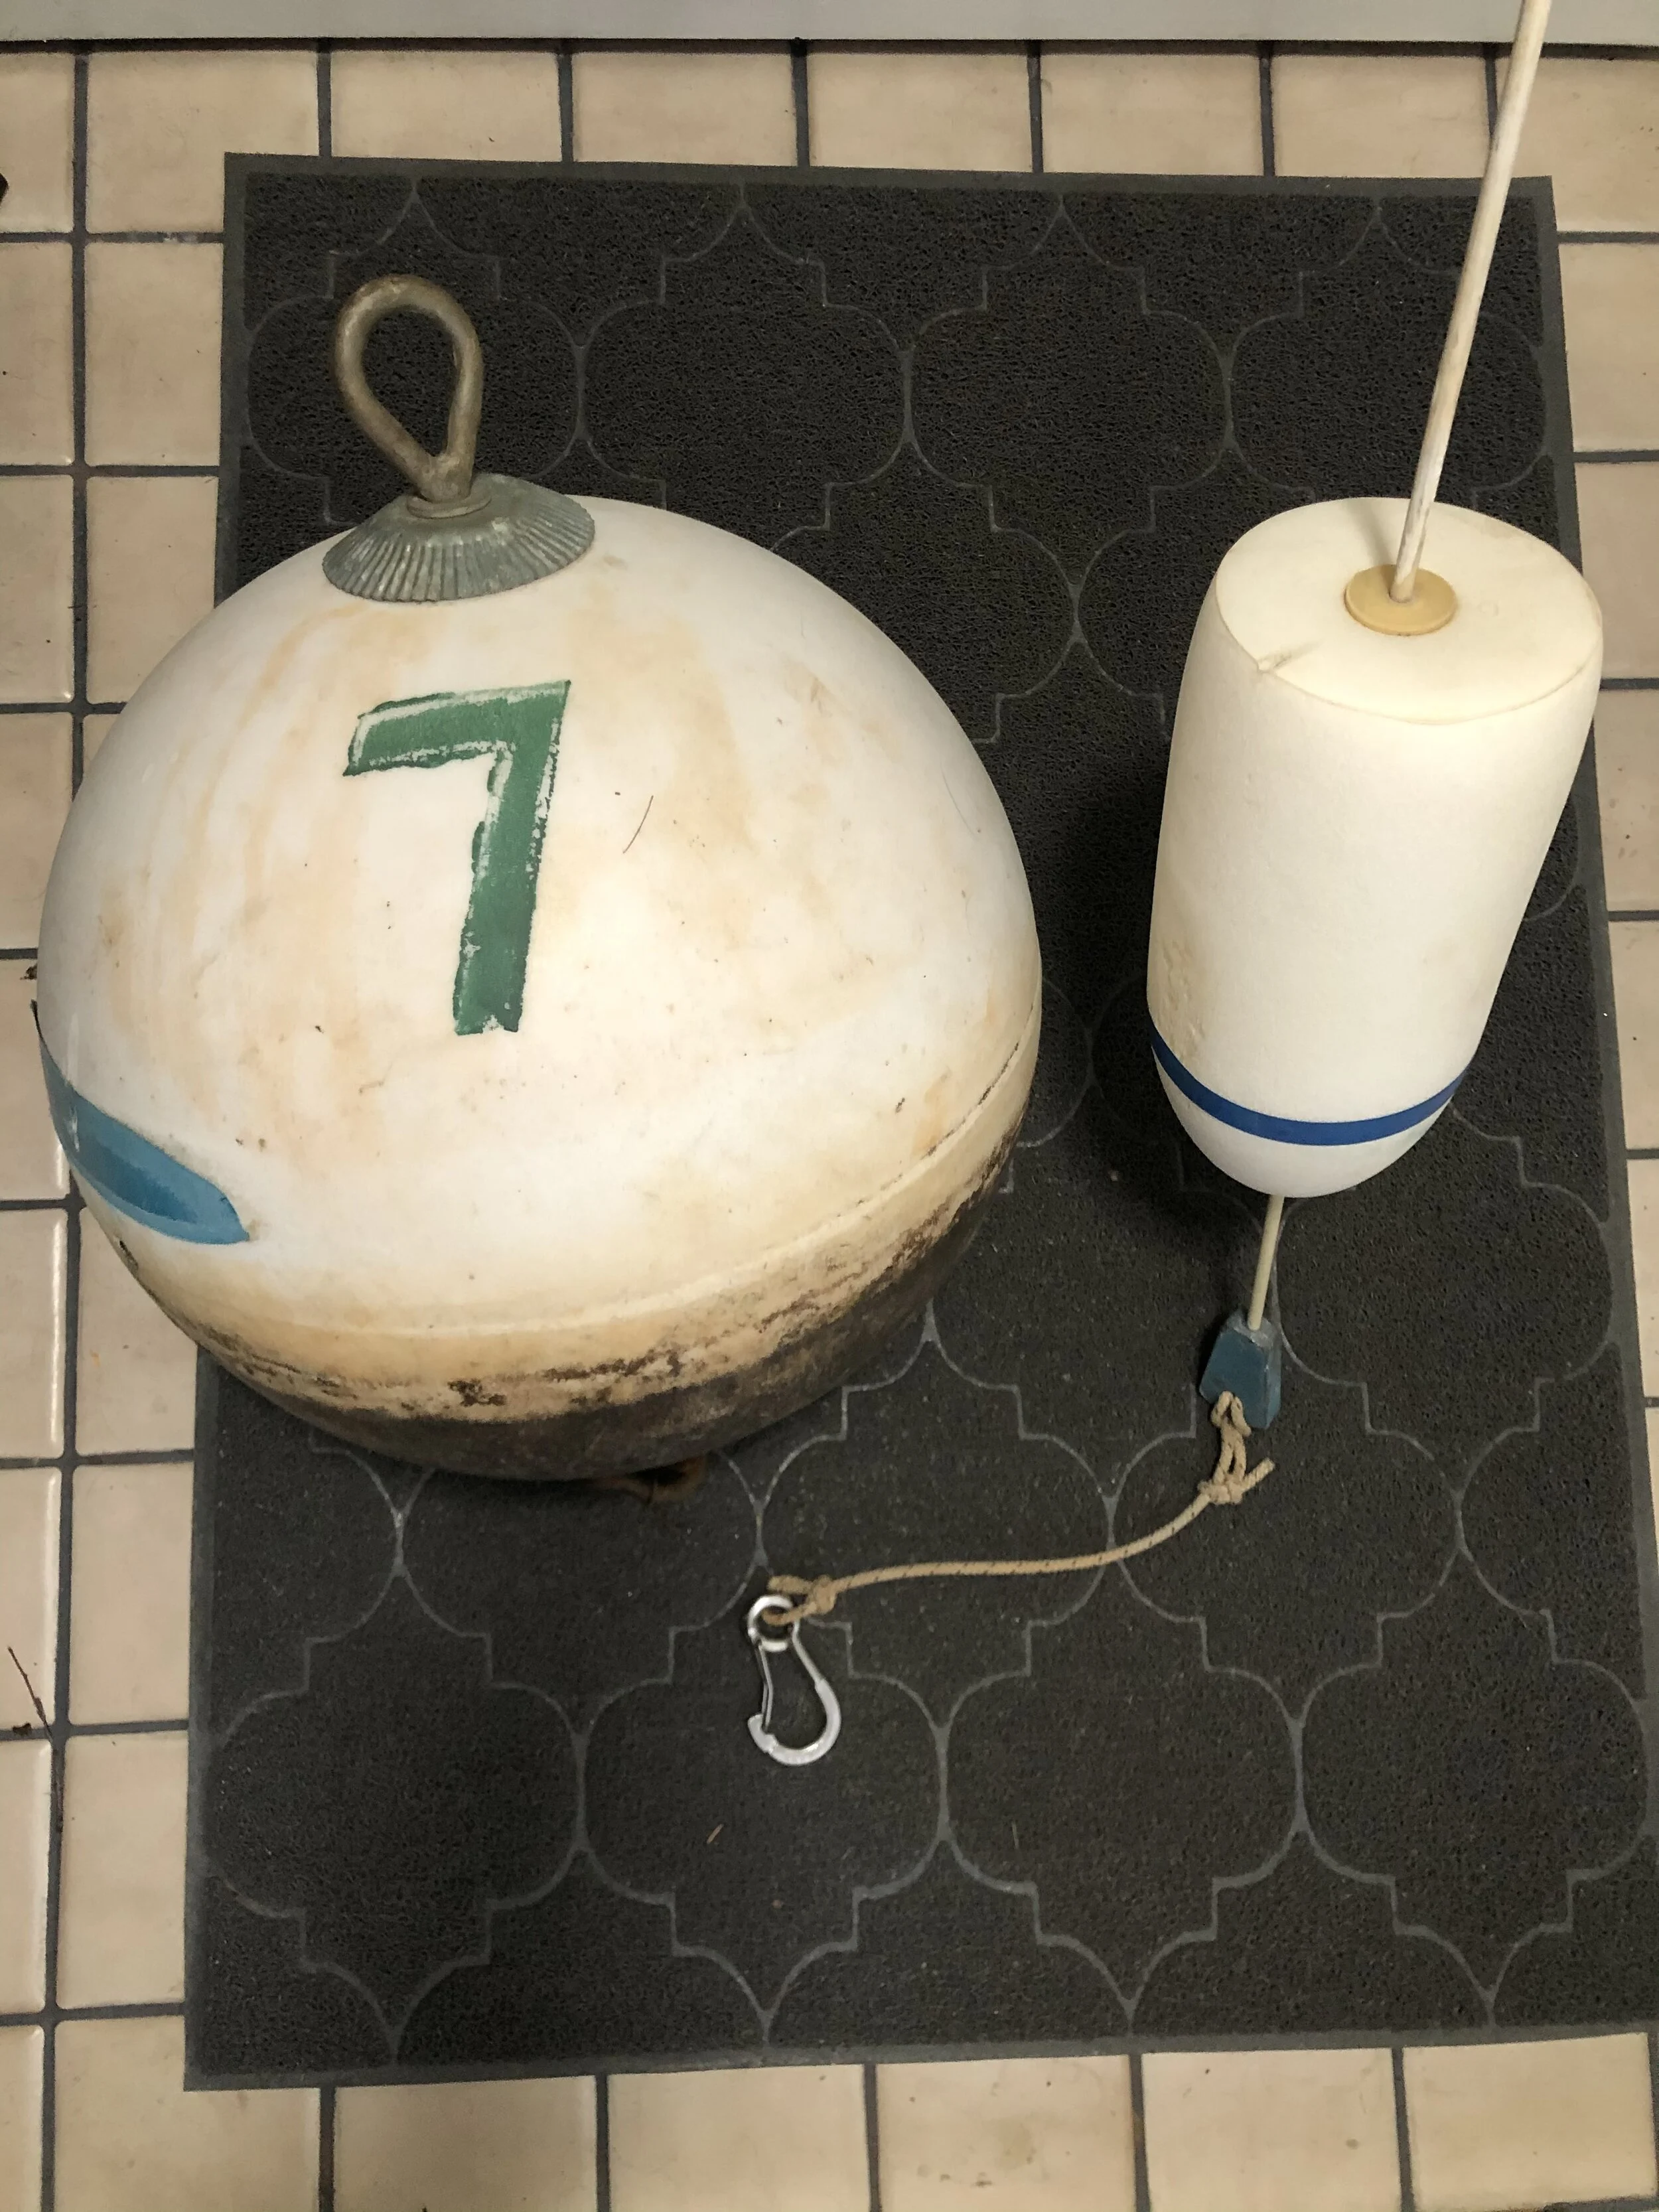
I have the surface pieces in storage in the basement… a mooring buoy and a pickup buoy. I’ll give them a little spring cleaning and refresh the marking paint and they’ll be good to go!


Saving Wisteria
Aw, crud. Some little bugger stripped the bark off my wisteria tree… all the way around. GRRRR.
Being girdled will typically kill a tree, but I’m doing to try my best to save it. After some time on YouTube, I decided to insert several bridges with grafting paste, wrap the exposed area in moss, and then cover with loose-weave burlap for the winter. Now we wait.


Closing Time
Well, it’s been great to spend the last week getting on the water as much as possible, and now it’s time to put the It’s About Time to bed for the winter. MYC requires that all boats and mooring balls be removed by Wednesday, so this weekend marked the last sail of the season. Now I get to spend the winter studying, playing the learn-to-sail app on my phone, shopping for sailing gadgets and gear, and attempting to sew stuff for the boat.

Time for Foliage, Wind, and Sun
What a fabulous week. My second and third informal sailing lessons came on clear blue days with a gentle breeze, with a smattering of other boats dotting the horizon.

My club sponsor and sailing instructor and all-around awesome neighbor, Bill.

Michele rode her bicycle along the rail trail that skirts the lake and took pics.

My shiny new sail!

I love the crisp clean white sail against the deep blue sky.

Windmill boats spin around Massebesic in an informal race.
Time to Launch
I finally have access to the only working boat launch in town… YAAAAAY! Even though I won’t have much time this season, I’m excited to get a few days on the water before I have to put her away for the winter. Luckily my boat draws only 18”, so I’m able to get into the water and past the rocks that foil bigger boats.

We launched the boat, stepped the mast, and got it all rigged. Now that it’s all put together, leaving it in the water makes it easier to quickly get under sail. Bill & Michele have already pulled their boat (bigger, draws 4’), and offered their mooring so I can more easily enjoy my boat for the short time before Dock-Out later this month. I’ll get my own mooring next spring and be set for the whole season!

Club Time
The Massabesic Yacht Club has the only boat launch in town that hasn’t been rendered useless by this year’s drought conditions. Luckily, I have membership sponsors Bill & Michele just a couple doors up the street from me. The board voted to approve my membership, and Bill met me at the club to give me keys and show me around.

Public launch ready to bury any boat trailer into the sand.

Clubhouse and outdoor barbecue pavilion.

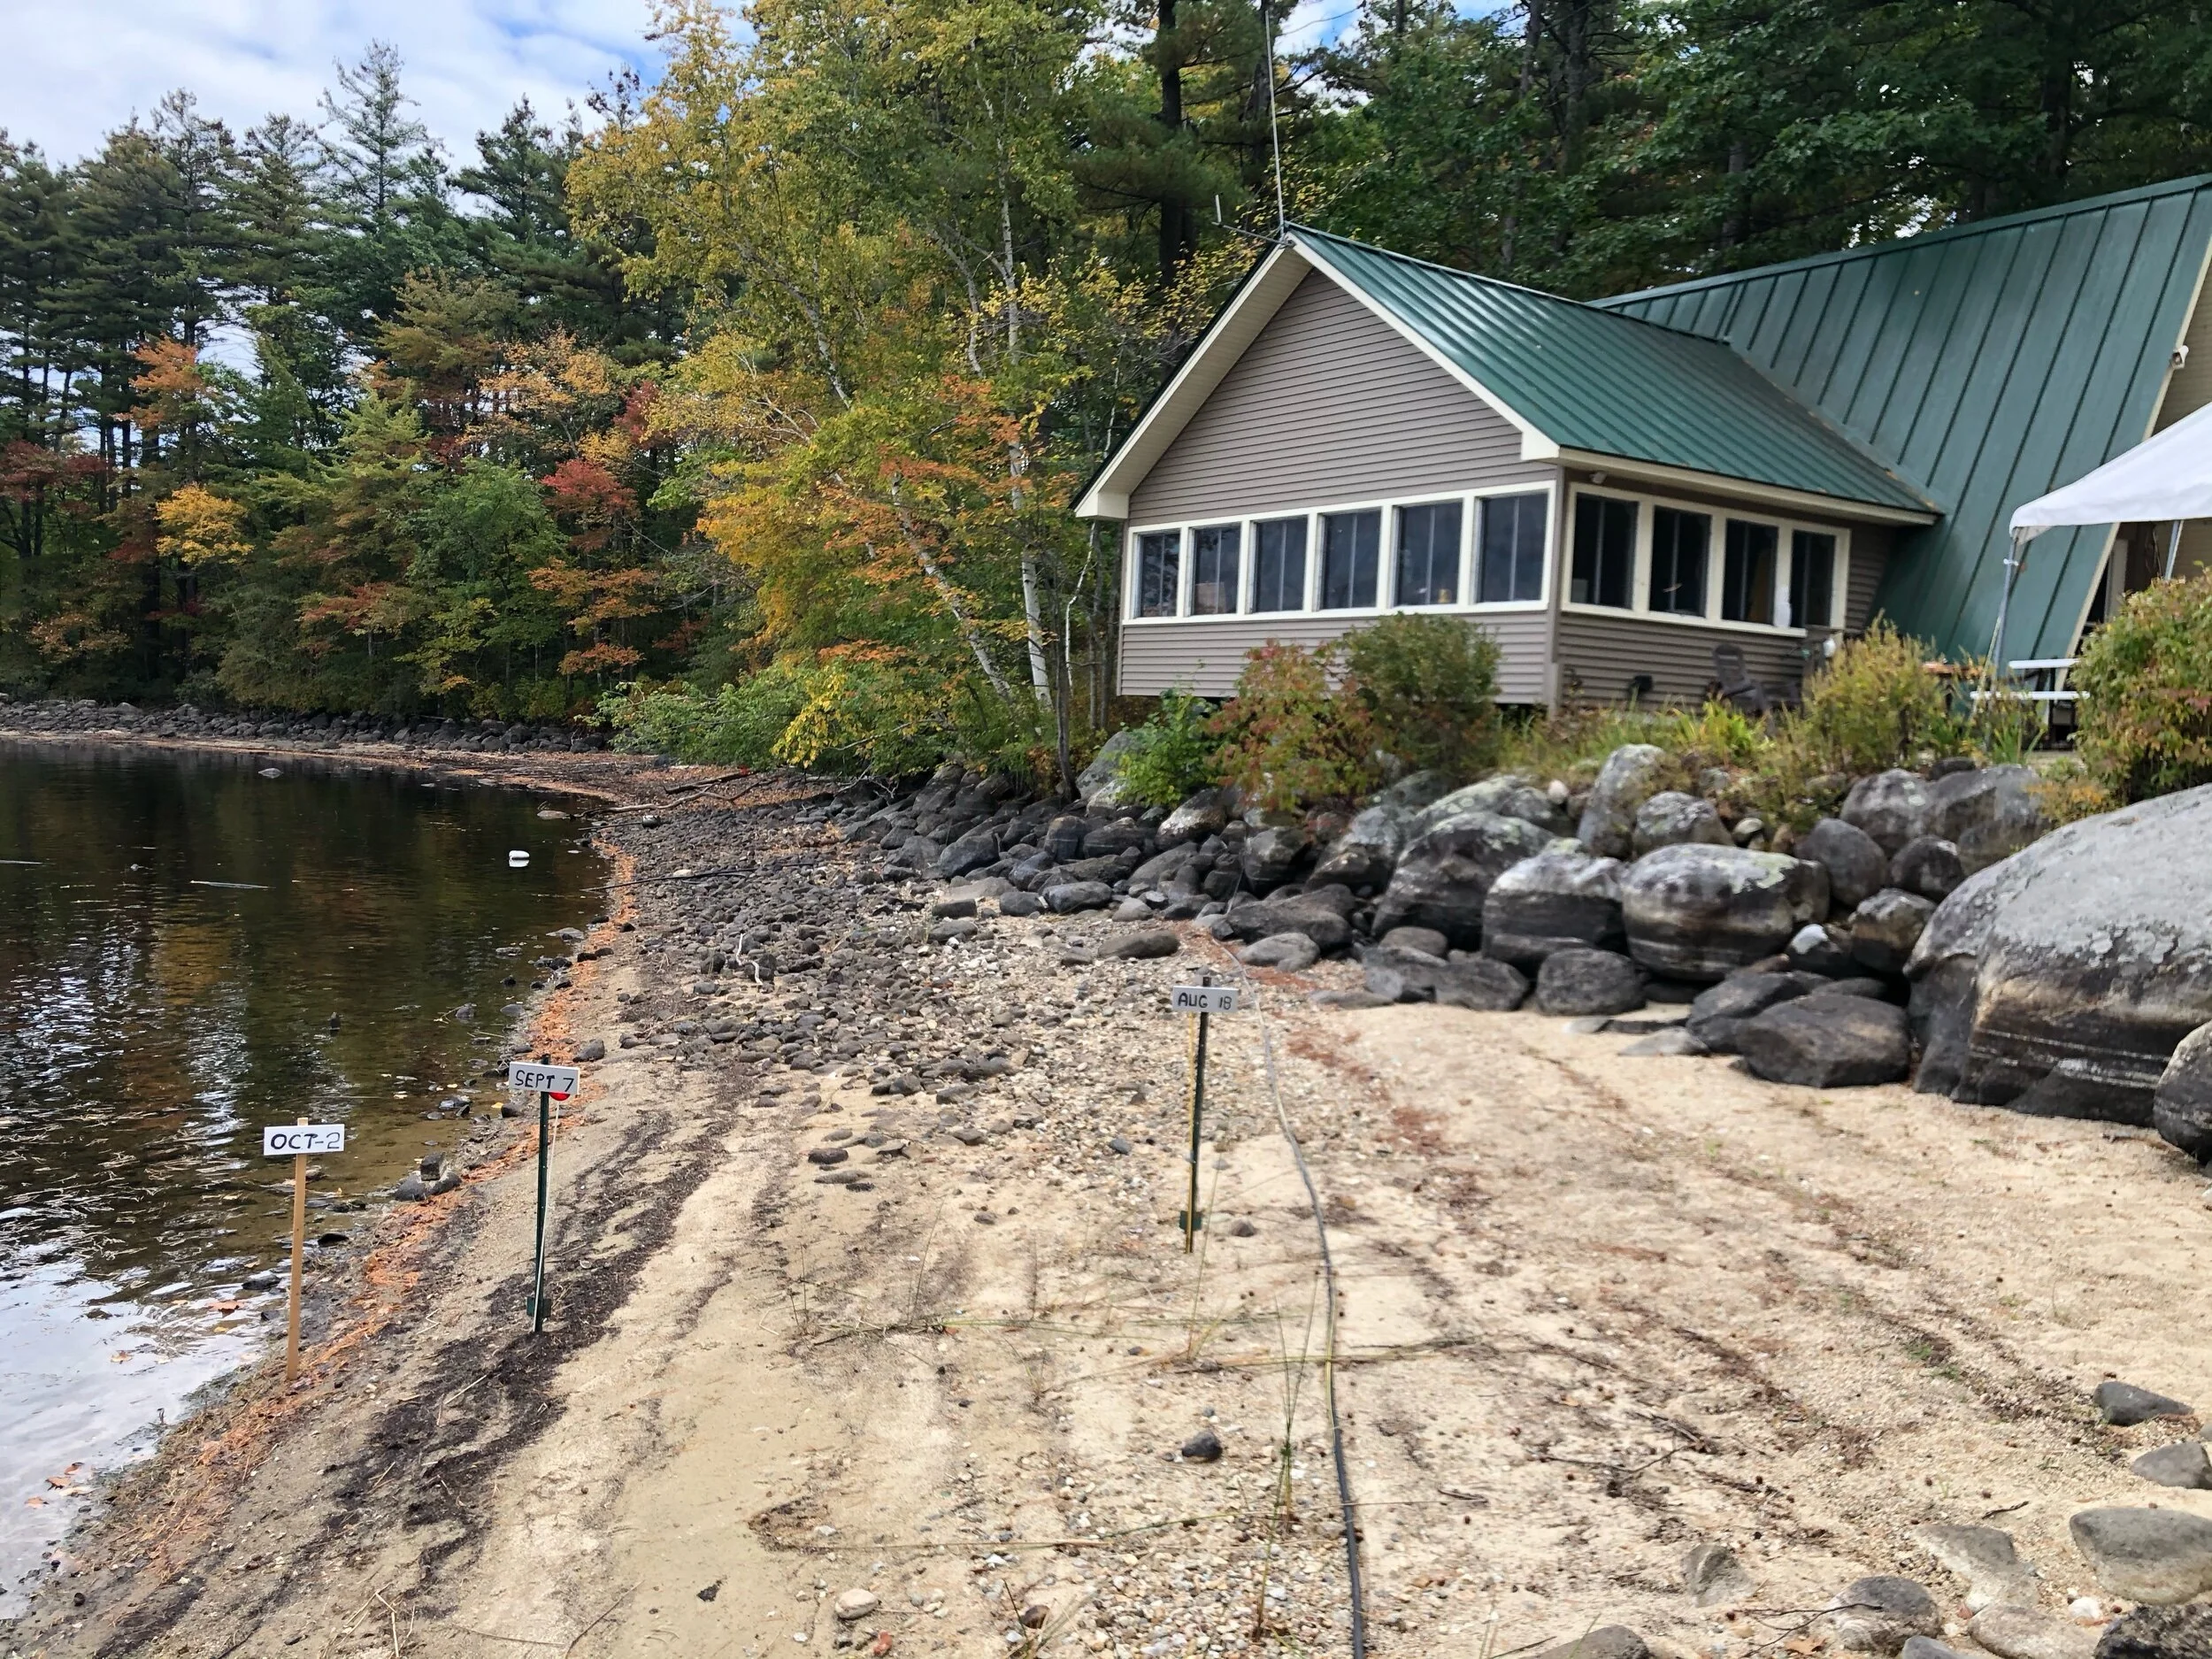
Stakes marking the dropping water level.

Bill & Kate at the MYC boat launch.


Teak Time
With a few weeks before I can put the boat in the water, I figured I’d get some minor maintenance done. First order of business: cleaning and re-treating the teak. Since the woodwork has been aged enough that I can’t get it completely clean, I figured I’d go for the darker ‘Classic’ teak color to even out the overall look.

Dry brush to remove flaking polyurethane.

Bleach scrub

Oxalic acid scrub

Looking better already!

Sealant

I opted for Classic, which matches the woodwork inside the cabin.


Study Time
Most of the time the internet is a very useful tool. Regardless, a little common sense tells you to question it occasionally. When asked what the difference is between a halyard and a sheet, Google replied:


So I figured I’d go old-school and get a book. You know… with pages. I’ve been sitting with my bookmark and highlighter and paging through every section of The Complete Trailer Sailor by Brian Gilbert.
I know no book can beat hands-on learning, but I have to make due with this dry land substitute until I can put the boat in the water.
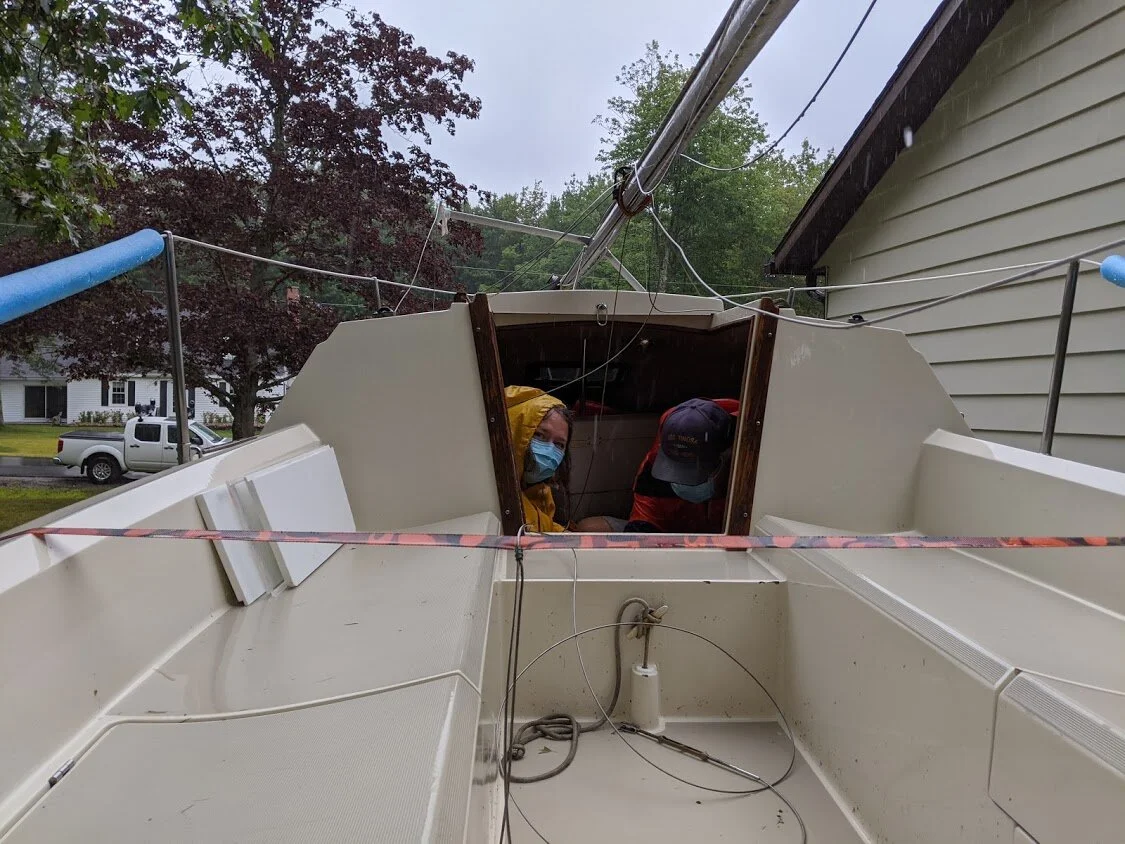
It's About Time
Time of day, time of life, time spent enjoying.
Say hello to IT’S ABOUT TIME.
She’s a 1986 O’Day 192 that purchased from a gentleman who used to be an engineer for O’Day. (Actually, he reminded me of Gil, with his gray mustache and Navy veteran hat.) He’s kept it in impeccable condition, with new sails, lines, and rigging in the last two years.

Check out these O’Day marketing materials from the mid-80s… gotta love the wood-paneled station wagon demonstrating how easy it is to tow.


Introductions and explanations
Getting the tour

Off we go!

We may need the boat to get home if this rain keeps up.

Home safe

Maddox doesn’t know she has a surprise waiting outside

Maddox in her PFD and Jolly Roger collar


All my pirate booty splayed across the yard

Bedroom Refresh: Paint
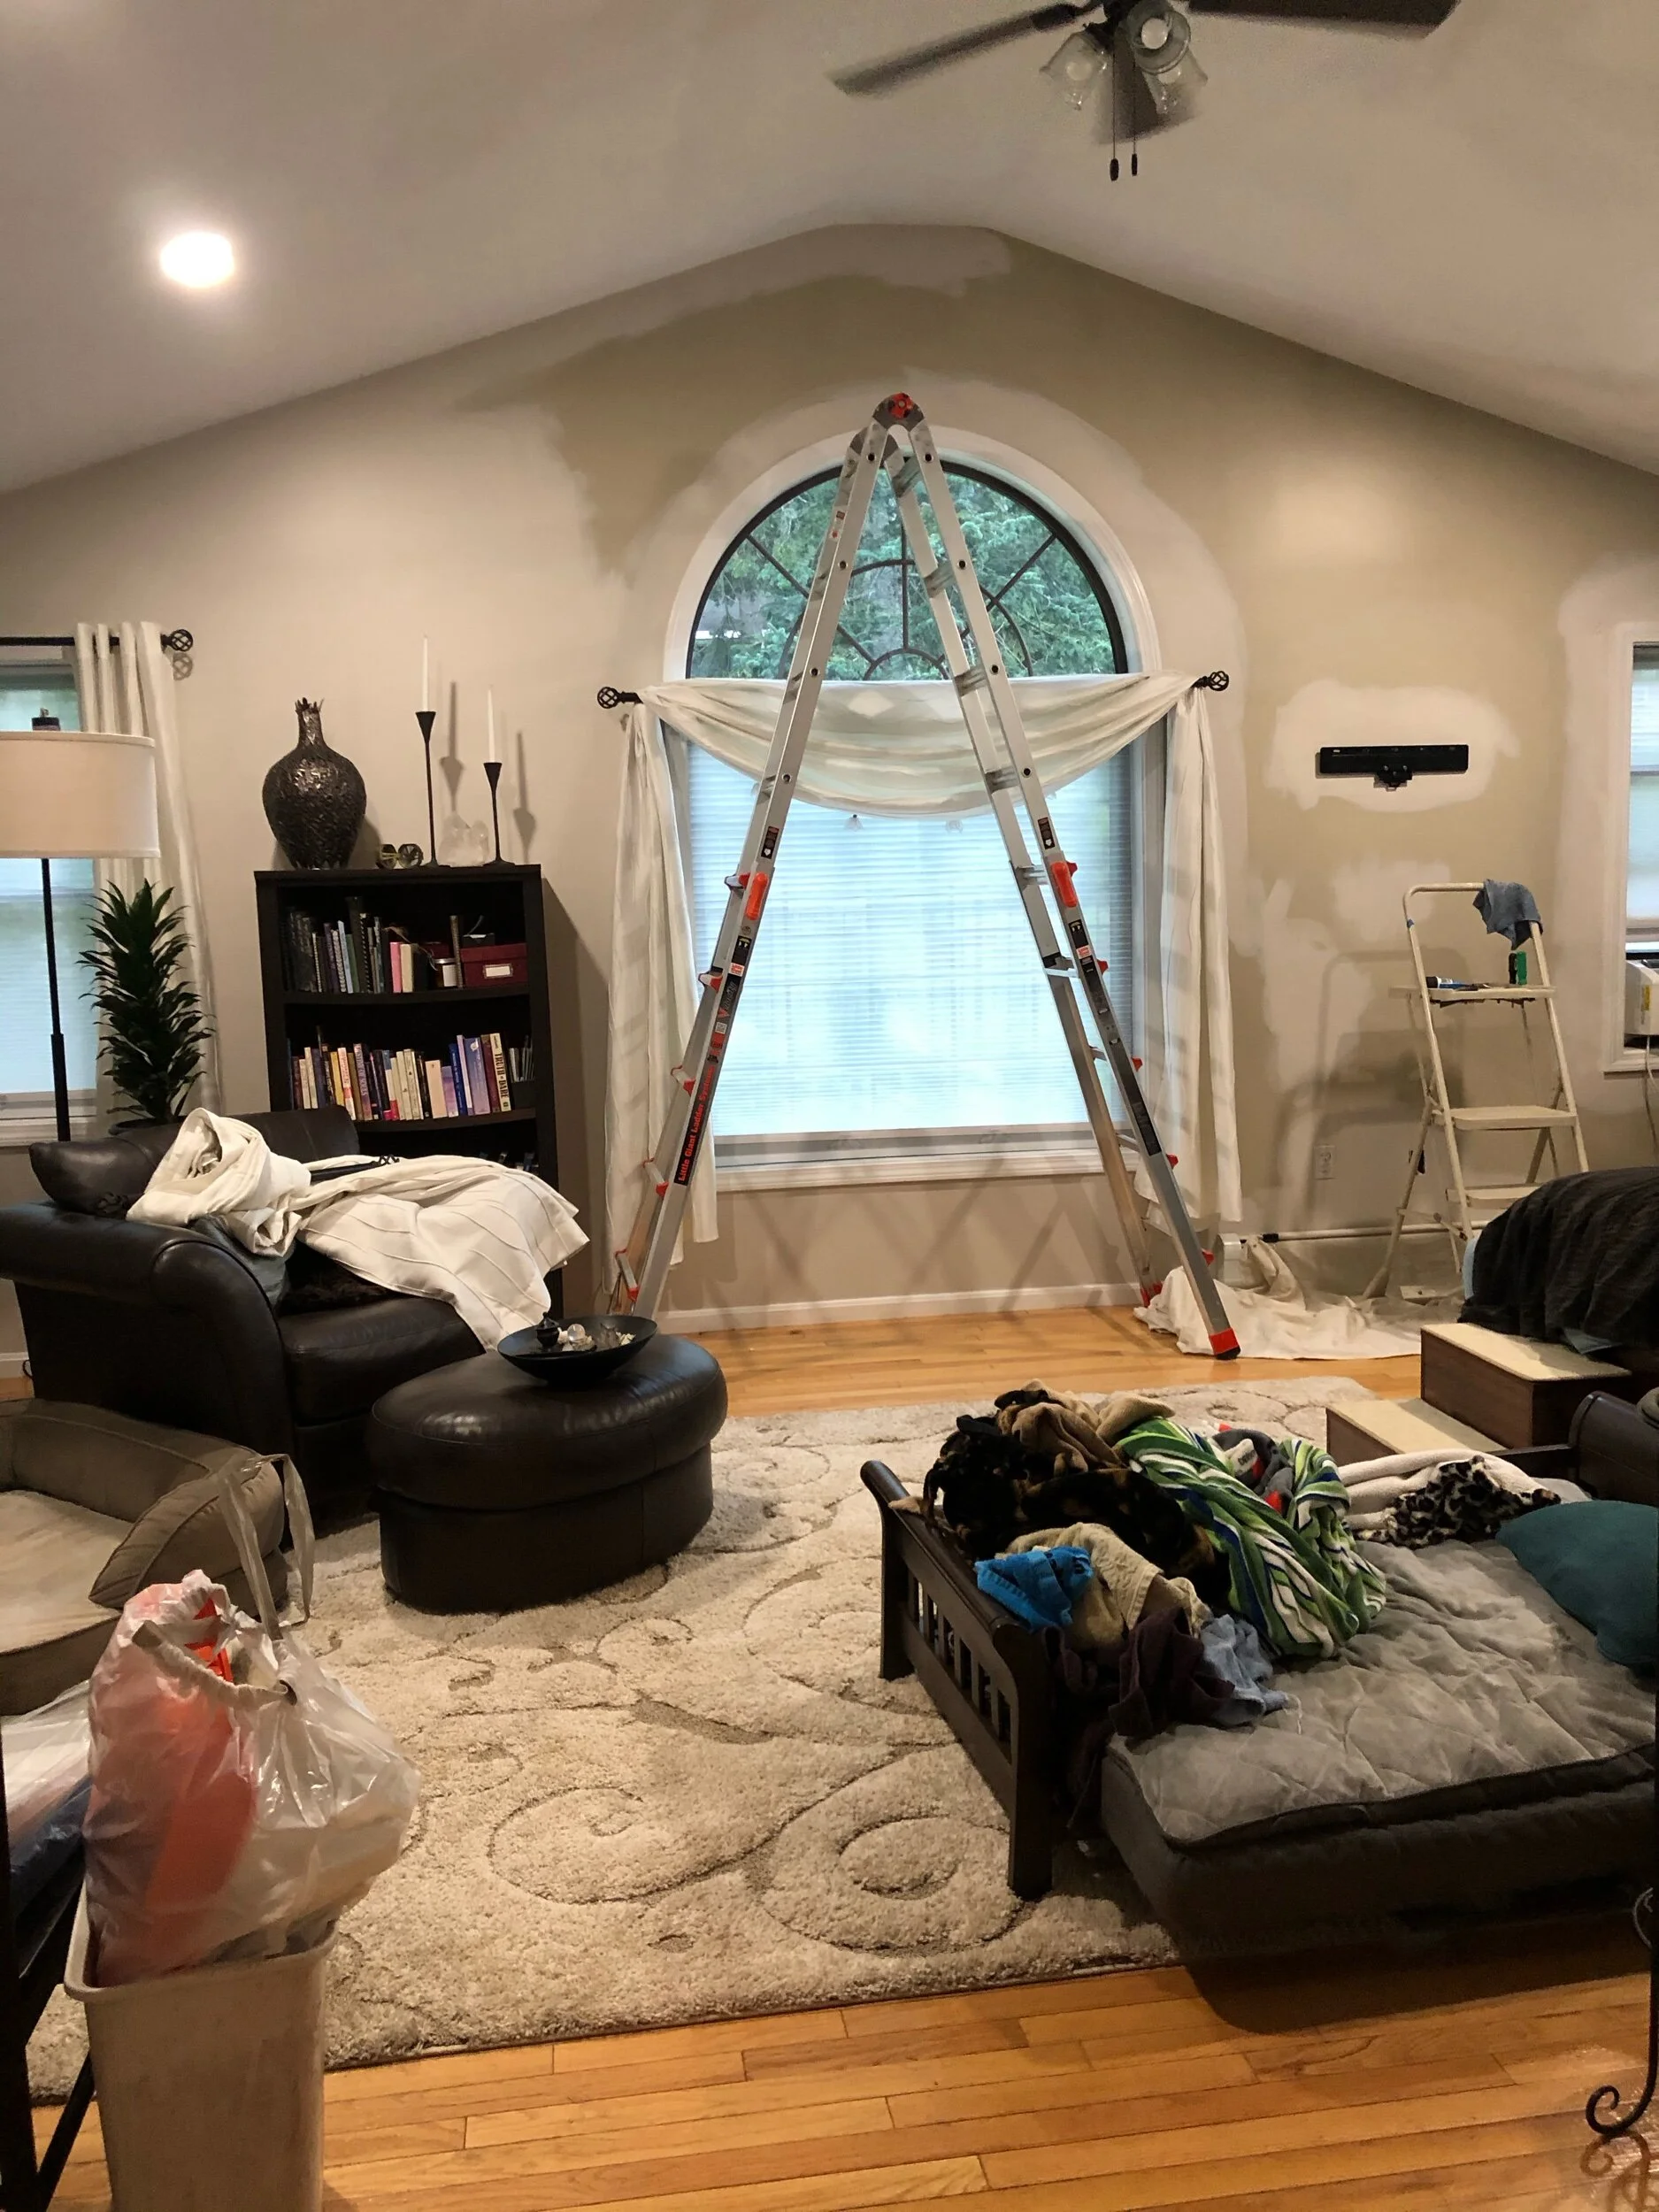
Staying home during a pandemic gives you a lot of time to notice things. Like how many mosquito smears you can’t clean off your ceiling. I cranked the AC and stayed inside on the 100-degree days to freshen up my bedroom.
I liked the paint color when I chose it seven years ago, but years of grime on the walls (“ghosting”, and not the social media kind) had lent it a dark and dingy quality. You can see the stripes where the cold air leaking in at the rafters and gaps in insulation created the right conditions for particulates to stick. And then of course the smeared areas where I tried unsuccessfully to wash it.
So! Walls, ceiling, trim. All of it fresh and clean.


Electric Odds and Ends
Who gets a fancy schmancy bidet and then plugs it in with a swamp yankee extension cord? <sigh>

Time for this bad boy to hit the recycle bin. The new light matches the ones installed at the front and carport doors, but requires a new junction box to be cut into the side of the house. The new light has a motion sensor, seeded glass, and - best of all - no ugly white plastic plate.


Bedroom Refresh: Lights
I rarely use the overhead lights in my bedroom, and I’ve tried to overlook the dated aesthetic. I finally decided to rip them out and replace them with sleeker more modern fixtures. I found a four-pack on Amazon that fit the bill nicely.
I wired the first one myself, but it was a giant pain in the butt to deal with the recessed cans. The old can lights were connected to junction boxes mounted to the rafters, and there was not enough play in the wire to connect the new light. I turned it on long enough to confirm that I liked the look, and then I turned off the circuit and waited for my electrician.


Bedroom Refresh: Screens
You all know how much I love my canine visitors. And how much they love to visit. Sometimes a little too much. This screen had been showing its age, and I’d had to press the spline back into place a few times. And then one weekend a particularly adorable and rambunctious pup came to visit, and I made the unspeakable error of being on the opposite side of the screen from him. While he soon after learned how to use the dog door, there was no coming back for the screen. It was toast.
I bought a few rolls of pet-proof screening and a roller tool for installation, and watched a few YouTube videos. It really was pretty simple, but not exactly easy. The new screen is thicker than the old one, so pressing in the spline took extra muscle. And then trimming off the extra screen resulted in a couple nicks in the new screen… so, imperfect, but not bad for a first try.
The new screen is slightly darker, but not enough that I notice a big difference. The other door is next on my list, and eventually the doors downstairs.

Let. Me. IN! Or OUT! Or… wherever you are!

Kept the mosquitos out, but man… what a look.


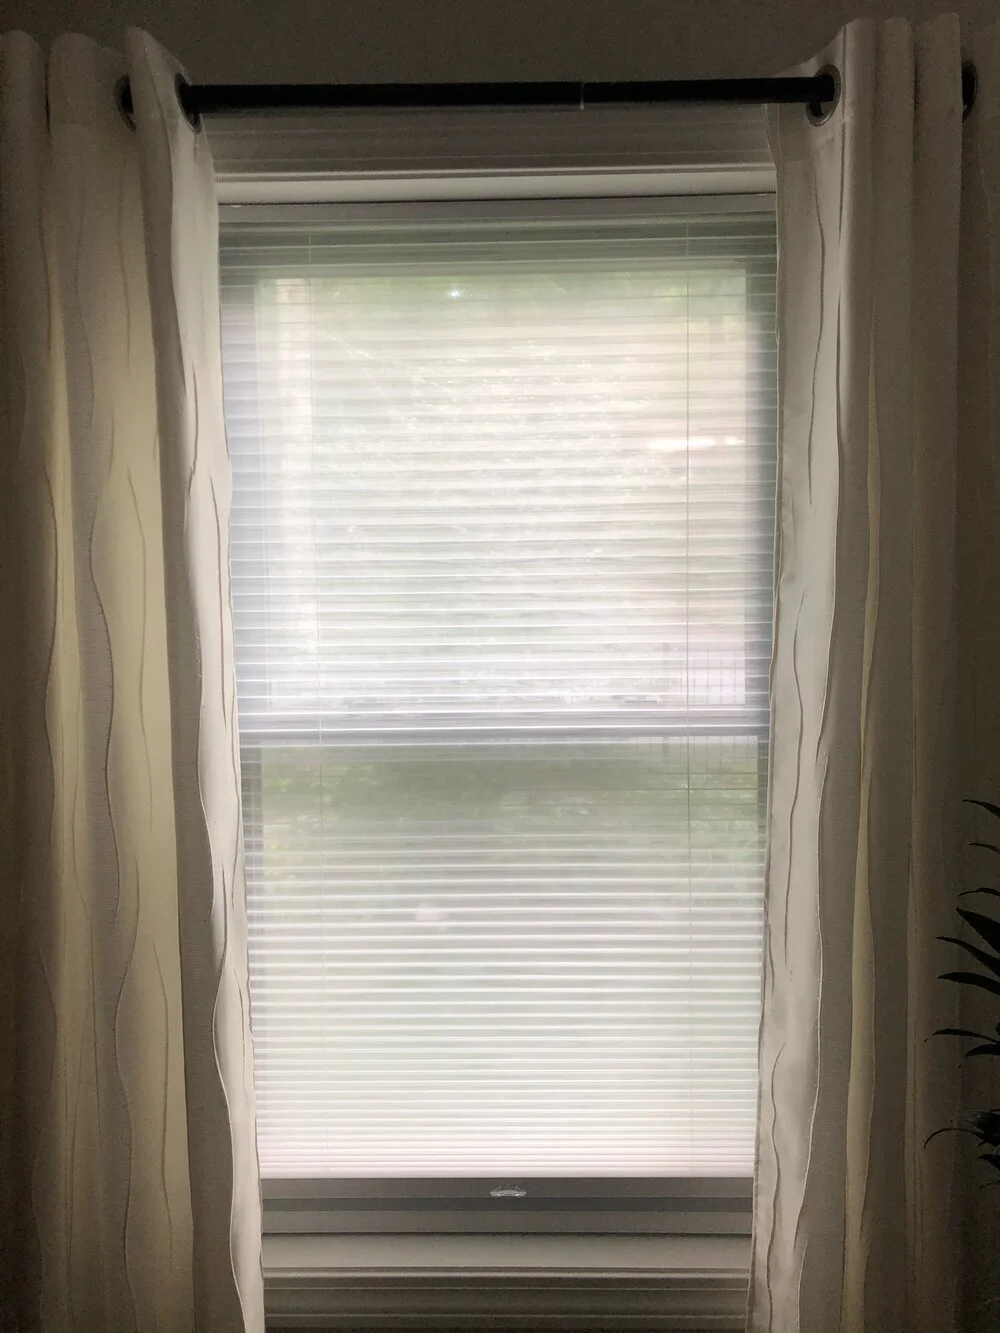
Bedroom Refresh: Blinds
The same soot-like color that tinted my walls had turned my formerly-white blinds into a foggy grey. I tried to clean them… even taking one down to bathe it in bleach. No luck.
The new blinds are an improvement over the old ones, too… the two-part shade has an upper semi-transparent gauze to it that lets me see out but blocks the hot sun and the view in during the day. At night, I lift the light-blocking shade for complete privacy and a dark sleeping environment.


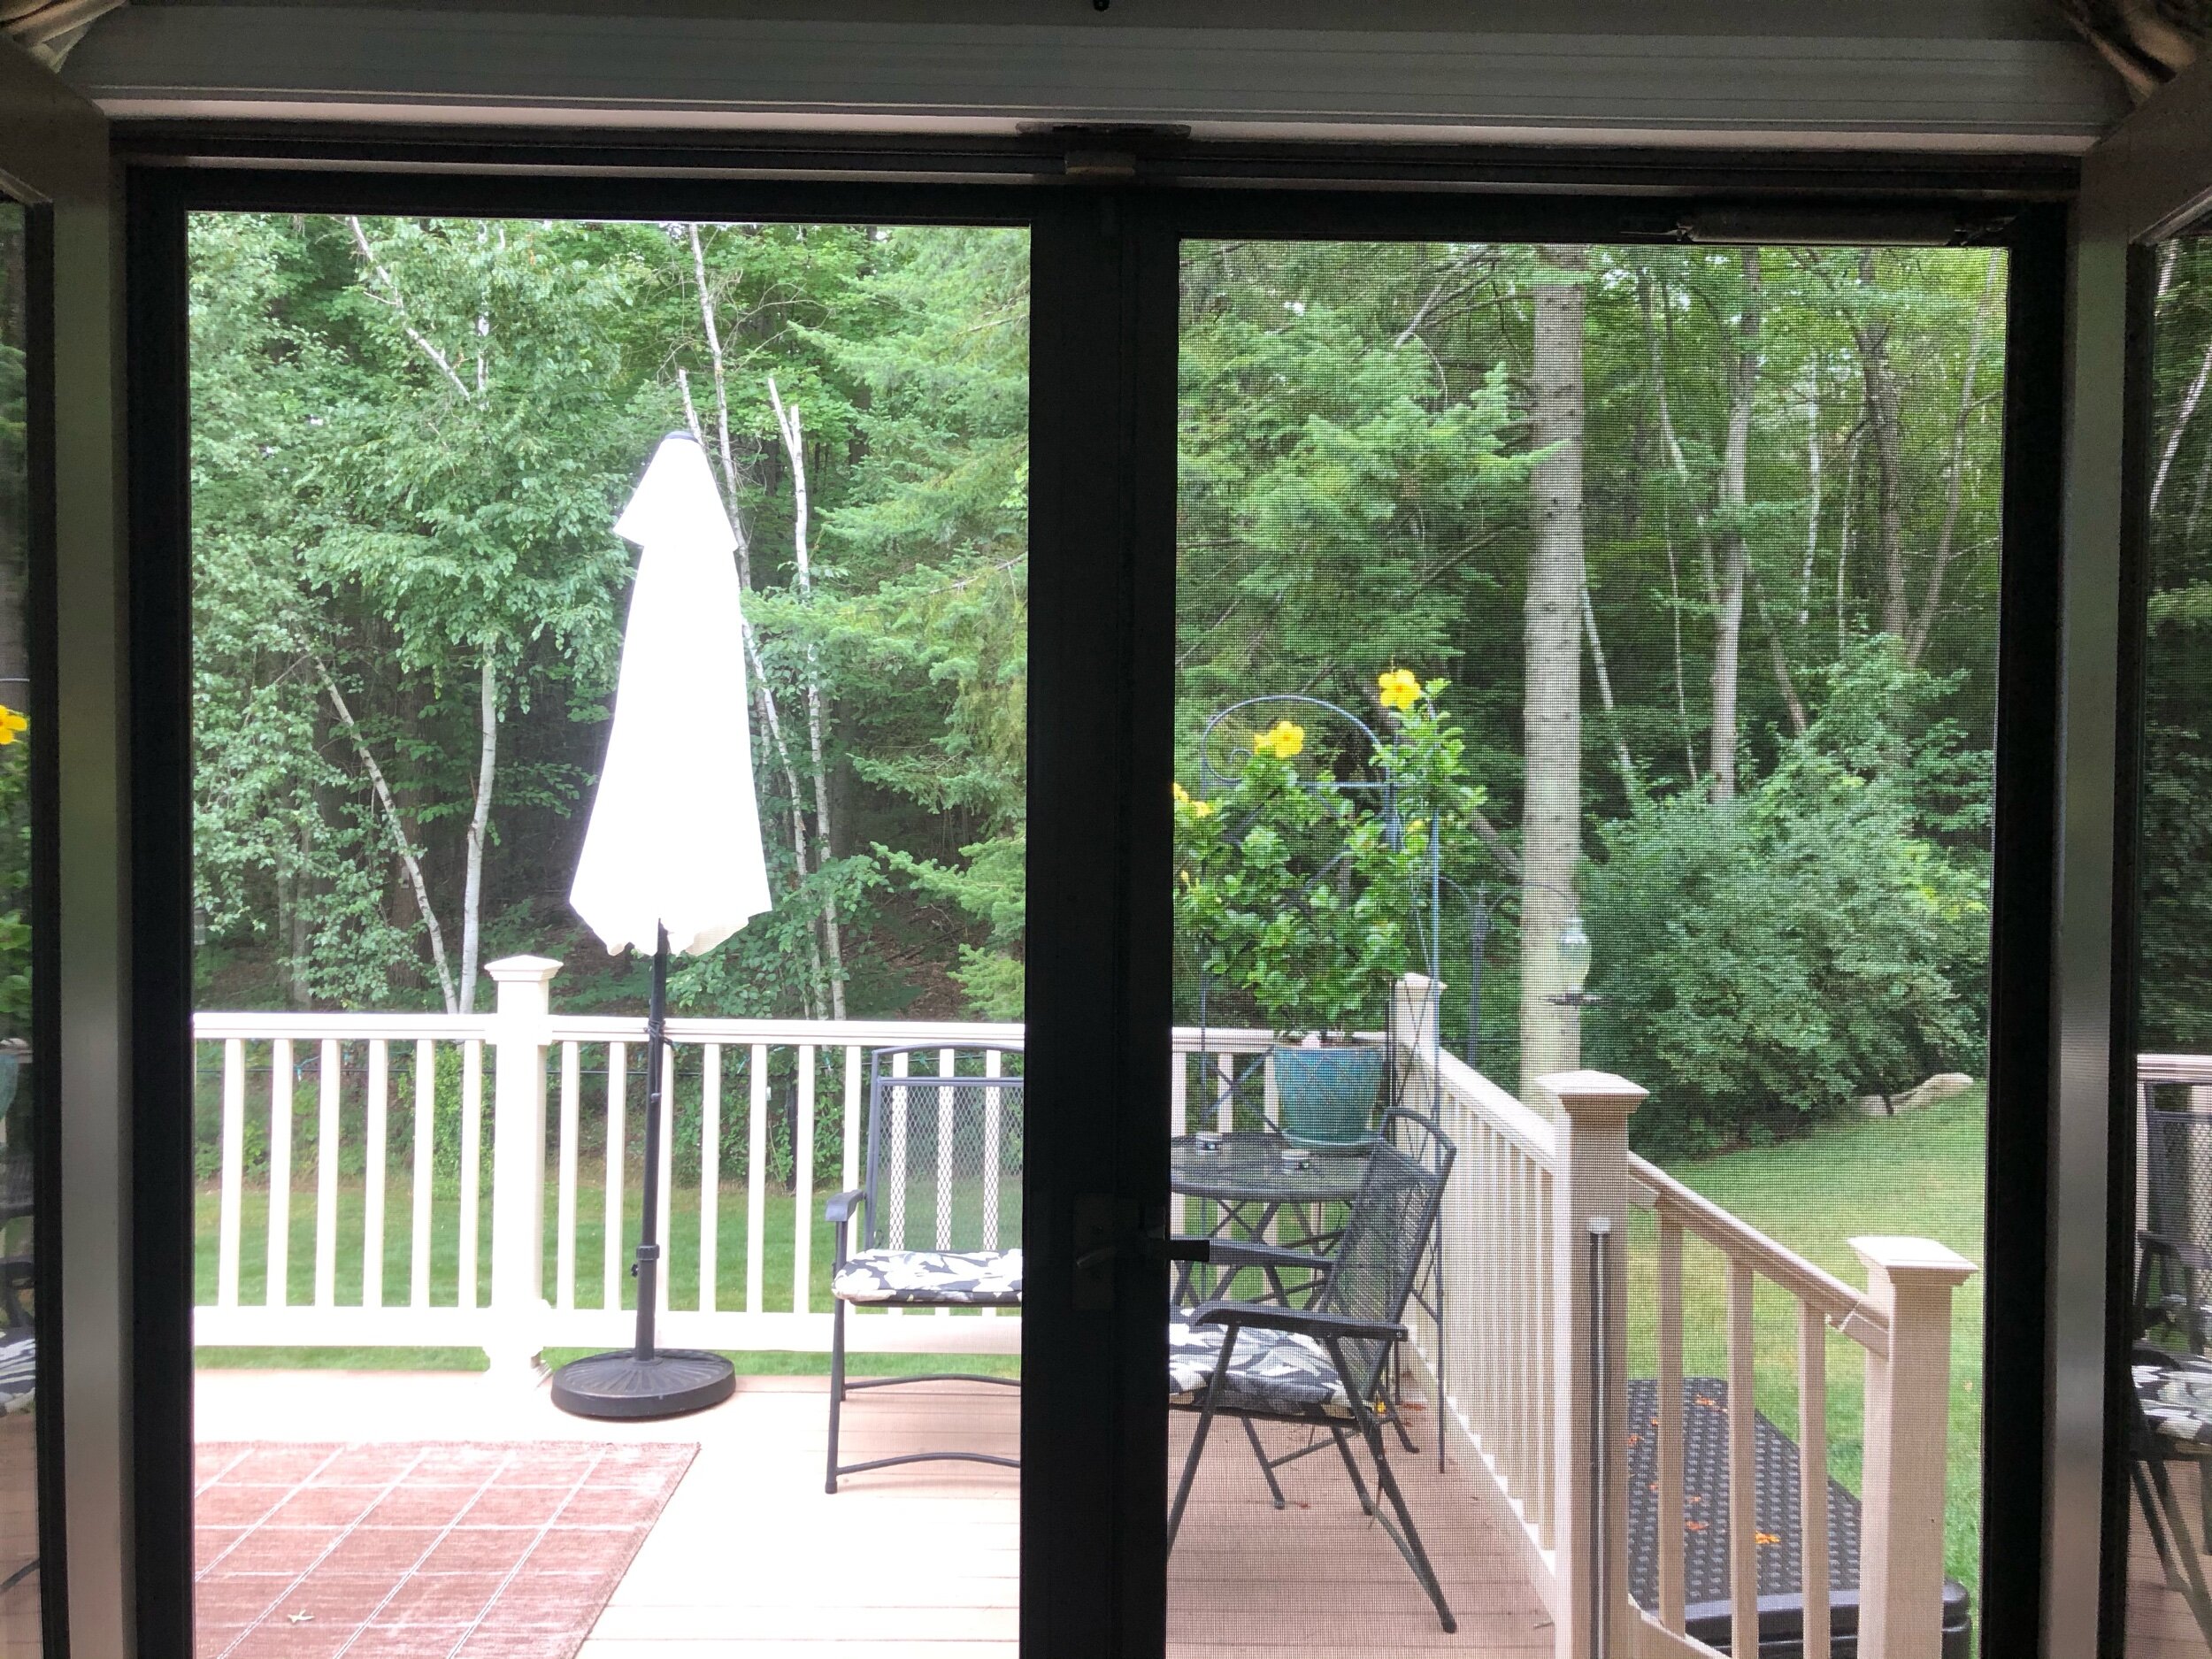
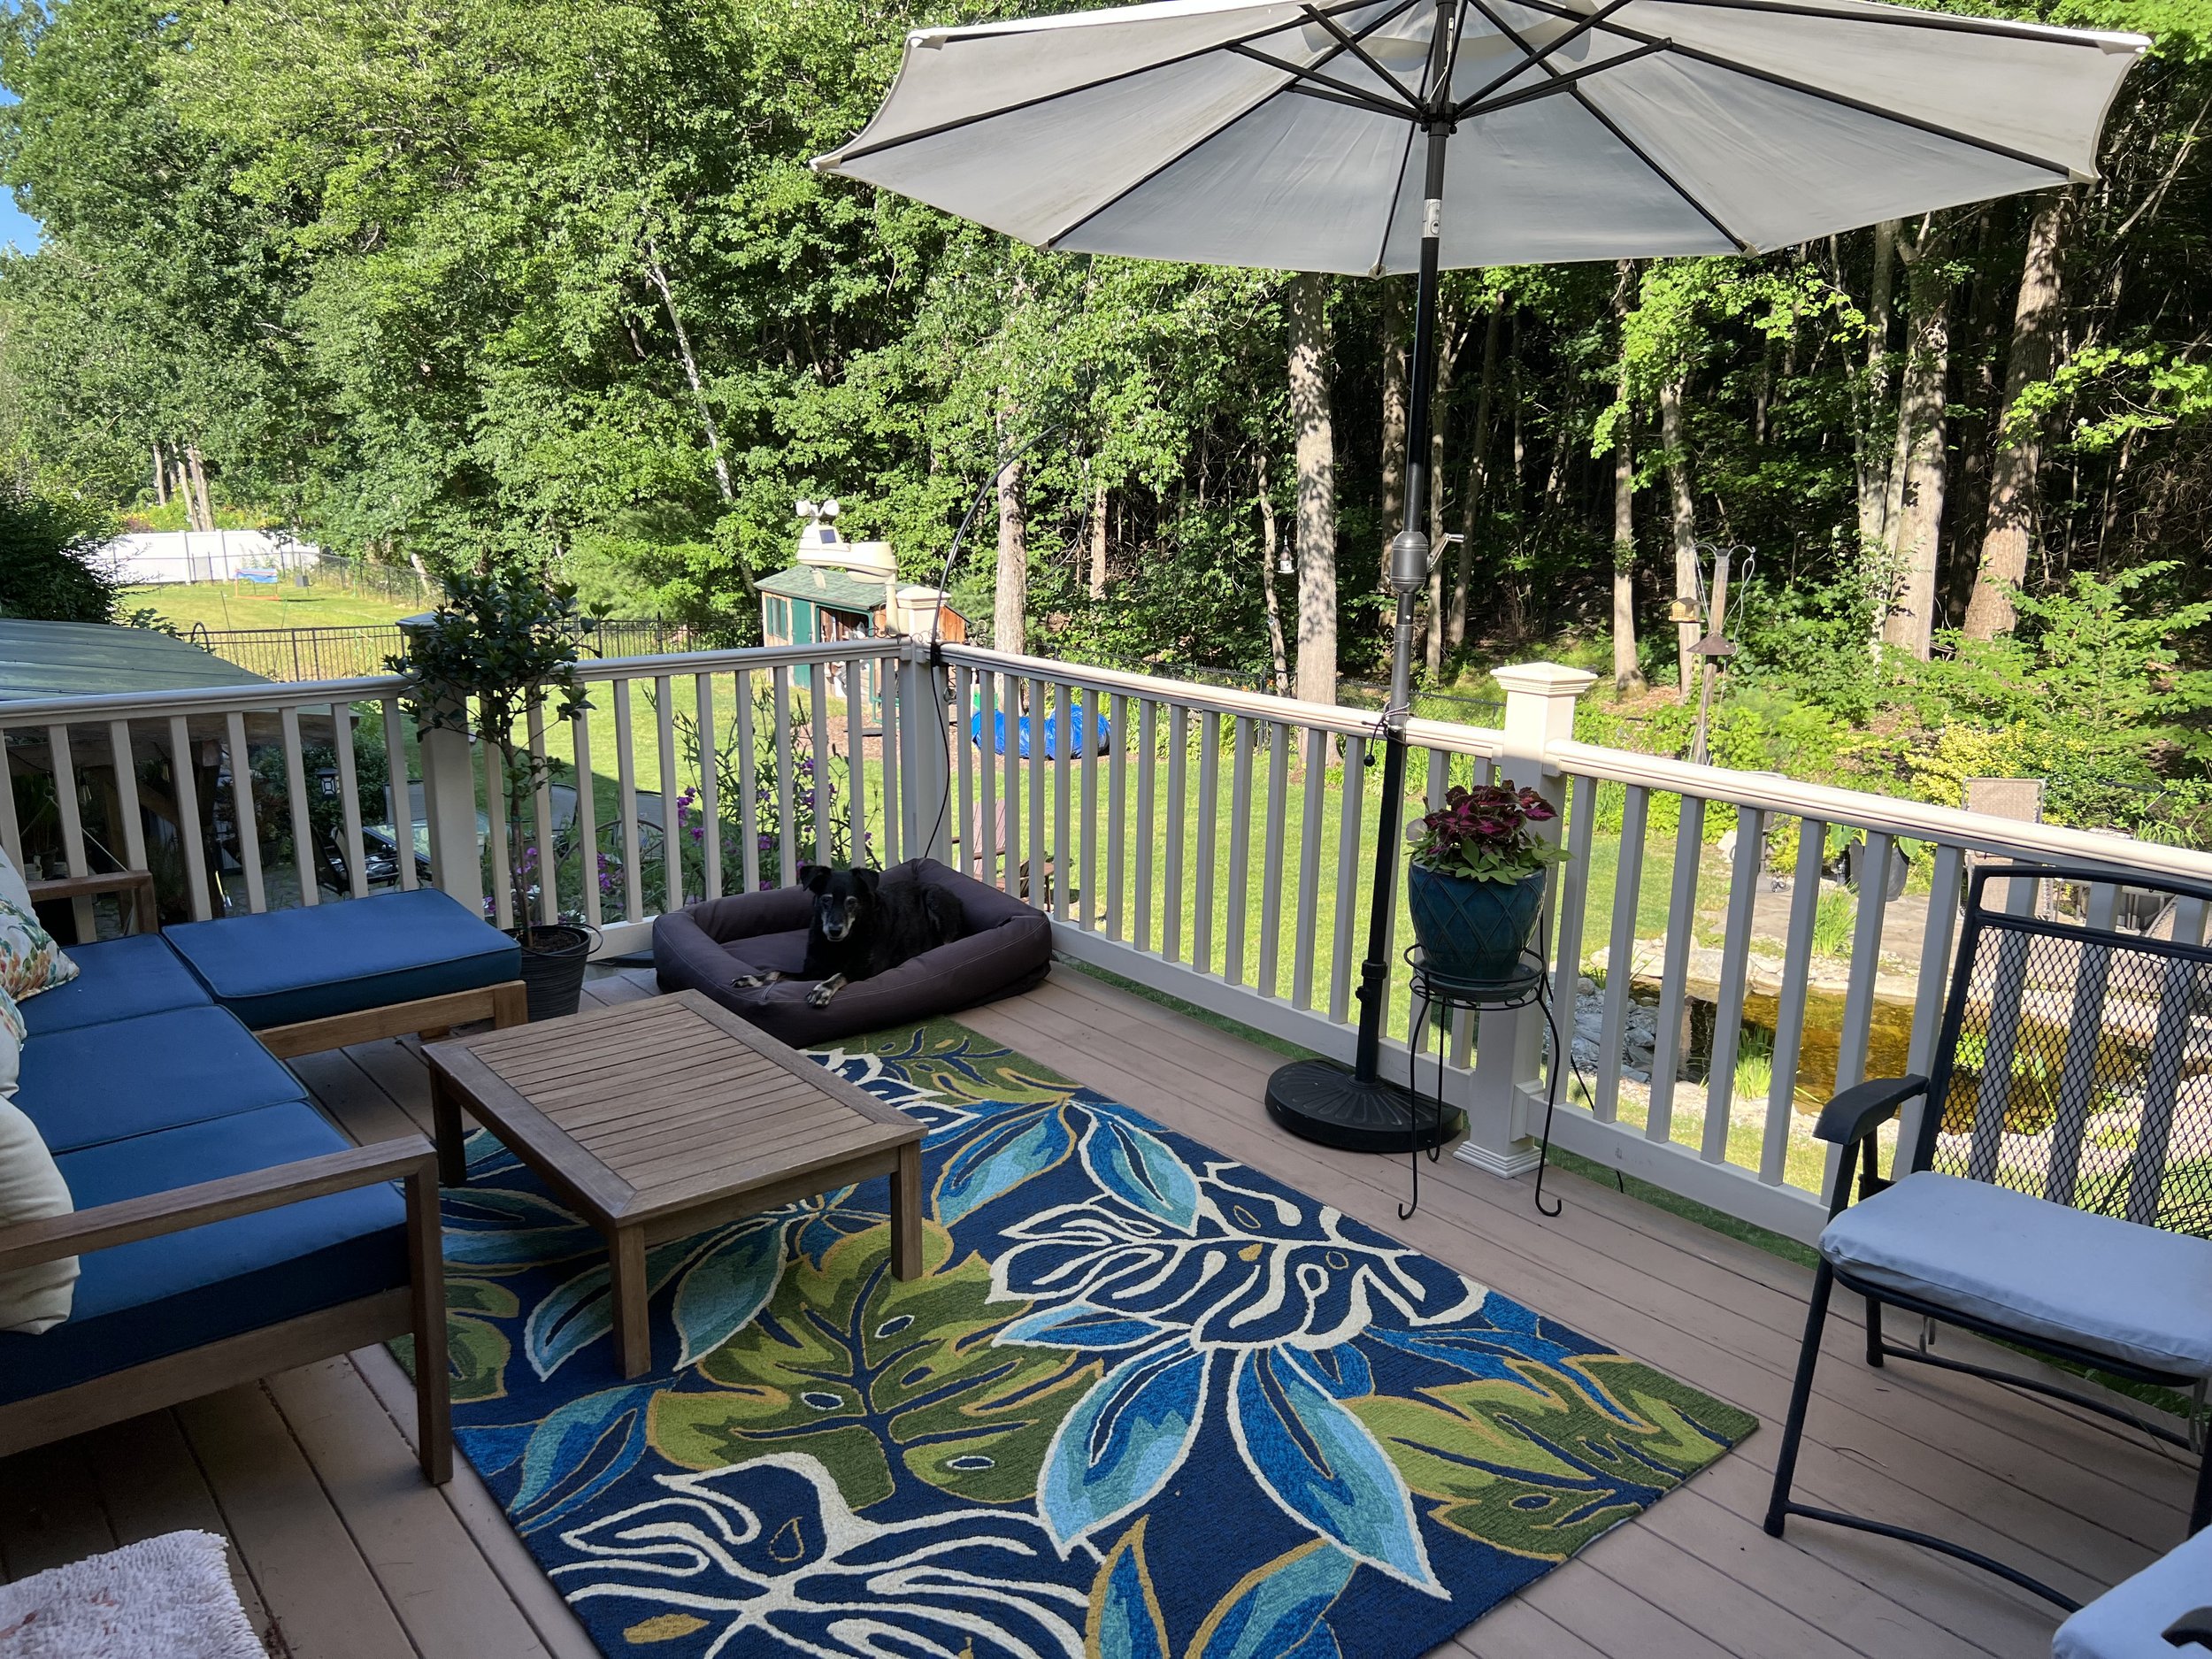
Deck Redo
The deck is a good feature, and well-made. I’d like to update the surface materials. I’ve already given the composite deck boards a coat of paint, which helped the fade-to-pink problem, but because the boards are installed too close together, the paint has now sealed off the little drainage there had been. This deck needs new (not pink) boards, placed with wider gaps, and I’d like to do an invisible screw system since i’m tired of my snow shovel catching on popped-out nail heads.
Here’s the original deck, with brick landing that has since been removed, too-close bards that have faded, cracked and warped.


Updated look, with couch, plush dog bed, umbrella, and tropical rug.
Colors
I’m still noodling around what color decking I want. The natural pine siding is golden brown that fades to a pale tan/grey. I’ll be ordering a few samples so I can hold them against the siding and see how it looks in person.

Here is the siding, followed by some options off the Trex website:


Fasteners and Patterns
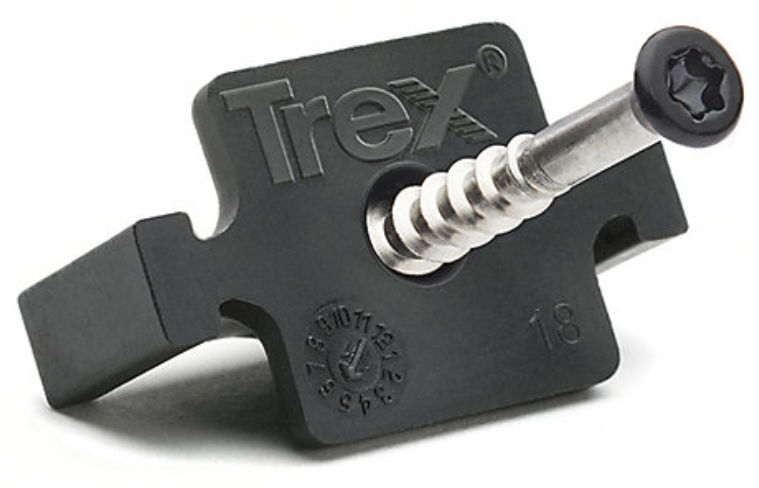
Most boards will need to be grooved, for the hidden spacer/fastener installation that will give me a surface without nails and screws poking through it. I’m also going to want to install picture-frame edging, so I don’t have to look at the cut ends of the boards… I’ll need just enough non-grooved boards to make that look good, and then the gadget that routers a groove in one side of the square board.
Grooved-edge boards install with the Hidden Fastening System beneath the deck surface, leaving a tidy finish free of screw holes.
Rails
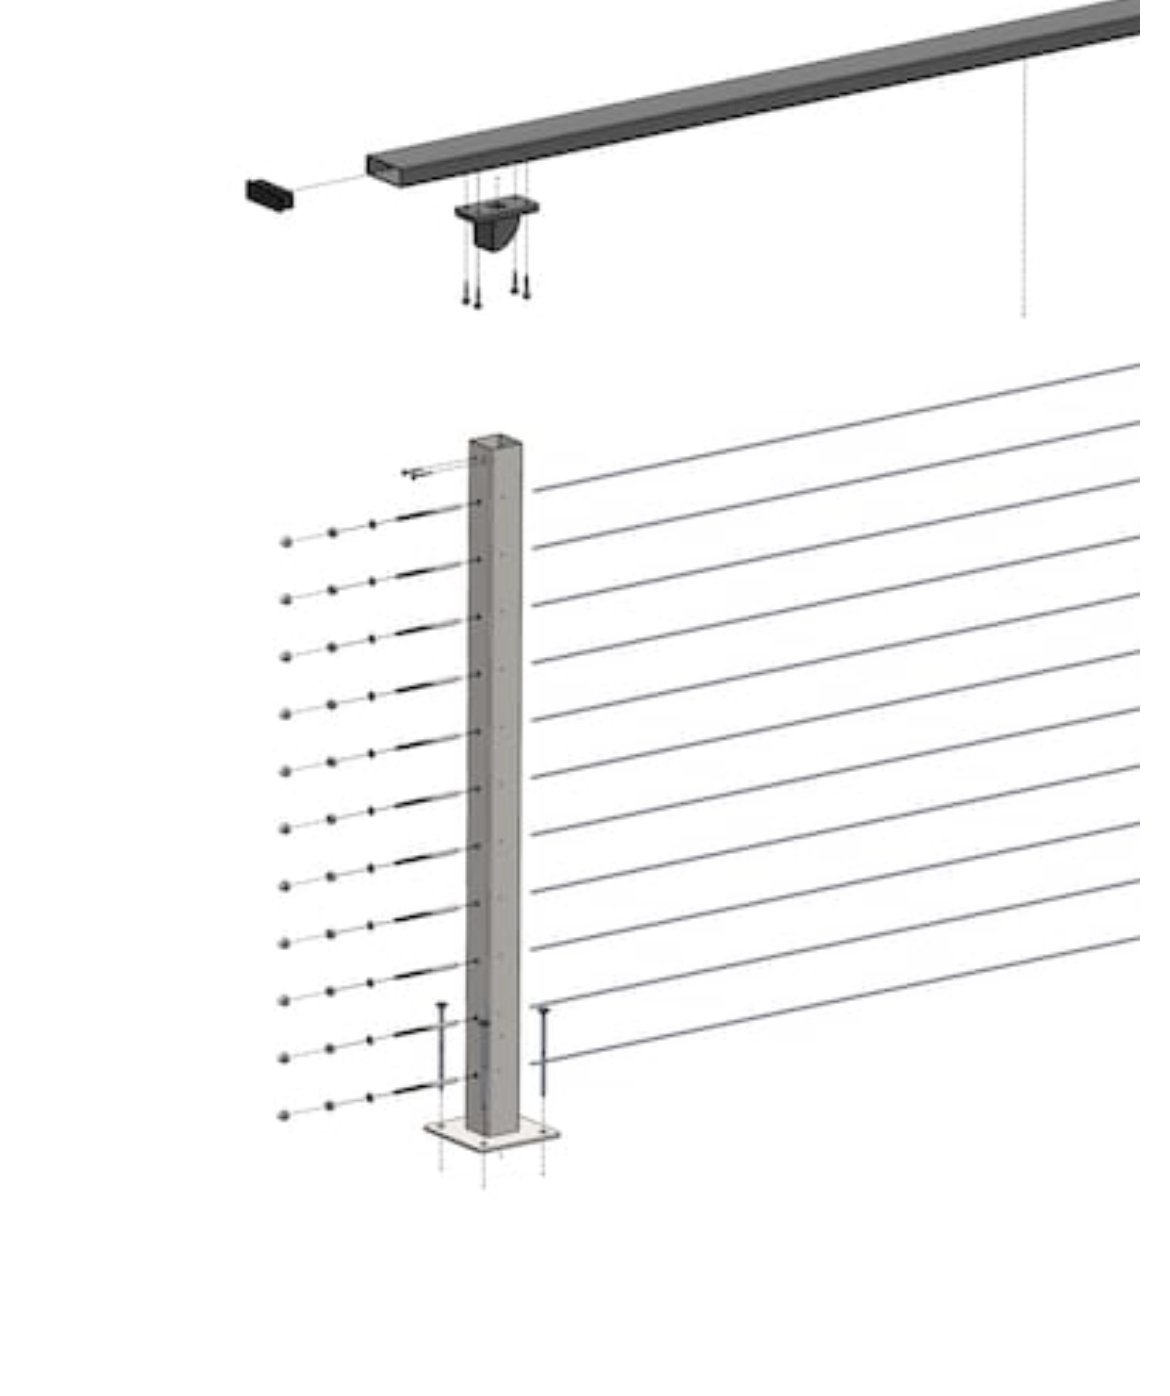
So, while i’m ripping off the top of the deck, I might as well also get rid of the ivory colored vinyl rails. They stick out like a sore thumb, and require annual pressure washing to keep from turning green. I much prefer the powder-coated black aluminum I chose for my fence. But instead of continuing the heavy vertical lines of the house and fence, I’m looking at doing horizontal cable lines, meant to offer safety and easy maintenance without blocking the view.


Image from DeckAndRailSupply.com

Image from CableRailingDirect.com

Image from CableBullet.com
There are some