Floor-to-ceiling built-ins offer display storage and tighten up the expanse from love seat to TV.
Read MorePond Planting
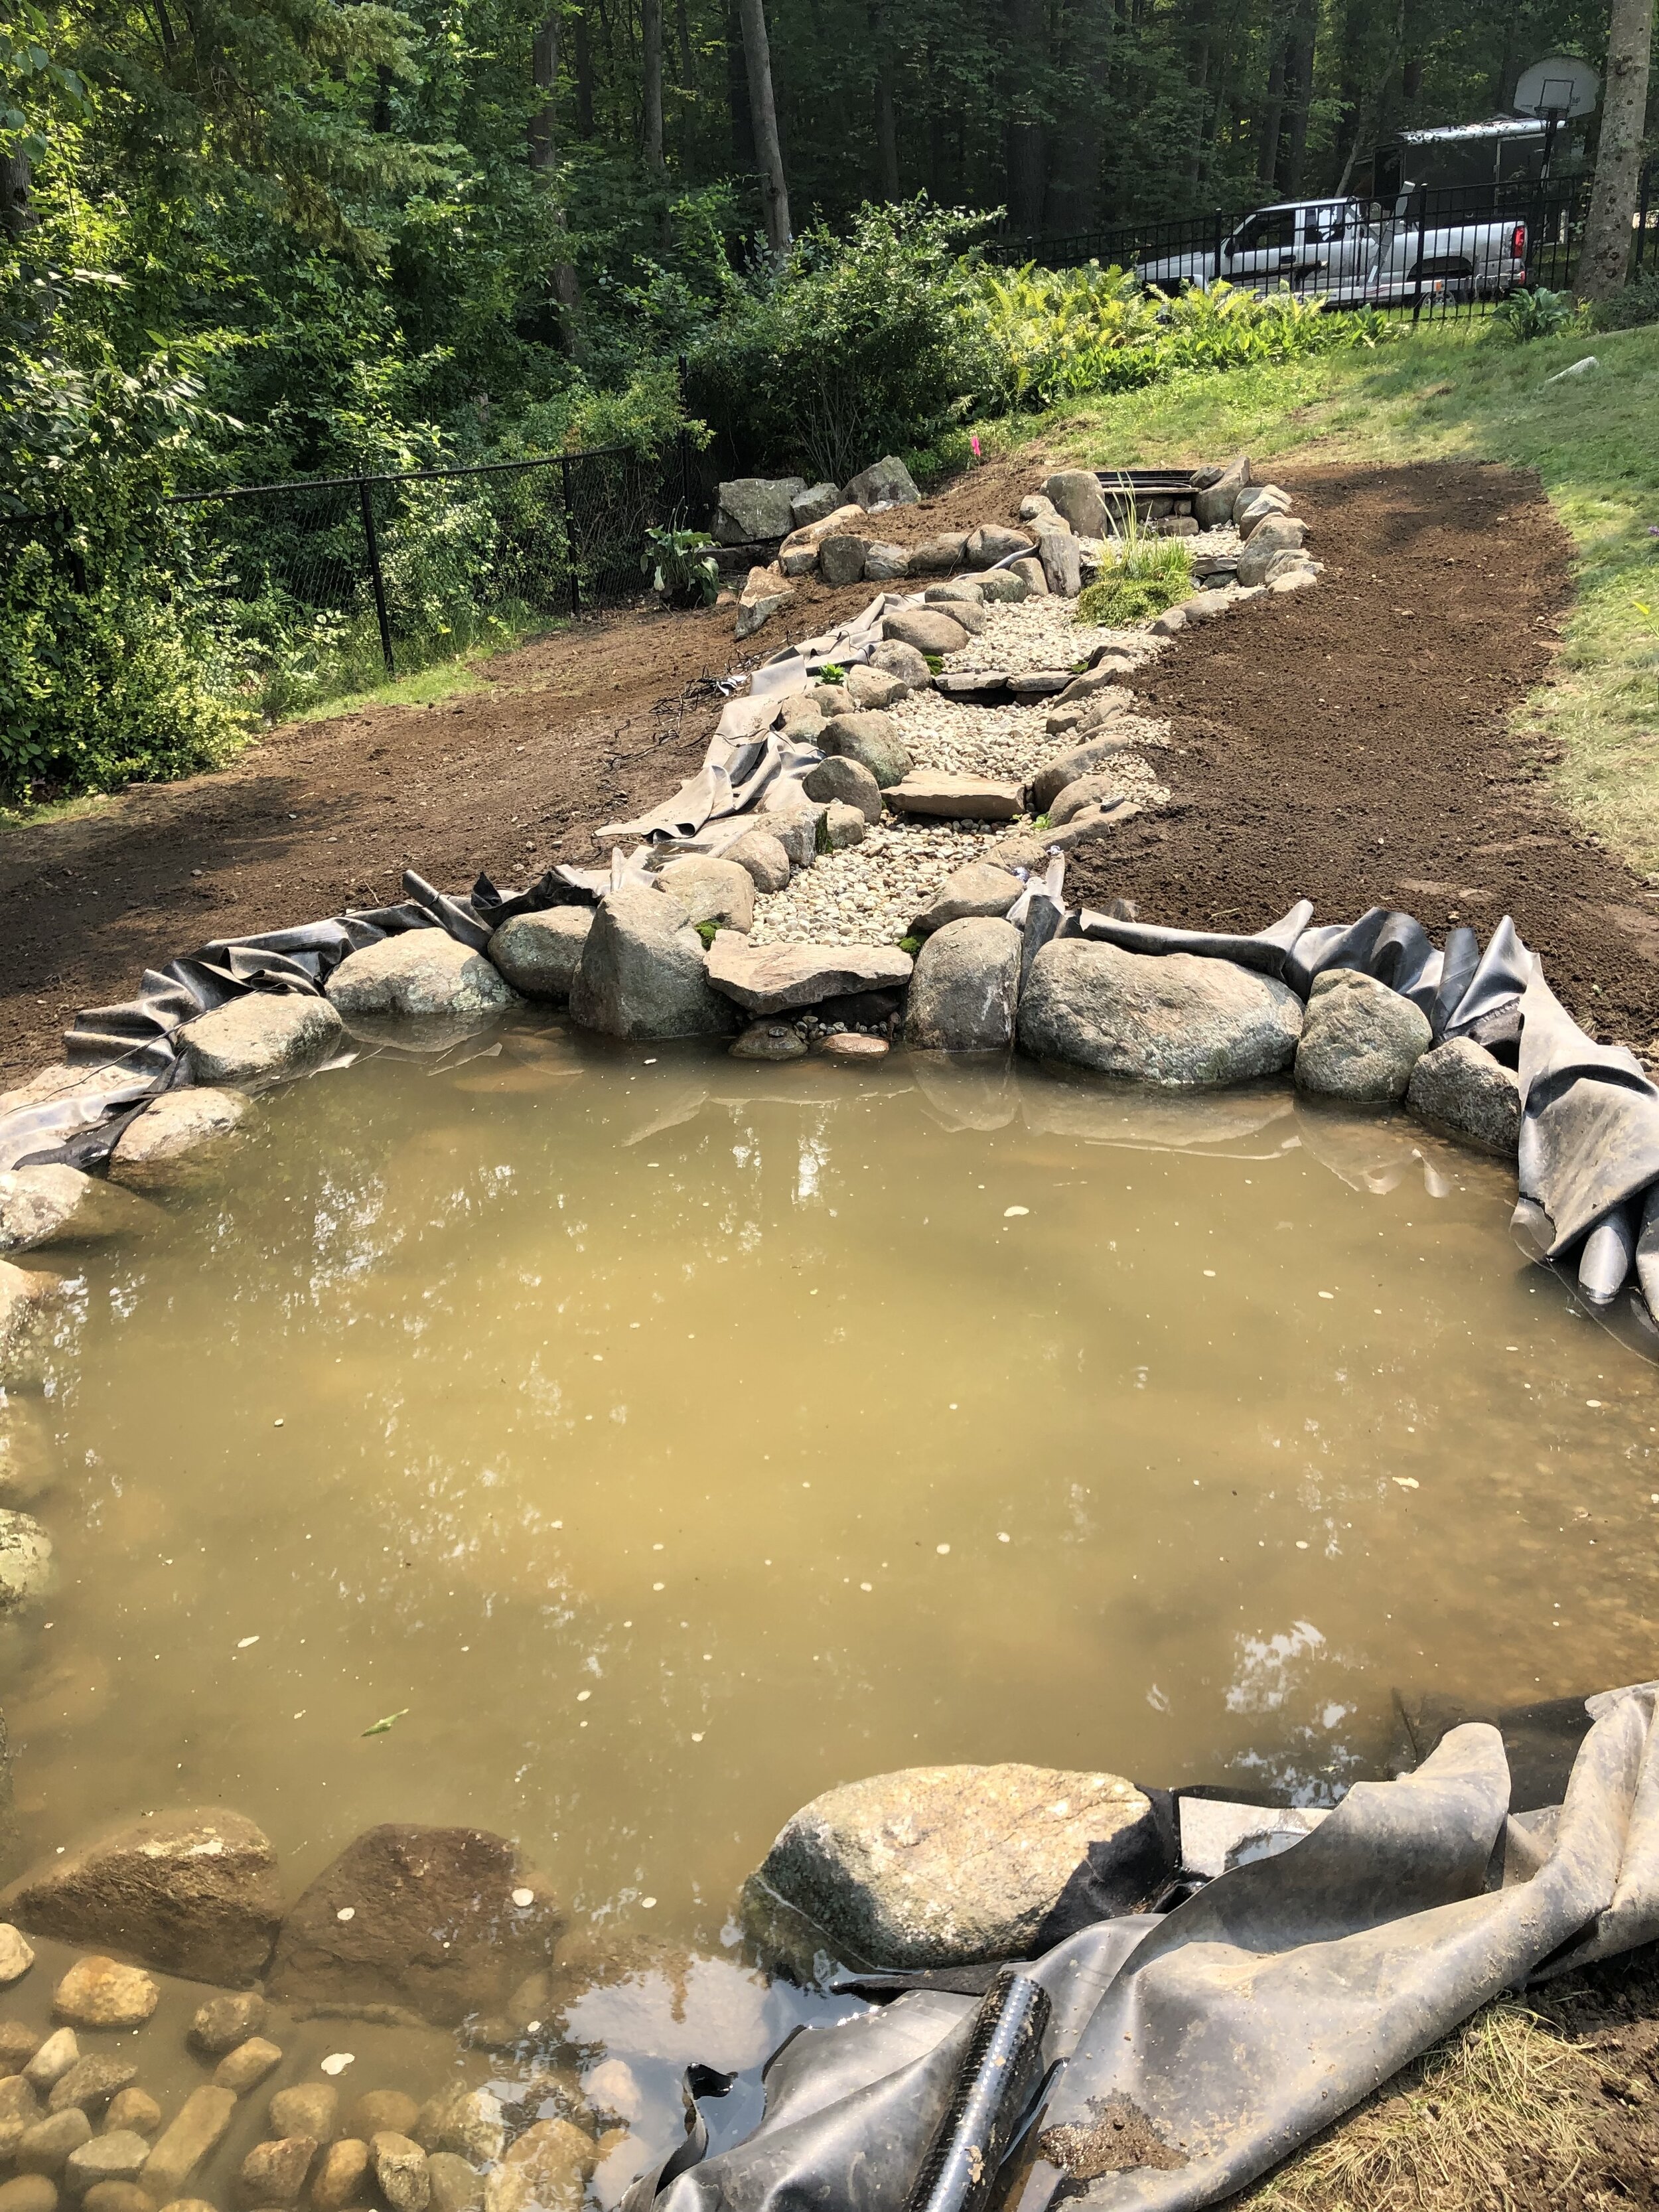
Pond installation is complete, and Maddox wasted no time helping herself to the cool, fresh water.
The construction left behind lots of loose dirt, which easily combined with summer hurricane rains to make a giant muddy mess. Decaying organic material in the sediment mixed with air in the waterfall to cause foam, but that was short-lived as the ecosystem came into balance.


Plantings are starting to fill in, and the patio is taking shape.

Night falls and autumn leaves

Pond Installation
The Concept
Summer 2019
I love the idea of a backyard plunge pool where my fur babies and I can go for a dunk on a hot day. But since New Hampshire doesn’t have a majority of hot days, it seems silly to install a pool. So… why not a water feature I can enjoy most months, even when it’s too cold to swim? I’d like the water surface to be maybe 10’ x 15’, 3-4 feet deep… enough for dogs to plunge, and for me and a friend to relax with a couple of tropical beverages. And it won’t look like a tarp-covered hippopotamus all winter long.
Other requirements:
Most important: sloped egress for the dogs… drowning hazards are no joke.
Integrated landscaping… I know it might not look like nature put it there, but it should look like it fits in.
No loose sand/mud for wet dogs to track in the house.
Waterfall for soothing white noise.
Low-ish maintenance. I can handle skimmers, chemicals, and seasonal maintenance… but nothing that I have to keep alive (e.g. fish).
Maybe: ambient lighting?
Now I’m really starting to collect ideas. And searching through online tutorials figuring out how much of a pain in the butt this is going to be.
THE CANVAS
Spring 2020, A.K.A: “Before”


Ideas
I’m envisioning the pond and waterfall built into the existing slope. The ferns are in the back corner of the lot. I’m sure the fir tree will be in the way… that can easily be removed. Actually, any of the plantings in this corner can be yanked out… the bushes obscure some boulders that stabilize the corner. There is an irrigation line that I’ll have to deal with.


Instructional* Videos
* Not to be confused with thinking I can do this alone.
VISIT TO THE POND SHOP
July 2020
Maddox and I headed out to Chester Hollow Water Garden for a socially-distanced tour of the fountain-studded grounds.


Making it Happen
July 2021
It’s been SO HARD to wait, especially through the heat waves New England has already experienced. But the time has come: I’m getting a pond. Correction: Maddox is getting a pond. 💖
Charlie from Chester Hollow Water Gardens visited my property to get an idea of what I want, and to formulate a design. We walked and talked and pointed and I tried to envision what he will build for me, but I probably won’t be certain until it’s actually in place. Of this I am certain: it’s going to be gorgeous.

Maybe something like this? Except better.
Pond Equipment
Here are the highlights of what went into my pond construction, all by AquaScape.


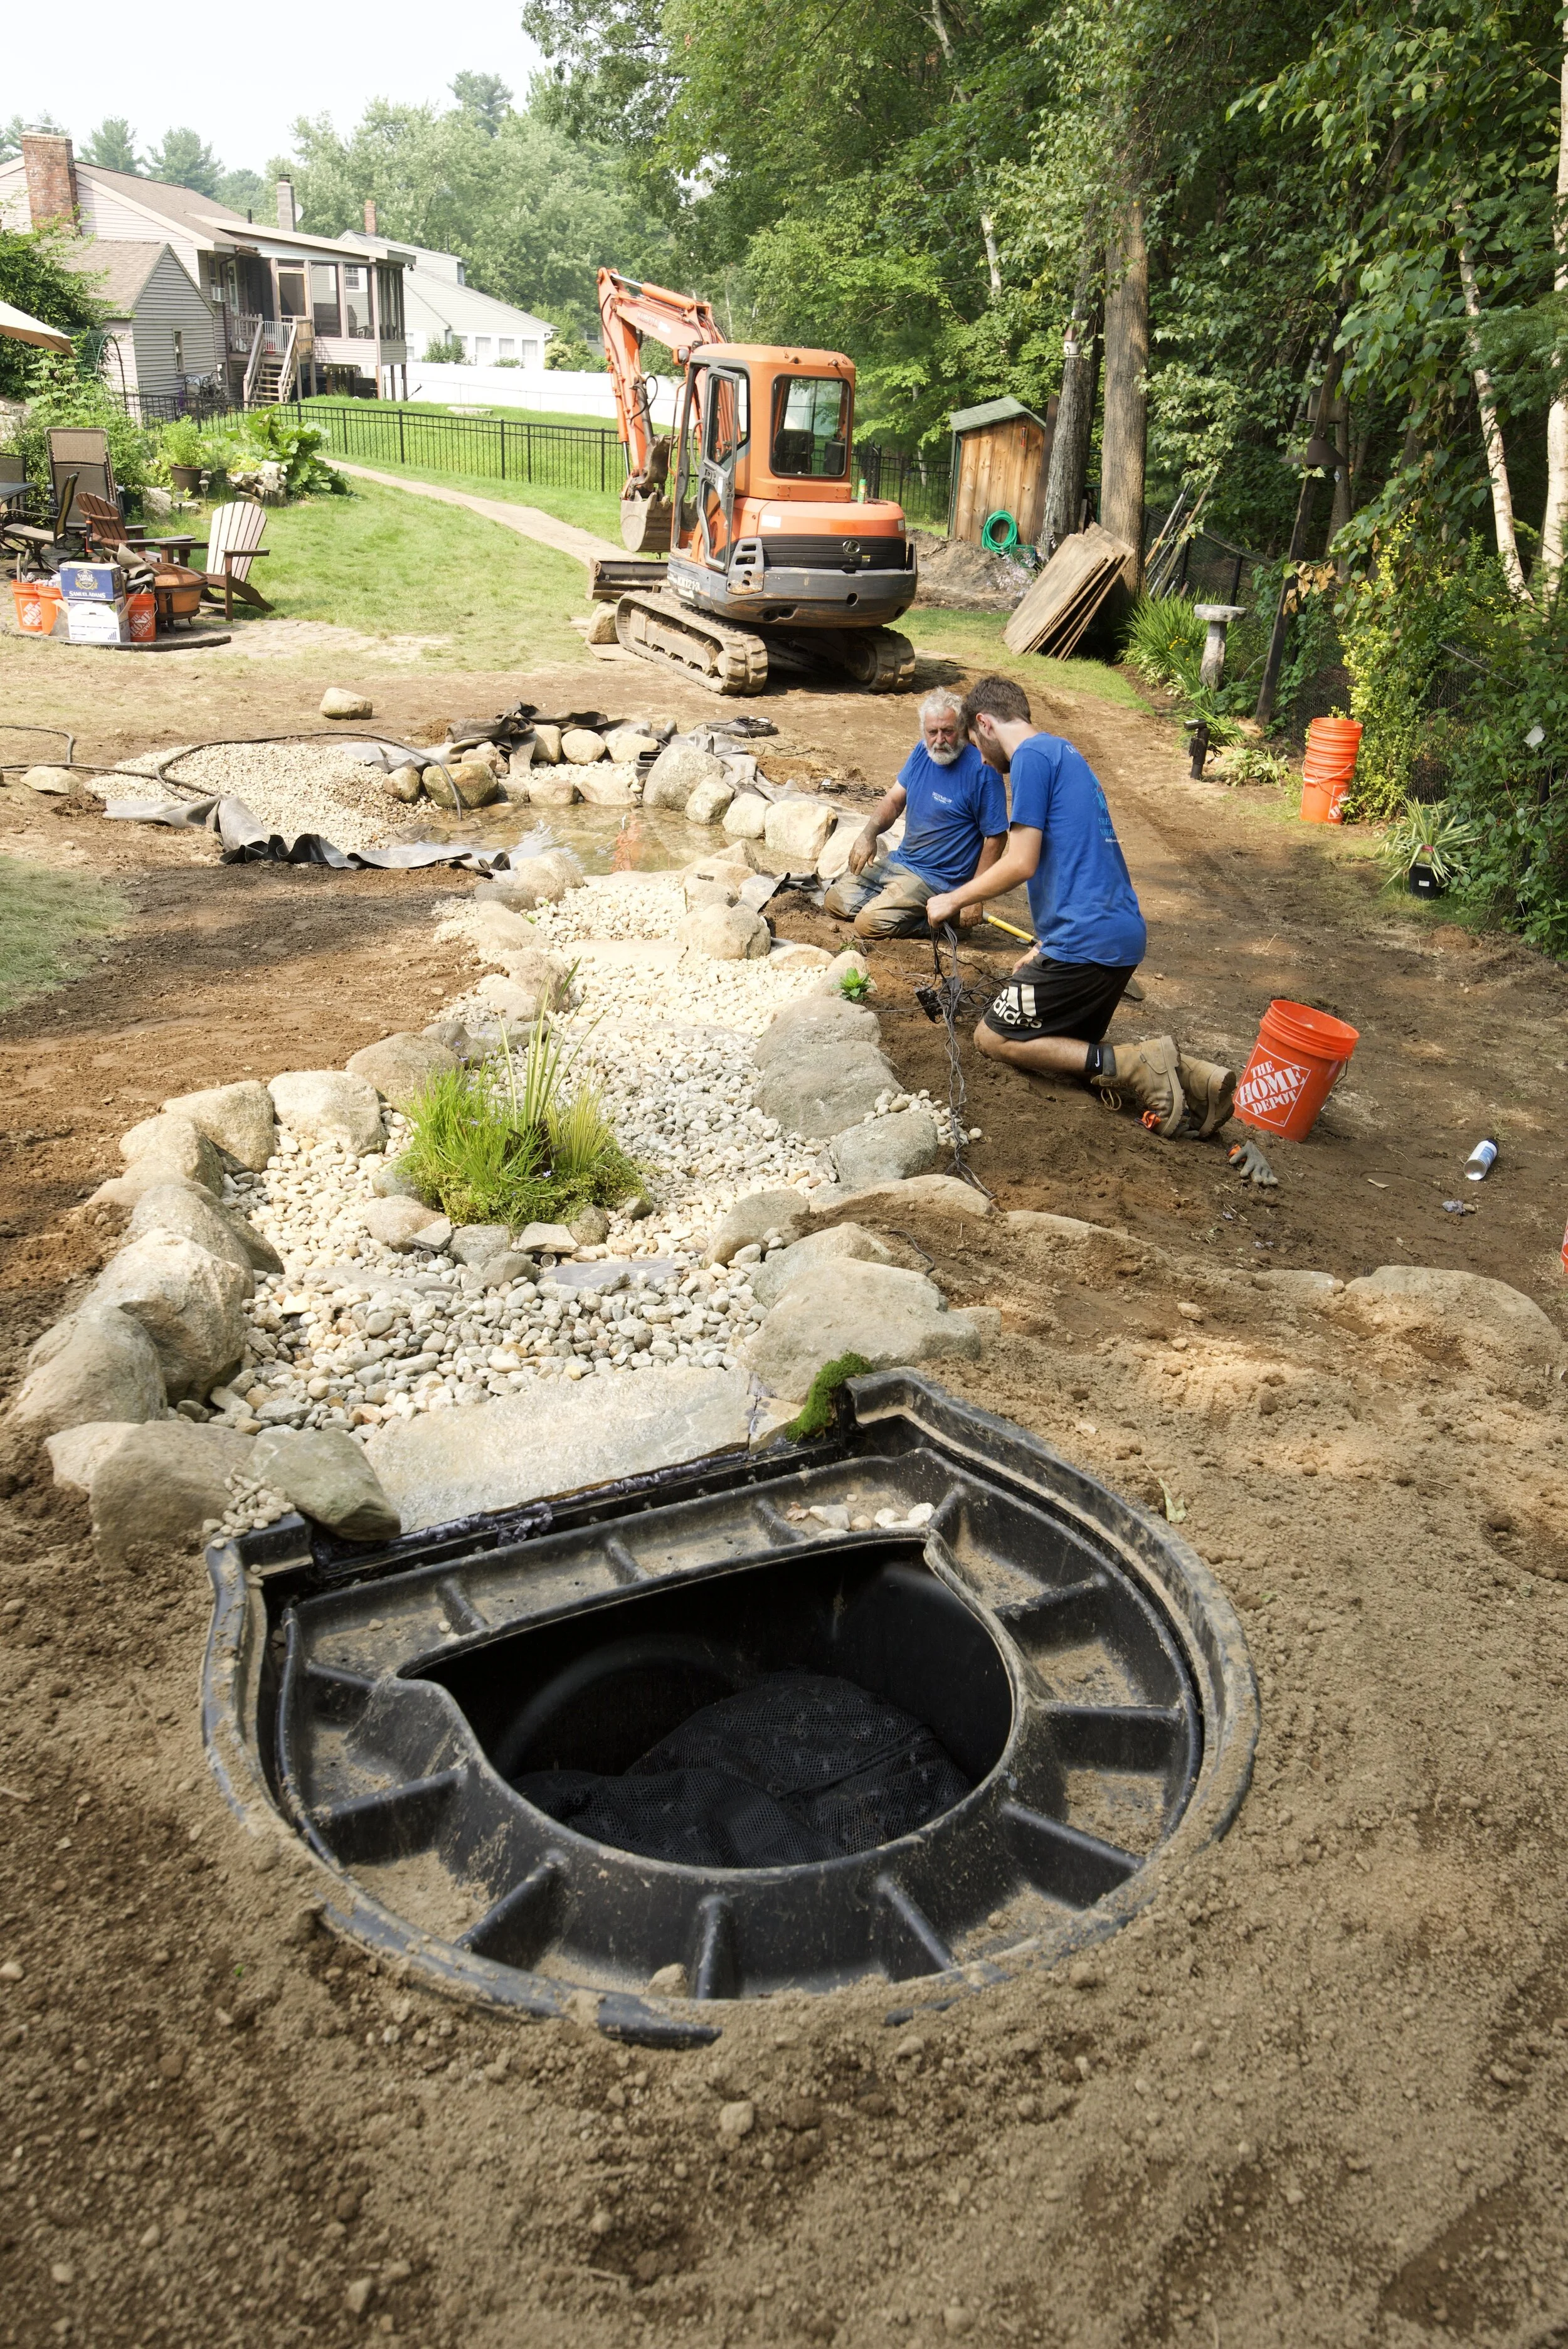
digging and Building
Click open each picture to see it full-size and read descriptions.


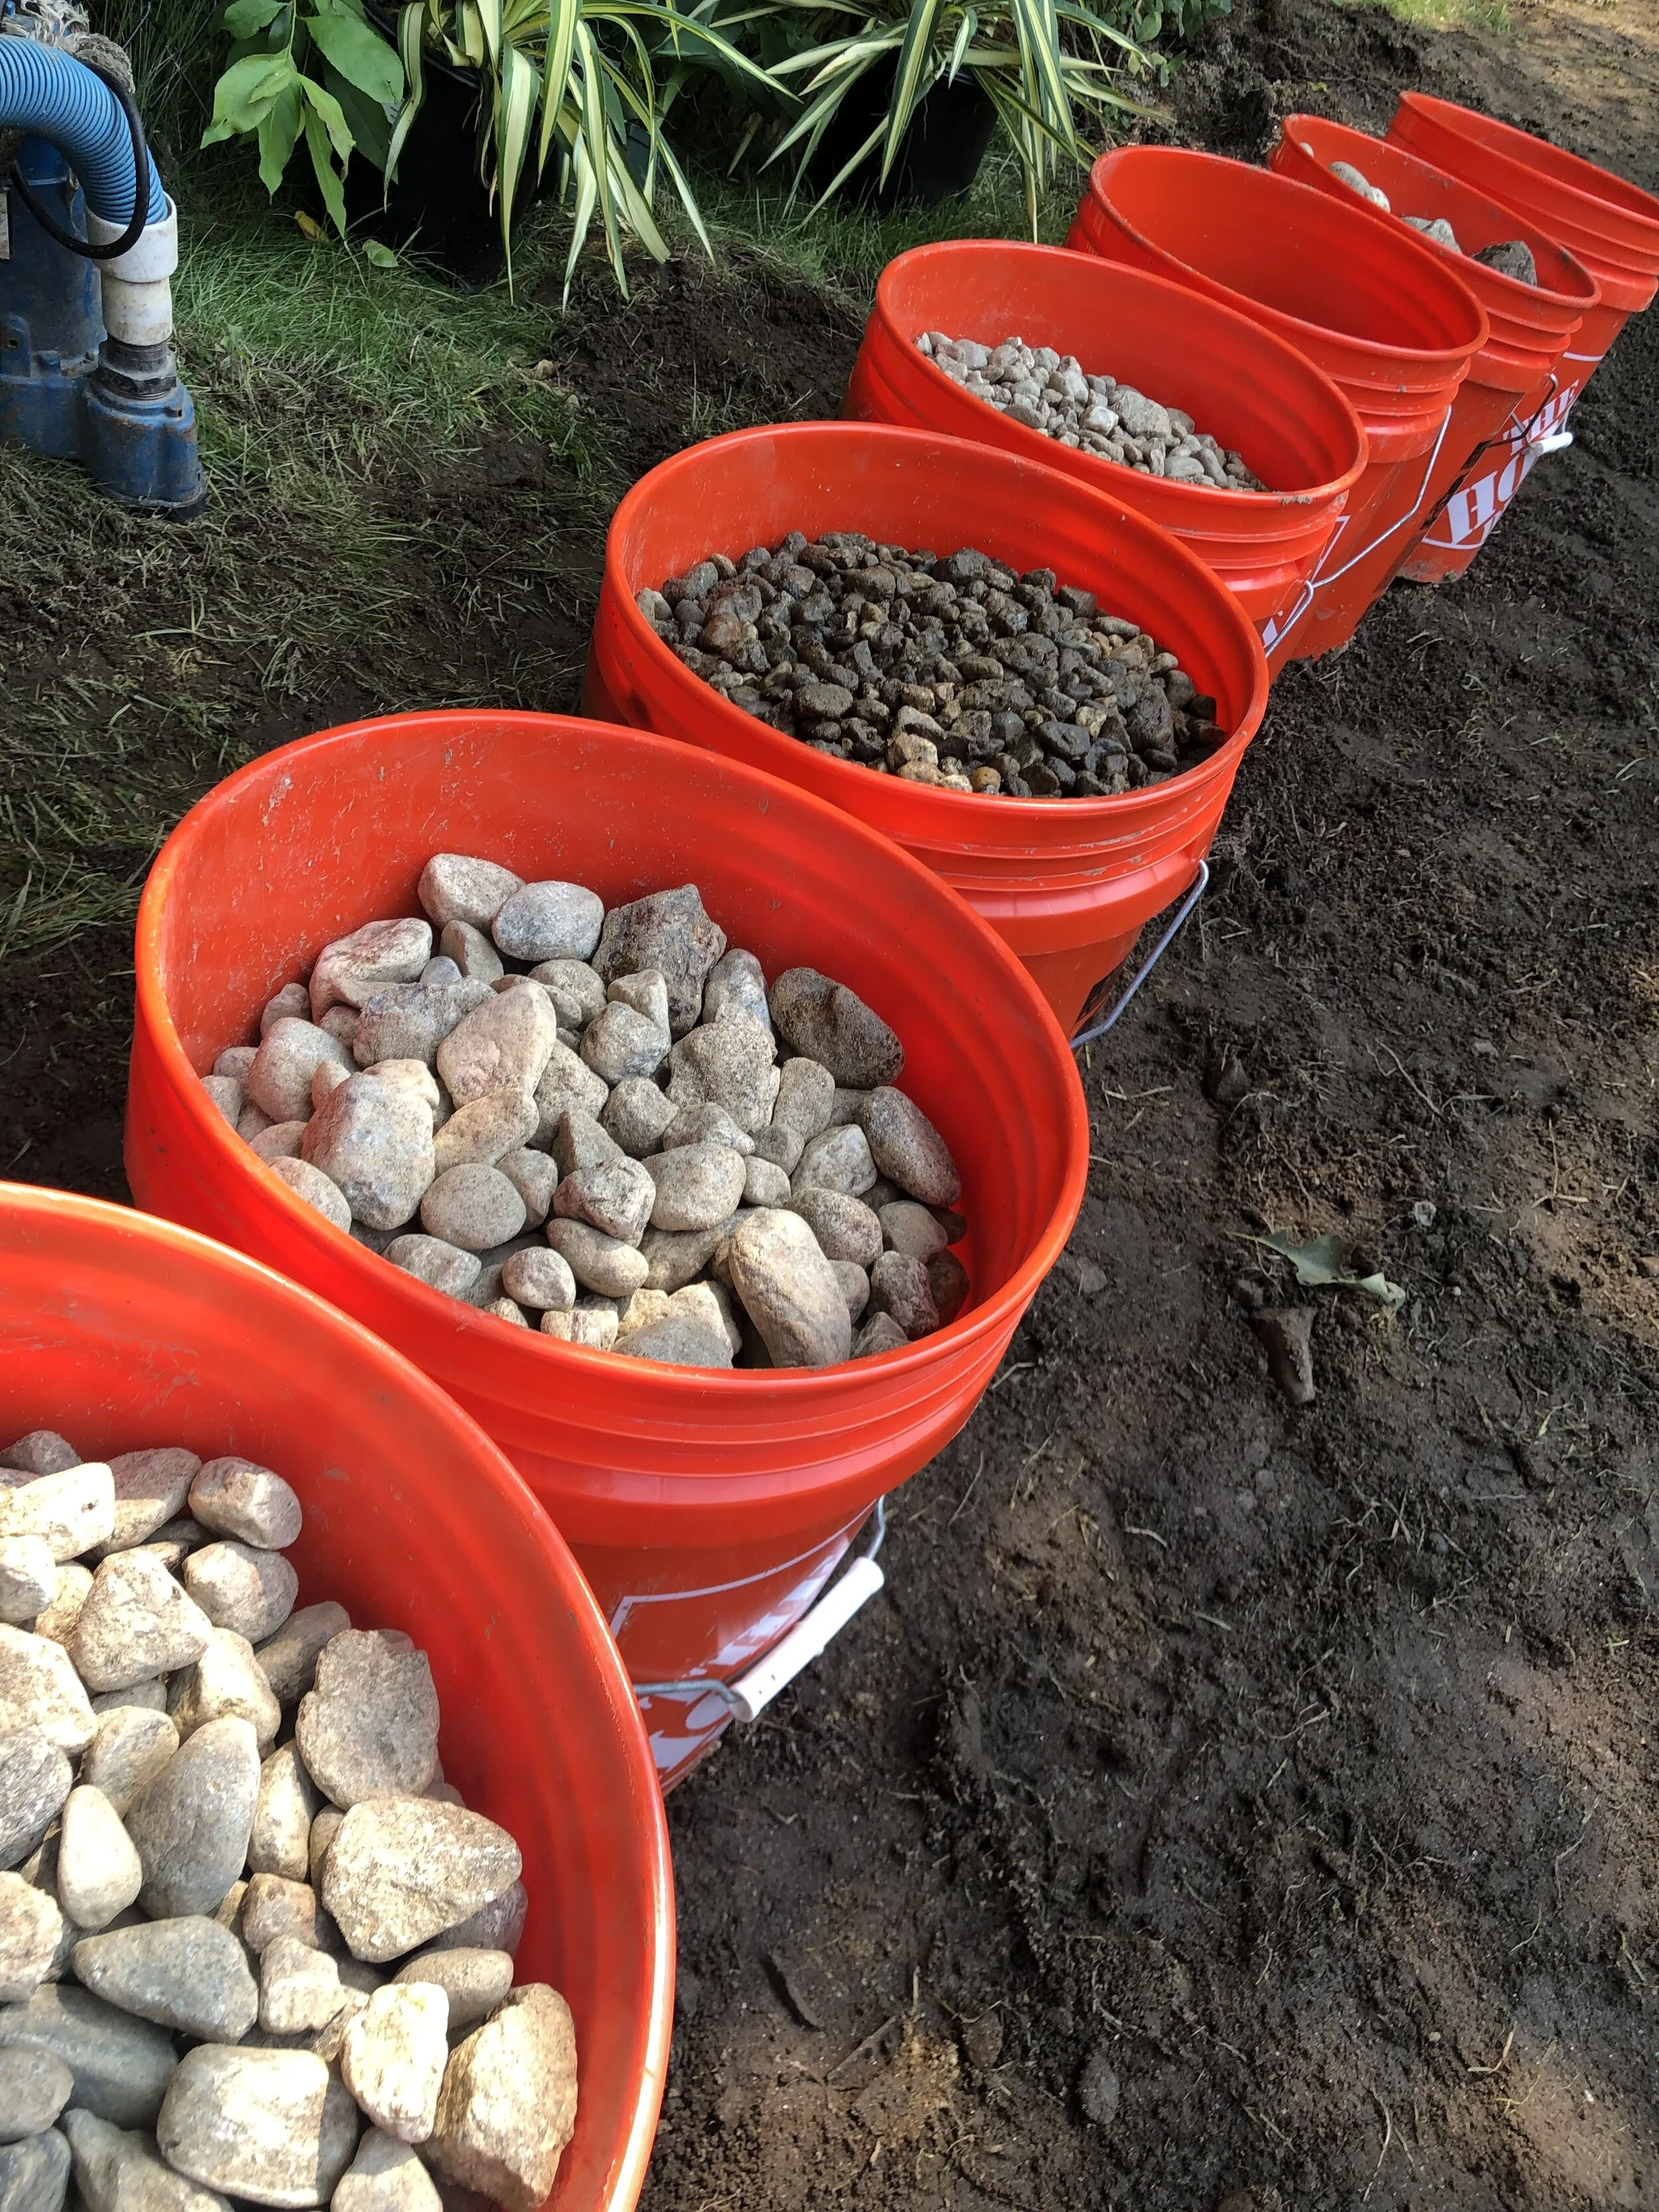

Now that the installation is done, it falls to me to plant and dress the edges. I have my work cut out for me!
Wisteria Blooms
A spectacular show four years in the making.
Read MoreCarport Clutter
Getting the carport clutter organized and contained.
Read MoreBasement Floors, Basement Floods
I’ve been thinking about replacing the wall-to-wall carpet in the basement with something that would better suit my needs… primarily, the ability to get dirty. And let’s face it… peed on. Now, before you think I’ve created some den of kink in my basement, let me clarify: it’s a workout space for me, and a play space for the dogs. Sometimes the little fur babies get so excited they just can’t control themselves. And sometimes the older fur babies decide they love it here, and claim it as their own. Either way, pee happens. Carpet is a bad idea.
So I browsed. I ordered samples. I measured and calculated and drew diagrams and 3-D mockups. But mostly, I procrastinated.

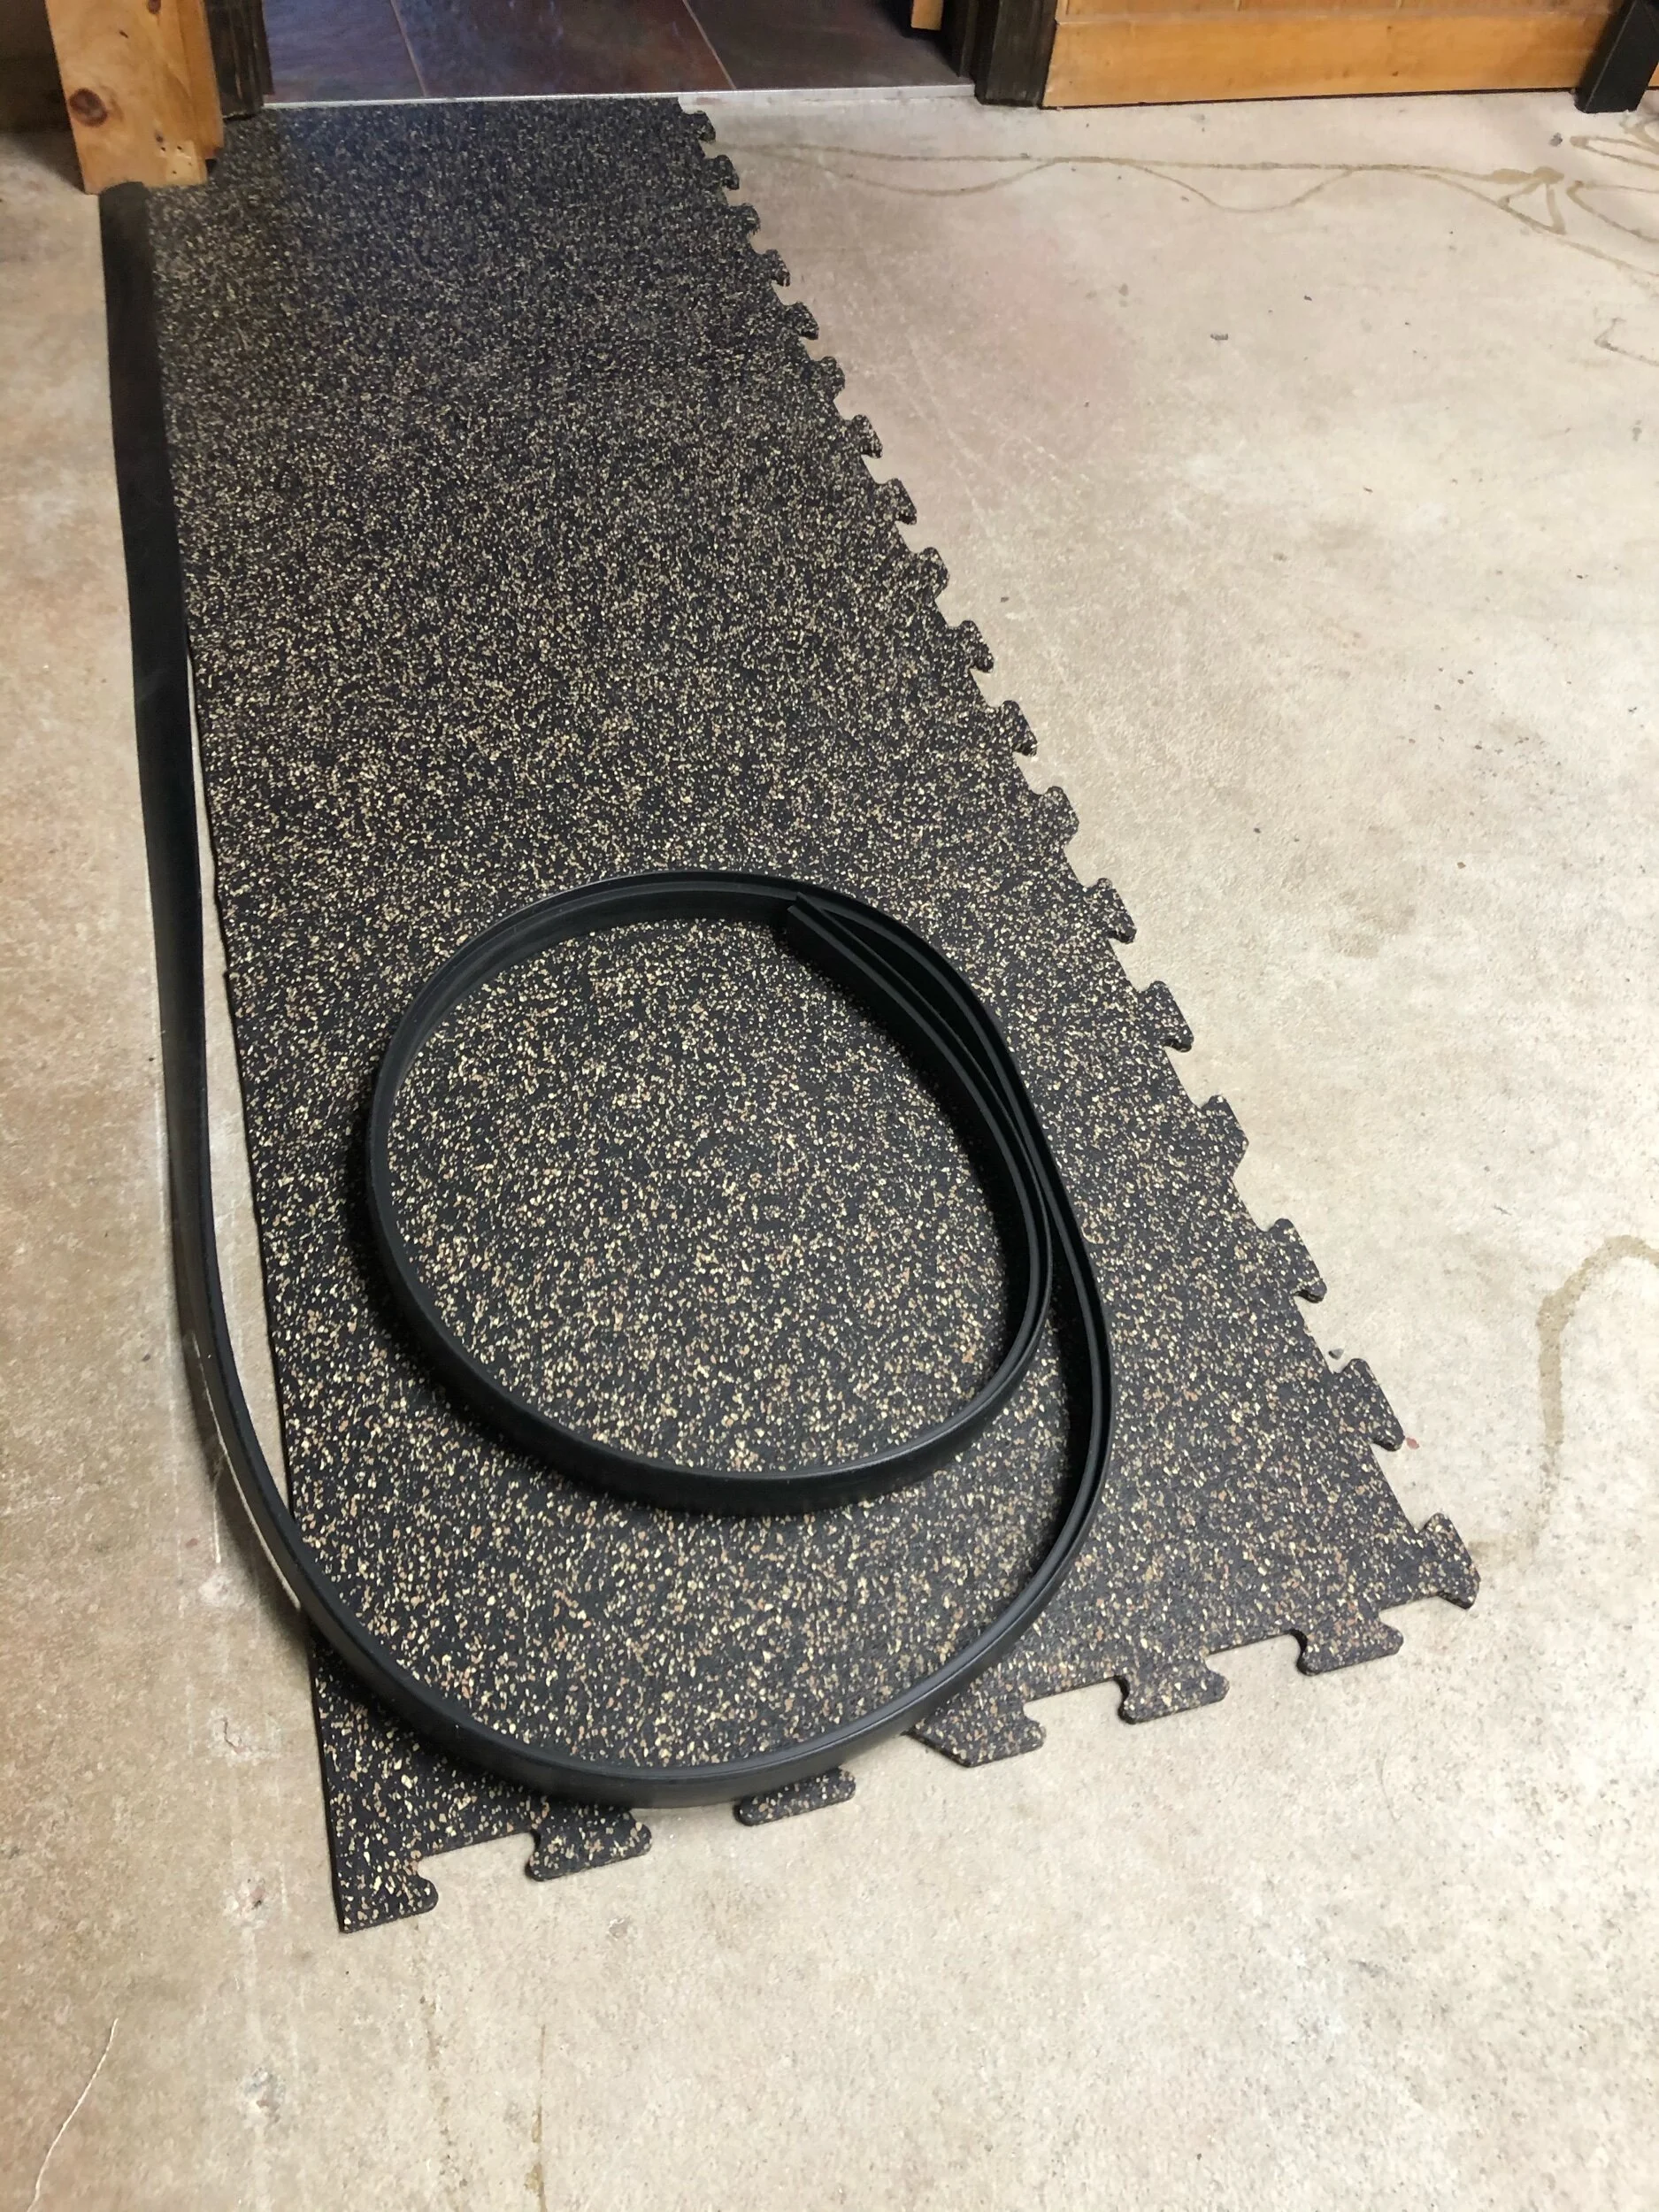
The ‘Romper Room’ area is getting carpet removed, and rubber flooring installed.
Rubber is exactly what I need. Shock absorbing and easy to clean, this will create a perfect exercise floor for humans and canines alike. It’s easy enough to install myself… just a straight edge and razor to shape the pieces around corners. No glue required.


So while I was in the midst of all that procrastination, the basement flooded because the refrigerator water-dispenser line disconnected itself and streamed down the wall all night long. It’s just water… not sewage or oil or anything gross. But still, it’s annoying. The rug pad was glued down to the concrete, and (to its credit) had a moisture barrier on the top side. While this is a great feature for preventing spills and accidents from seeping down into the pad, it is the opposite of helpful when the basement flood soaks up from below. The pad was the consistency of wet cake. Out it went.
Also, I ordered a freeze/flood sensor. It might not stop water from ever touching my basement again, but at least I’ll be able to react faster next time.


Yeah, okay… so, I could have bought new rug pad for the soaked corner, and set up the basement with dehumidifiers and fans and smoothed the carpet back out. But where’s the fun in that? Out came the utility knife. Out went the soggy carpet.
The new flooring is 70% black recycled rubber and 30% colored virgin rubber. My 154 rubber floor tiles saved 62 tires from ending up in landfills. YAY! 🌎 ♻️

This is what 1100 pounds of rubber looks like. These tiles are HEAVY!

The first corner.
Laying down the edge to the workshop, with a step-down transition strip to keep it from lifting, and prevent people from tripping.

First day’s effort: 16 tiles. Only 138 more to go!

40 down, 114 to go. I fought with buckling and gaps for quite a while today trying to insist that my basement is square and my measurements are perfect. In the end, it’s easier just to trim another 1/4” off the tile and call it good.

Making progress! Time to move all the junk over to the completed side.

So close… at this point the OCD is kicking in, and I’ll be done in no time.

DONE! I have 14 tiles left over, which will be plenty to fill in the side closet when the oil tank gets pulled out.