Bedroom Refresh: Lights
I rarely use the overhead lights in my bedroom, and I’ve tried to overlook the dated aesthetic. I finally decided to rip them out and replace them with sleeker more modern fixtures. I found a four-pack on Amazon that fit the bill nicely.
I wired the first one myself, but it was a giant pain in the butt to deal with the recessed cans. The old can lights were connected to junction boxes mounted to the rafters, and there was not enough play in the wire to connect the new light. I turned it on long enough to confirm that I liked the look, and then I turned off the circuit and waited for my electrician.


Christmas Light Hooks
The biggest post-holiday pain in my ass is setting up the ladder in a snowbank to take down Christmas lights. The tiny teacup hooks were all bent and rusty, so they got pulled out in preparation for the painting of the eaves. My new system lets me install and uninstall Christmas lights from the ground. I now have 23 evenly-spaced hooks, and an extending pole that reaches up to hang the string lights.


Back Yard Floodlight
The back yard floodlight had been installed on the same line as the exterior outlet, so that the switched controlled them both. I wanted to be able to power exterior string lights without wrecking the ambiance with bright floodlights. I opted for a hard-wired floodlight camera from Ring, which means I can control it with my phone or set it to operate on a motion sensor. No light switch required.

The old floodlights.

The new floodlight camera.
I was on the verge of getting the pergola built, so I knew it would be my last chance to get the light replaced.

Simple bracket

Wire had been pinched and slightly cut
Plus, it has the added advantage of allowing me to keep tabs on what’s going on in the back yard.


The Pergola
A covered outdoor area for lounging and entertaining.
I have been thinking and imagining a pergola since I fell in love with one I saw during the house-hunting adventures of 2013.

When I moved in, the lower yard had a pile of rocks, an ugly bush causing blackened stains on the siding, path of pavers (removed in this pic leaving grass-less holes) leading half-way into the yard, another bush blocking the windows, glaring white concrete retaining wall, and screen room on stilts.

Patio, furniture set, painted concrete, grill, dining set. To see more about the in-between steps, go read my posts about the herb garden, patio, painted wall, and screen room demolition.

Hole dug for the footings revealed a stepped foundation… perfect for ensuring that the pergola (which will be bolted to the house) is on the same solid ground as the house itself.

Concrete poured in a box shape to level up the footings.

Concrete deck pier supports the post above the ground to prevent the wood from rotting in the wet soil.

Large 7x7” posts are hand-chiseled down to 4x4” to fit into the concrete pier supports.

The post is bolted into the ledger beam (the supporting member that holds up the floor of my house) with a tempered aluminum Maine Deck Bracket. This will stabilize the post, even though it is not expected that any additional weight load will be added to the ledger. The 7x7 vertical post and 4x6 horizontal beam are dadoed together.


Next came the three front posts… the approach was to use 8” Sonotubes, since we didn’t have to contend with the foundation of the house. The entire outline was done… and then came the ‘oh sh*t’ moment. We had intended to make the pergola overhang the posts by about a foot on each side, for a total width of 22’ feet. As you can see in this picture, the beams don’t stick out past the posts. #%@#%
So, after a restless night’s sleep, Marc suggested a plan. He would replace the beams at the rear, since those were held in by a few bolts that could be easily undone. He cut new, longer beams.
The beams at the front presented a different problem, since the angle brackets had all been custom cut and toe-nailed in. He bought heavy-duty metal brackets (600-lb load rating) and affixed an extension to each end. The 45-degree supports add additional stability. Once all the rafters and decorative flourishes are added, no one will ever notice.

Back replaced with longer beams.

Front extensions.

The center beam is smaller (4x3”) and slightly higher than the outer beams to allow extra head clearance if I want to attach a light fixture someday. The horizontal center beam is cut into the vertical post, and the black metal bracket held the joint together until the rafters could be installed.
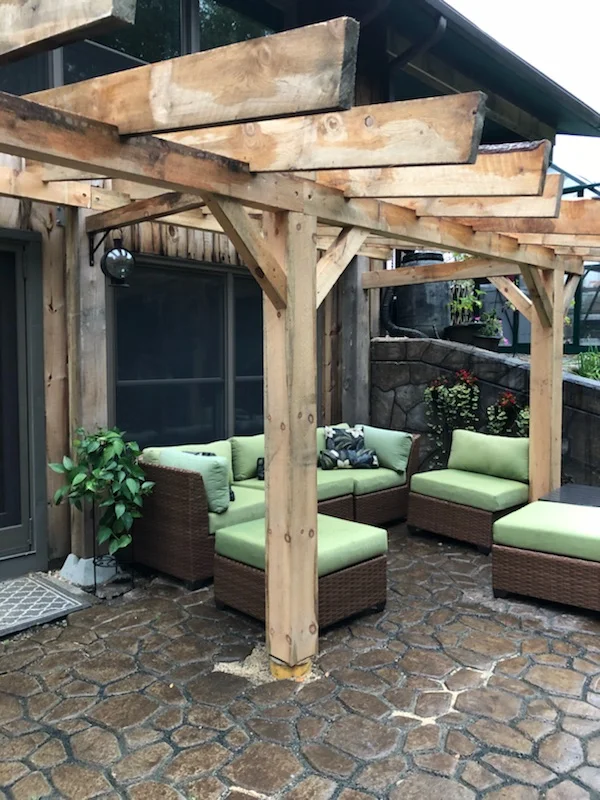
Close to done… next week the ends of the rafters will be trimmed and shaped, the patio pavers will be cut to fit around the post holes, and the plexiglass roof will be added.

For now, it’s done enough that I can put my feet up and shop Amazon for cafe-style string lights. (Edison bulbs on the way!)

My back yard setup is taking shape.

Arguably the most important accessory.

Second most important: hanging cooking tools away from curious dog tongues.
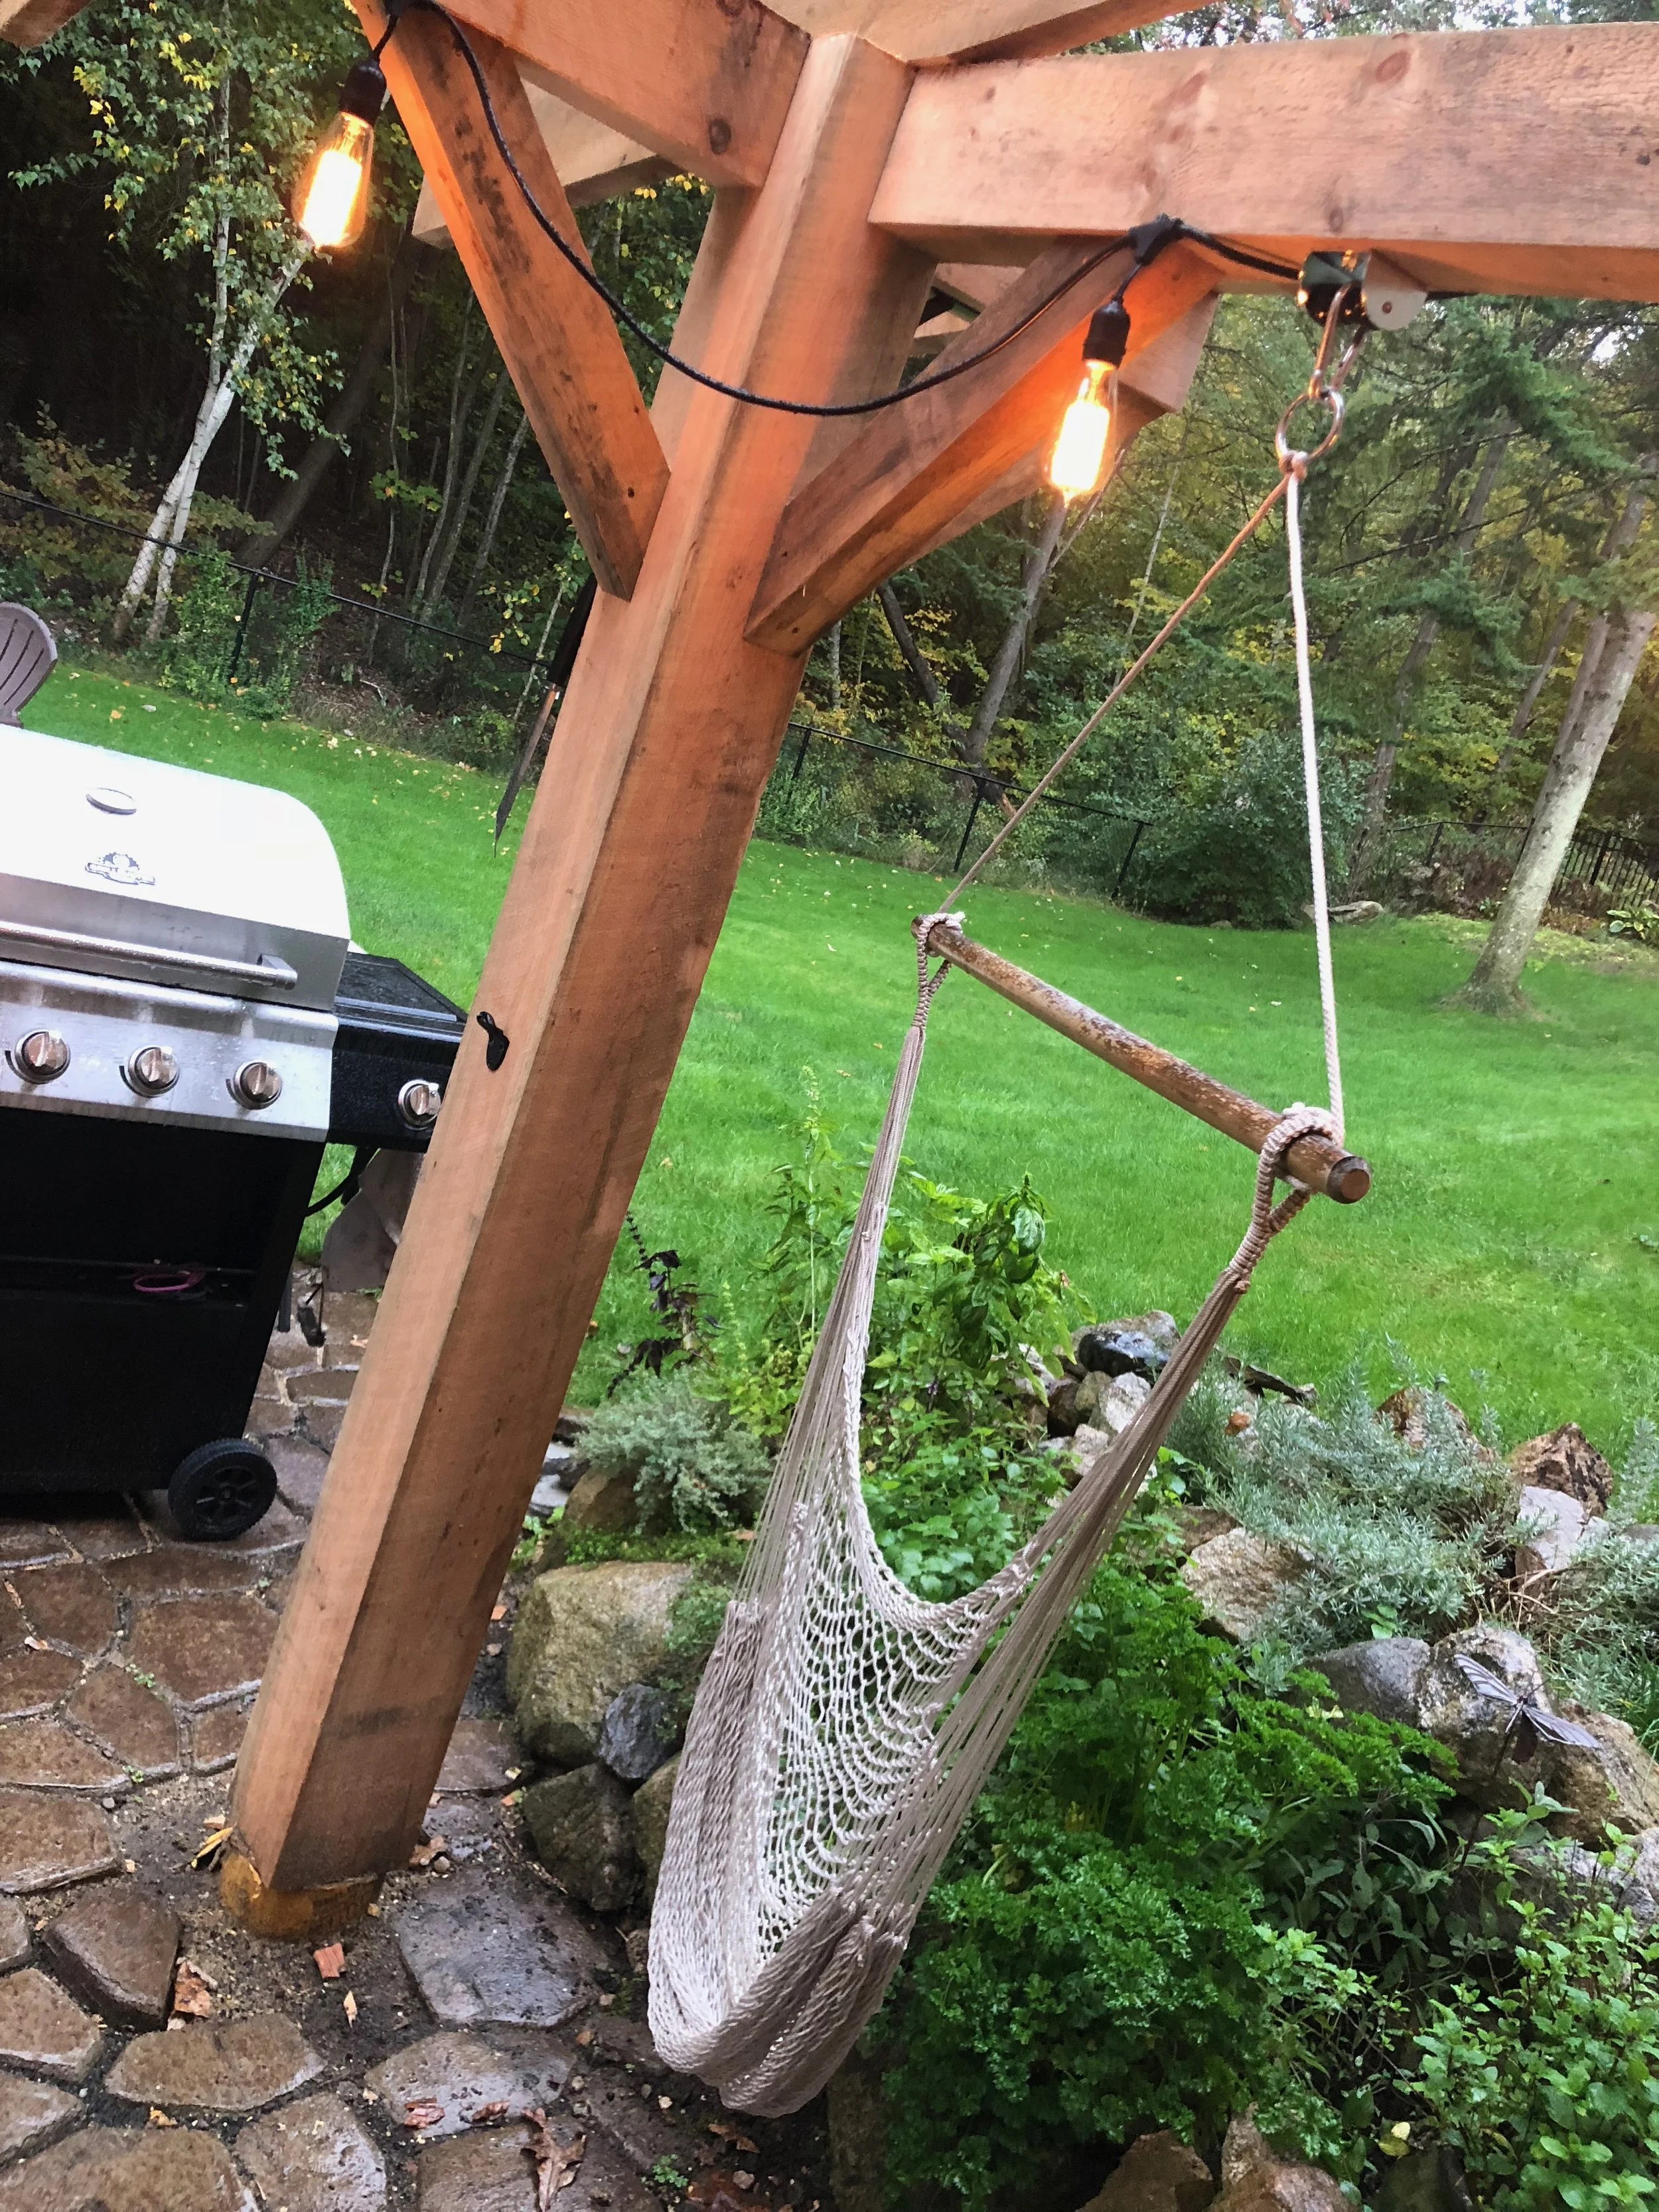
Swing seat (cushions forthcoming)

Fitting patio blocks around the posts and slab.

Front posts have trim to hide the concrete posts.

Edison bulb cafe lighting.

Rafter ends trimmed and shaped
Next it was time to get the clear polycarbonate ordered… giant sheets (6’ x 9’8”) of 1/4” Lexan. Extra strong to hold the weight of snow, and clear to let the morning sun shine into my office.
This introduced a new pain in the butt… apparently ordering 6’ wide sheets of Lexan gets you sheets that are cut at the factory at precisely 6’ and 3/4”. Which means that rafters positioned exactly 24” on-center are now a little too close together. ARGH. Rather than send these giant heavy sheets back to the glass supplier, Marc (my carpenter) grabbed the closest crowbar and yanked out a few rafters and moved them just slightly… so, if you were to climb up there with a measuring tape, you’d find that the span is no longer a perfect 24”, but roughly 25” on one side and 23” on the other. This is the kind of stuff that makes a perfectionist nuts, but I know it’s not going to bother me… until the next time I order 6’ sheets of Lexan from a place that actually knows how to measure.


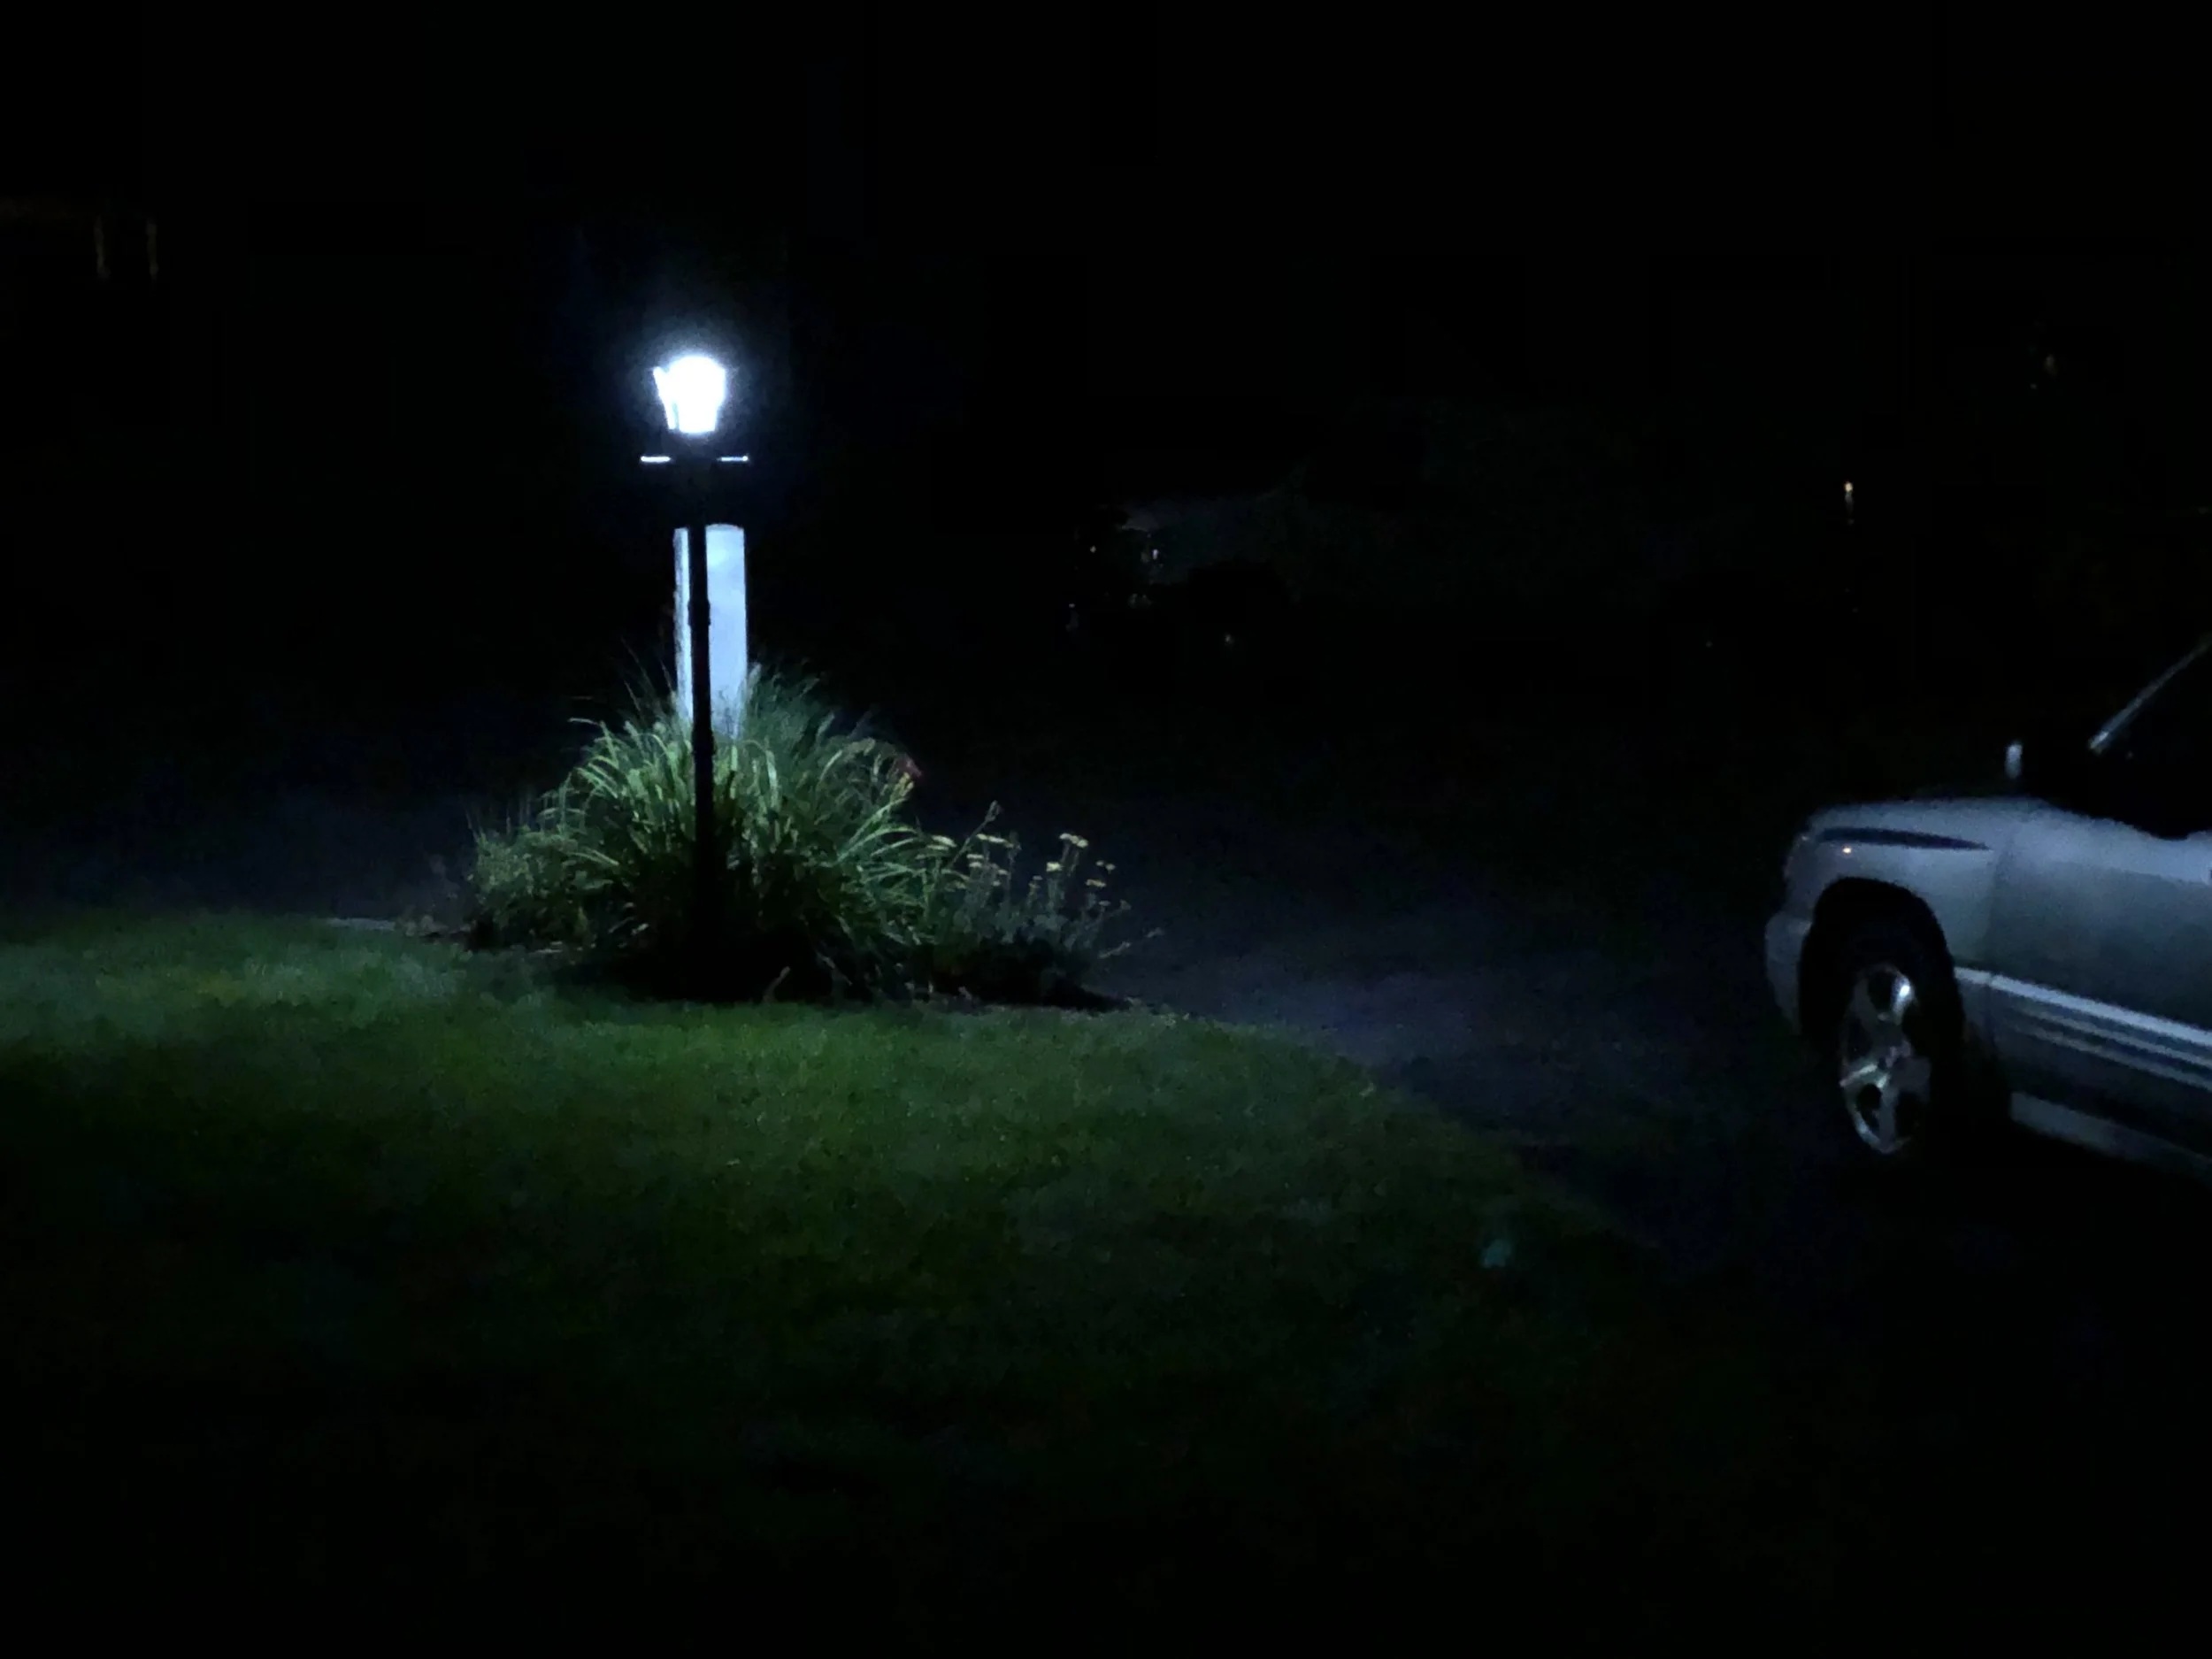
Solar Driveway Light
Related: Entrance Lights
Well, no WONDER the circuit trips every time there’s a heavy rain. Ugh.
The guys who installed the underground tubing for the irrigation were perplexed why the buried wire for the driveway light didn’t offer more resistance… normally they’d feel it and navigate the machinery up and over. I suppose that would have been true if the underground wiring was properly installed… in a PVC conduit buried at least 18” below grade. Oh, no… not at this house.
This wire was not encased in anything, and probably only 6” below the surface. Even worse, it had already been broken and crudely patched back together in several places. It doesn’t take a whole lot of common sense to know that a giant wad of electrical tape is NOT the way to fix a broken underground wire.

Giant wads of electrical tape
Even after splicing the wire with a kit made for this job and confirming power on either side, I still wasn’t getting power at the light post. I chased the wire until it went under the maple tree, and then I gave up. I ripped it all out… and found three more breaks (also crudely taped) closer to the light.
Yeah, so solar will have to do for now. I’m not trenching through my yard today. At least I can get rid of the string of Romex that is loosely draped under the front door.

Hall Light (Part 2)
[Prior Post: Hall Light (Part 1)] After searching around for a while, I decided that I needed a light that would stretch down the length of the hallway a little better than a single pendant, but still only require one electrical mounting point. I tried a few different models, including an ill-fated attempt at track lighting. This one seems to do the trick, although I’m not so in love with it that I won’t keep my eyes out for something else.

Over-sink Light
Using smart bulb technology to overcome bad wiring configurations.
The circuitry over the sink was wired in such a way that either a switch would control not just the sink light, but the Keurig and carport light (um, not happening), or the sink light would be on all the time. At least I can get around that with a smart bulb. Since smart bulbs aren't as stylish as the decorative ones out there, I picked an opaque sconce that would hide it.
As with the strips of under cabinet LED lights (installed when I changed my kitchen colors), the switch for this smart bulb is a Lutron Pico remote that sits right on top of the drywall.


Guest Bathroom Tweaks
Just a few updates... the bathroom previously had a bare bulb suspended in a rusting metal box. The new light and fan combo isn't sexy, but does the trick. The components are wired together, so I added a timer switch to turn the fan off after a short while.


For some reason, no one (including myself) can ever remember how to work the guest shower. (In fact, during the home buying inspection, the inspector, the agents, and everyone in the house failed at this... we had to call the seller.)
Simple solution: computer graphics and laminating plastic.

Christmas Lights
Lots of lights for my looooong house.
I bought icicle lights on clearance last February, since I need 10 sets of them to run the long span of my house.
