De-Brassifying Doors

I live in a long narrow ranch, which means I’ve got a hallway full of doors that reminds me of The Matrix.

Okay, well… maybe not exactly.

56613add0e72de7f2fec9d861fd95714.jpg

There are nine swinging interior doors on the main floor of my house: three bedrooms, two bathrooms, three closets, and one staircase. The doors were trimmed with a mix of handles and knobs… mostly shiny yellow brass, but some chrome mixed in just for good measure. I had given the once-ivory doors a first coat of white paint, but it was a half-complete job.

IMG_5359.jpg
image.jpg
image.jpg
IMG_5350.jpg

The hall is a pale grey with white doors and trim, so I decided brushed nickel would look best. It also matches the bathroom fixtures.

The downstairs has two doors, both a medium blonde wood tone. I decided it was less important to have doors on different floors match each other, so these doors will get the same shape handle, but in aged bronze.

schlage-sacramento-brushednickel.jpg
schlage-sacramento-agedbronze.jpg

With a mix of rooms and doors, I needed to pay attention to the “passage” versus “privacy” handle types, but Schlage “Sacramento” handles are designed to be flipped so that I didn’t need to worry about left- or right-hand openings. I’ll save this handy graphic for next time I need it… hopefully never.

LH-RH.png
Hallway with brushed nickel handles and hinges.

Hallway with brushed nickel handles and hinges.

Downstairs doors: before (left) and after (right)

Downstairs doors: before (left) and after (right)

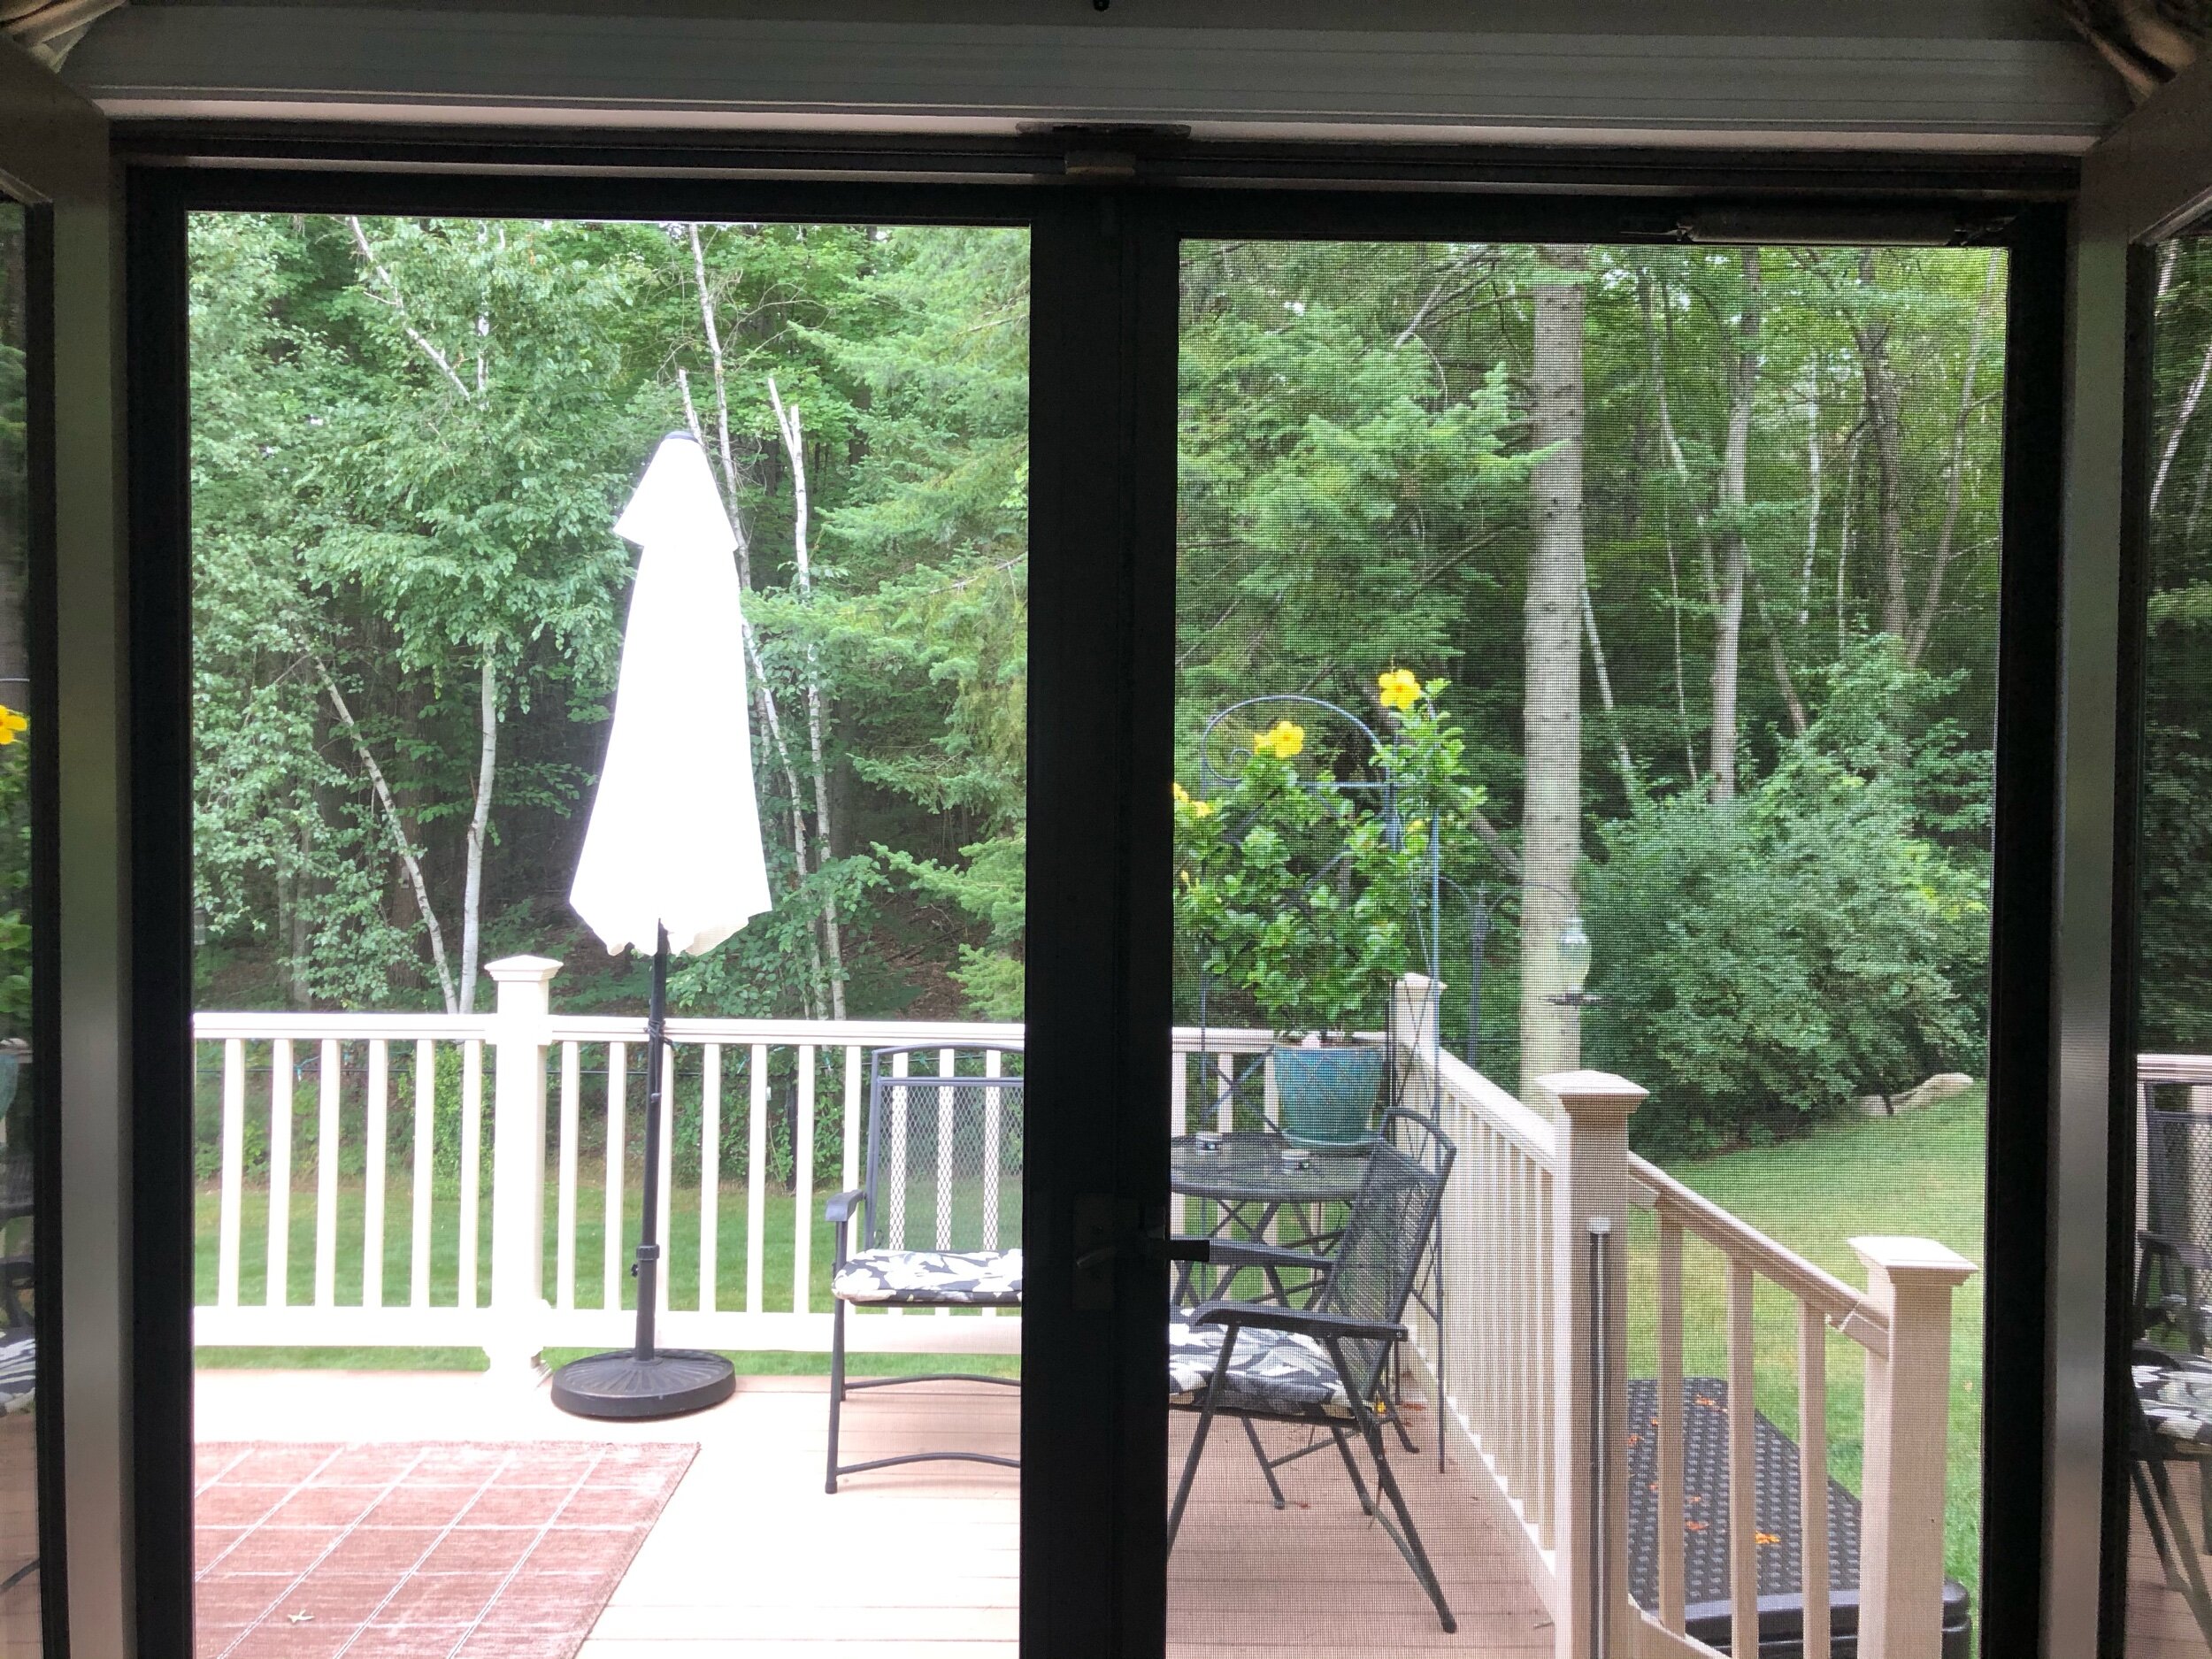
This left me with the conundrum over what to do with the exterior doors. Both sets of French doors (one wood tone, one white paint) have shiny yellow-brass handles. The locking mechanism is more complicated than a normal door, and I couldn’t find a replacement until I went to the Anderson website. Boy, I was in for a shock. Weighing in at nearly $900 per door, I became highly motivated to find a way to re-color the existing hardware. There are many opinions (and failed spray-paint attempts) out on the interwebs, so I’ll do some experimenting with the box of discarded handles. I’ve read good things about self-etching primer, as well as autobody services. I’ll keep ya posted.

IMG_5404.jpeg
Screen Shot 2020-12-28 at 8.38.02 AM.png

Basement Storage

My basement came with a storage closet in the corner that is also home to numerous plumbing pipes and my hot water heater. There was some minor shelving, but nothing that would accommodate my storage needs. There is also a small counter with a pass-through opening through a set of louvered bi-fold window shutters… the only thing I can imagine is that this had been intended to be the bar for some sort of basement lounge space. Or a strange addiction to louvered EVERTHING.

IMG_0003.jpg
IMG_0004.jpg
Sterilite 5-Shelf.jpg

The thin shelving on the right side came out easily. I cut down the bar-like counter on the left to make room for more shelves on that side too.

Then came the storage bins. Not giant, too-heavy-to-manage totes, but matching 25- and 50-quart Sterilite ShelfTotes designed to stack neatly into the new 5-shelf storage rack.

IMG_5269.jpg
IMG_5165.jpg

Saving Wisteria

Aw, crud. Some little bugger stripped the bark off my wisteria tree… all the way around. GRRRR.

Being girdled will typically kill a tree, but I’m doing to try my best to save it. After some time on YouTube, I decided to insert several bridges with grafting paste, wrap the exposed area in moss, and then cover with loose-weave burlap for the winter. Now we wait.

IMG_4873.jpeg
IMG_4874.jpeg
IMG_5139.jpeg
IMG_5142.jpeg
IMG_5143.jpeg
IMG_5144.jpeg

Bedroom Refresh: Paint

Staying home during a pandemic gives you a lot of time to notice things. Like how many mosquito smears you can’t clean off your ceiling. I cranked the AC and stayed inside on the 100-degree days to freshen up my bedroom.

I liked the paint color when I chose it seven years ago, but years of grime on the walls (“ghosting”, and not the social media kind) had lent it a dark and dingy quality. You can see the stripes where the cold air leaking in at the rafters and gaps in insulation created the right conditions for particulates to stick. And then of course the smeared areas where I tried unsuccessfully to wash it.

So! Walls, ceiling, trim. All of it fresh and clean.

IMG_3704.jpeg
IMG_4278.jpeg
IMG_5776.jpeg

Electric Odds and Ends

Who gets a fancy schmancy bidet and then plugs it in with a swamp yankee extension cord? <sigh>

IMG_4139.jpeg

Time for this bad boy to hit the recycle bin. The new light matches the ones installed at the front and carport doors, but requires a new junction box to be cut into the side of the house. The new light has a motion sensor, seeded glass, and - best of all - no ugly white plastic plate.

IMG_4222.jpeg
IMG_4235.jpeg
IMG_4224.jpg
IMG_4227.jpg

Bedroom Refresh: Lights

I rarely use the overhead lights in my bedroom, and I’ve tried to overlook the dated aesthetic. I finally decided to rip them out and replace them with sleeker more modern fixtures. I found a four-pack on Amazon that fit the bill nicely.

I wired the first one myself, but it was a giant pain in the butt to deal with the recessed cans. The old can lights were connected to junction boxes mounted to the rafters, and there was not enough play in the wire to connect the new light. I turned it on long enough to confirm that I liked the look, and then I turned off the circuit and waited for my electrician.

IMG_3800.jpeg
IMG_3783.jpeg
Adjustments.jpeg

Bedroom Refresh: Screens

You all know how much I love my canine visitors. And how much they love to visit. Sometimes a little too much. This screen had been showing its age, and I’d had to press the spline back into place a few times. And then one weekend a particularly adorable and rambunctious pup came to visit, and I made the unspeakable error of being on the opposite side of the screen from him. While he soon after learned how to use the dog door, there was no coming back for the screen. It was toast.

I bought a few rolls of pet-proof screening and a roller tool for installation, and watched a few YouTube videos. It really was pretty simple, but not exactly easy. The new screen is thicker than the old one, so pressing in the spline took extra muscle. And then trimming off the extra screen resulted in a couple nicks in the new screen… so, imperfect, but not bad for a first try.

The new screen is slightly darker, but not enough that I notice a big difference. The other door is next on my list, and eventually the doors downstairs.

Let. Me. IN! Or OUT! Or… wherever you are!

Let. Me. IN! Or OUT! Or… wherever you are!

Kept the mosquitos out, but man… what a look.

Kept the mosquitos out, but man… what a look.

IMG_4185.jpeg
IMG_4201.jpeg
IMG_4202.jpeg

Bedroom Refresh: Blinds

The same soot-like color that tinted my walls had turned my formerly-white blinds into a foggy grey. I tried to clean them… even taking one down to bathe it in bleach. No luck.

The new blinds are an improvement over the old ones, too… the two-part shade has an upper semi-transparent gauze to it that lets me see out but blocks the hot sun and the view in during the day. At night, I lift the light-blocking shade for complete privacy and a dark sleeping environment.

IMG_4143.jpeg
IMG_4144.jpeg
IMG_4145.jpeg

Yard Attack

When you spend as much time in the yard as I do, it’s frustrating when your efforts are foiled by invaders.

Invader #1: Slugs. These guys target the hostas in my flower garden, and the basil in my herb garden. I’d heard the cup-of-beer trick, but since I didn’t have any skunky beer hanging around, I opted for my own brew with a recipe from The Art of Doing Stuff. I now keep a bottle of Slug Chug in the greenhouse and refresh the cups a couple times a week.

IMG_3468.jpeg

Invader #2: Lawn Fungus. Several lawns in the neighborhood have been affected. I’m not sure exactly what it is, but it turns the lawn a fairly vibrant shade of yellow. Just a few days after applying Scott’s DiseaseEx Lawn Fungicide at the curative rate, my strip of side yard seems to be going back to normal. At least it’s not bright yellow. Or spreading.

Image.jpg

Invader #3: Rodents. I’m not sure which variety… moles or voles or chipmunks… but someone has been eating the bark off my wisteria tree. It has been completely girdled, which means certain death unless I can perform some surgical miracles. I’m attempting to learn how to graft a bridge that will allow nutrients to cross over the barkless area. I guess we’ll find out next spring if I’ve been successful.

IMG_4893.jpeg

Rain Chains

If the Pacific Northwest is known for rain, then it should also be known for rain chains. The flare for arts and metal sculpture makes Seattle the perfect place to turn drizzle into music. I’ve always loved the lotus-cup rain chains (below) on my aunt & uncle’s post-and-beam cabin in Sequim, Washington.

KAP_6239.jpg

Sadie relaxes in the shade by the Sequim house.

Rain chain water collects in an anchor bowl.

Rain chain water collects in an anchor bowl.

My house has three downspouts across the front that I’ll replace with rain chains. I purchased four 8’ Ring Rain Chains, three gutter adapters, and three anchoring basins.

Overview of the house, with downspouts on each end and at the center.

Overview of the house, with downspouts on each end and at the center.

I decided to start with the short end of the house. I had always thought the bank of forsythia made the garden look somewhat lopsided, so it was easy to part with the one on the end. (Plus, it looks great at Rosemary’s house! #WillWorkForPlants)

For drainage, I filled the hole first with large rocks, then with pea gravel that I had leftover from the greenhouse installation. Finally, I topped the hole with round decorative beach rocks and an anchor bowl. (Note: I later decided to drill holes in the bottom of the bowl to avoid the mosquito breeding ground.)

IMG_2888.jpg

Digging out the forsythia.

IMG_2890.jpg

Big rocks.

IMG_2894.jpg

Pea gravel for drainage.

IMG_2896.jpg

Decorative rocks and anchor bowl.

IMG_2898.jpg

First rain chain done!

Inside the gutter.

Inside the gutter.

Rain chain #2

Rain chain #2

Water pours easily down the chain in a deluge. (Sorry for the crappy through-the-screen pic… as you can see, it was raining outside!)

I expected a little splashing, and since my deep eaves put the gutters about two feet away from my house, I don’t have to worry too much about damage.

IMG_2994.jpeg

Heavy rain.

Roses &amp; rock river.

Roses & rock river.

Bidet

I’d been thinking about a bidet BEFORE the big Toilet Paper Crisis of 2020, (#CovidSucks) Trouble is, the warm air dryer - while lovely - takes forever, and I’m too impatient. The soggy backside requires more toilet paper than no bidet at all, therefore failing to achieve the TP-free goal. So, now I offer up fluffy clean cloths and a laundry deposit… here’s to cleaning the undercarriage in style!

IMG_2749.jpg
Adjustments.jpg