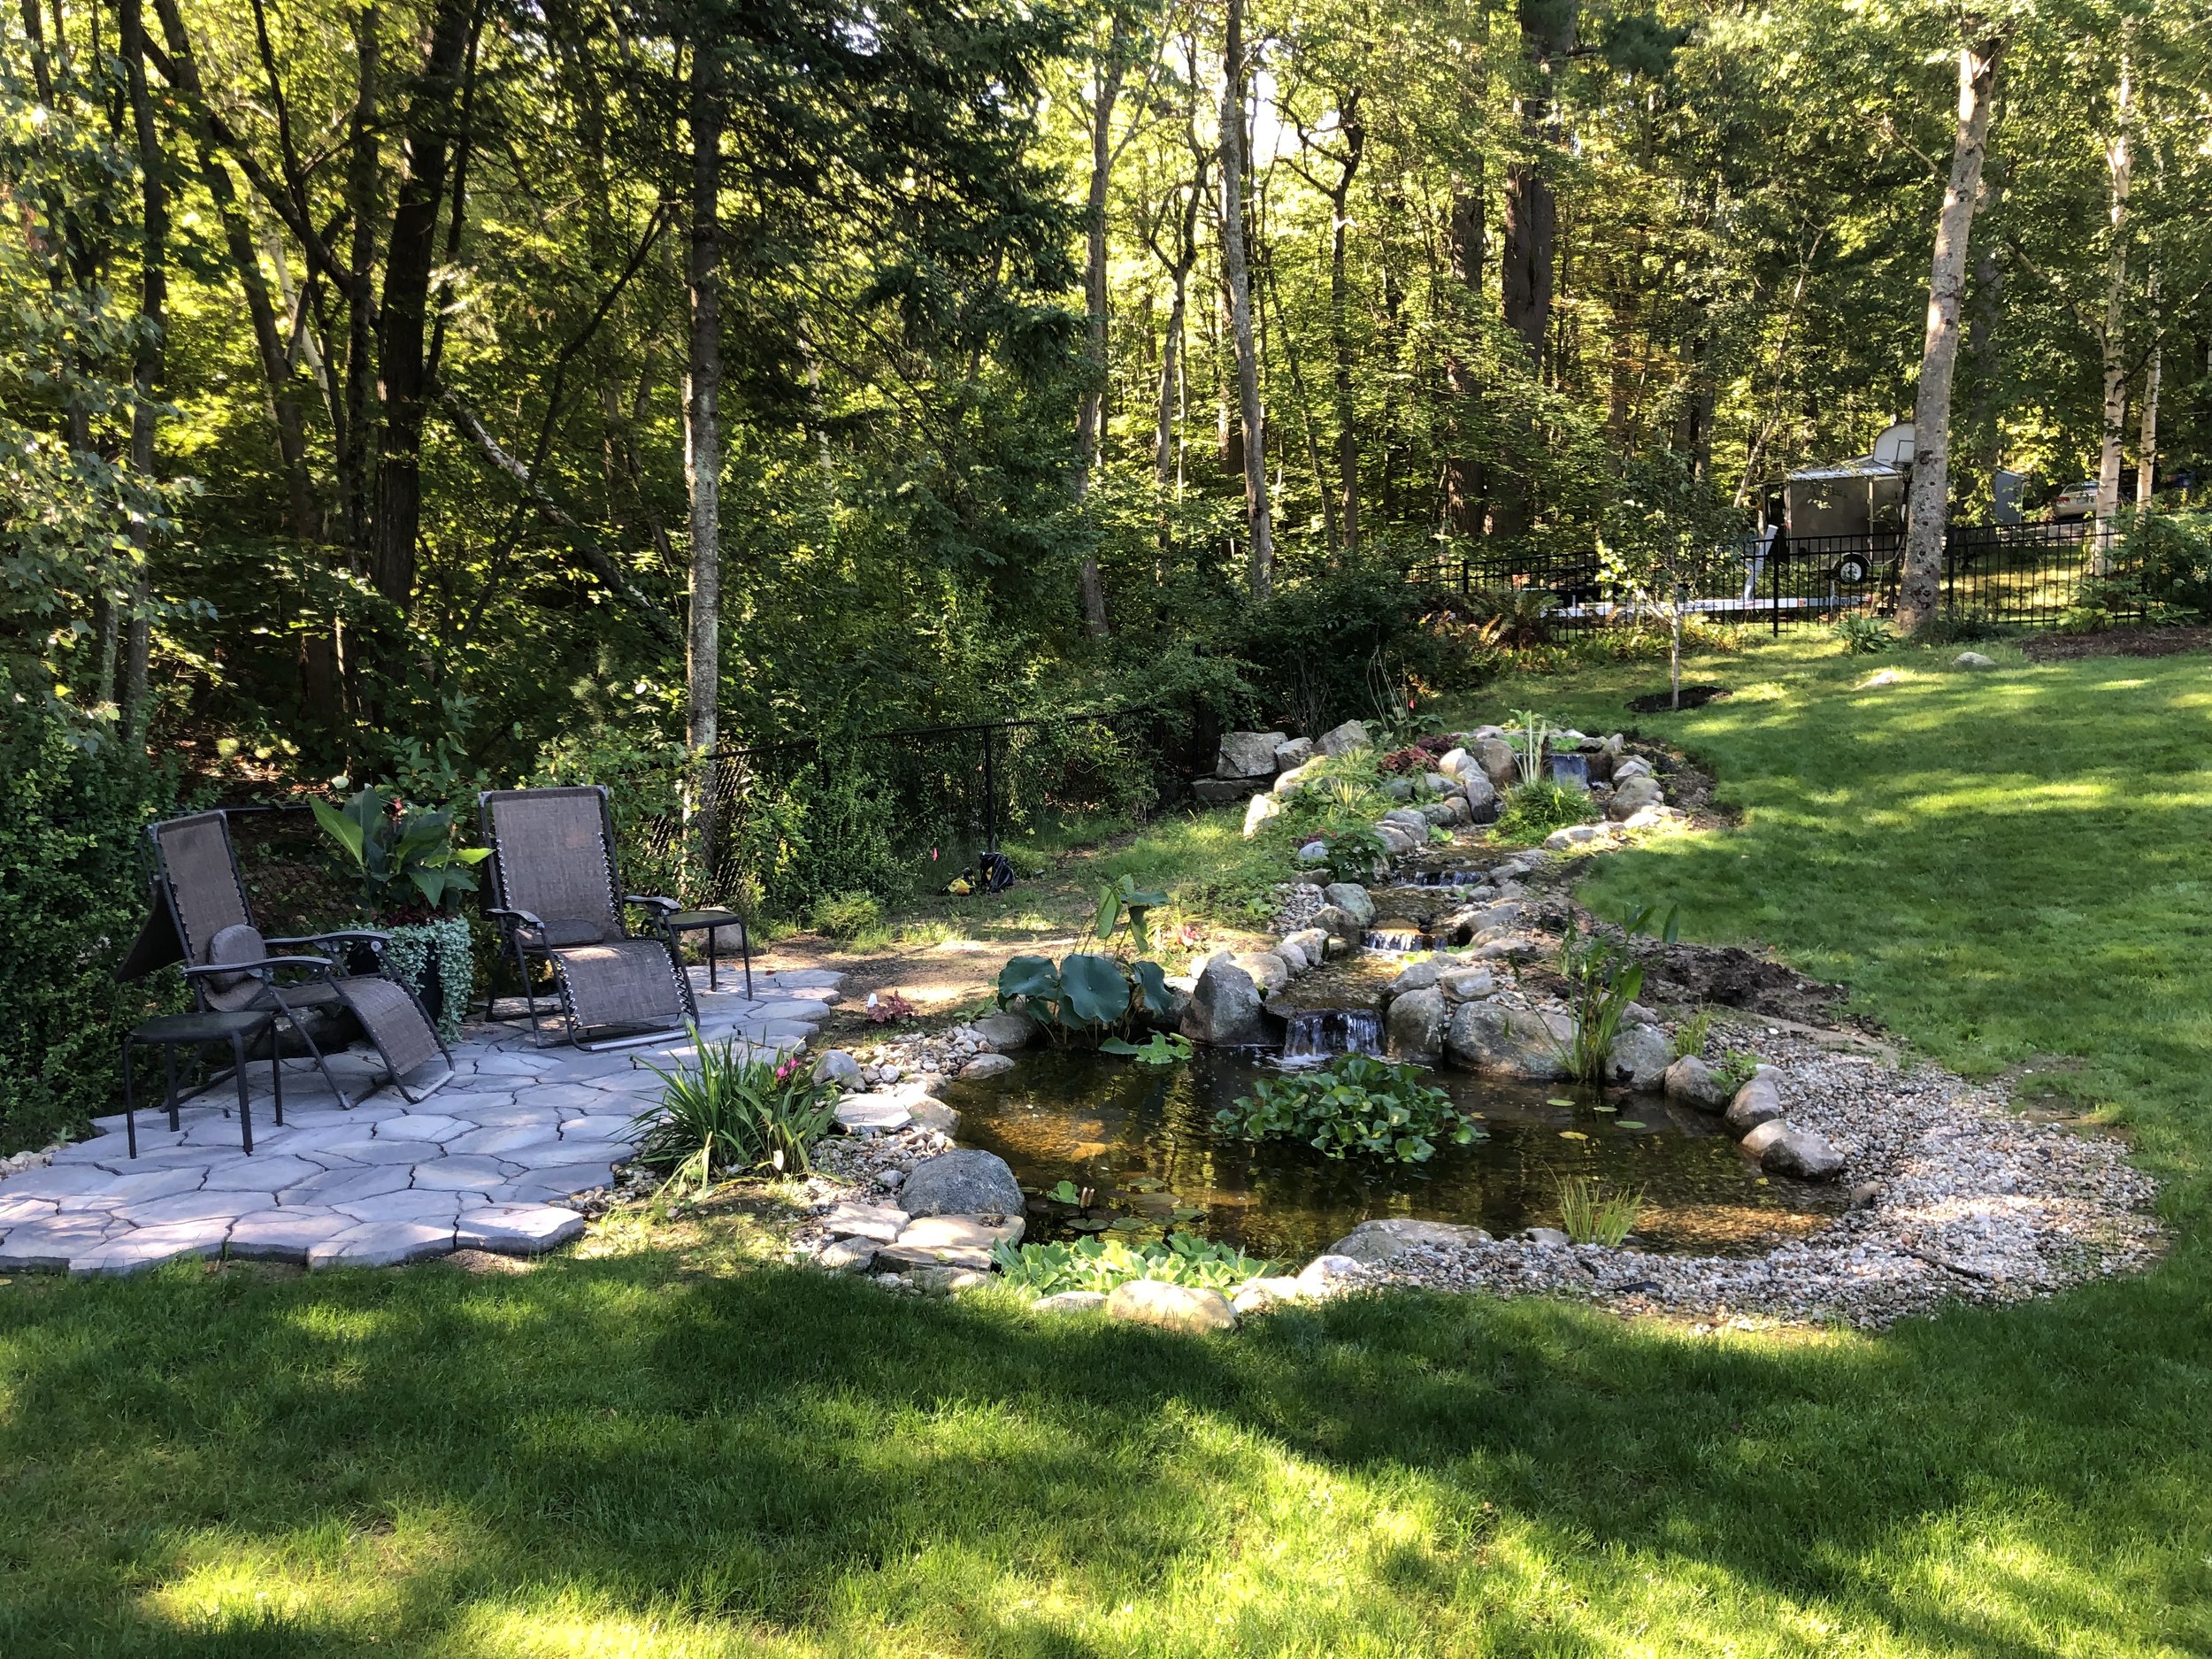
Once the pond was installed, I realized there would be a wide space between it and the fence… much more space than warranted by a lovely garden backdrop. I decided to create a seating area.
Tossing pavers down on the dirt solved the immediate problem of the mud pit left behind by the construction crew, and prevented the area from becoming overrun by weeds. As the season progressed, I considered it quite a successful proof of concept.

Now for the real deal.
My first patio experiment back in 2016 was decent enough, but I’m already mad about the shifting pavers and endless weeds. I suppose it’s time to learn how to do it the RIGHT way… if it goes well, maybe I’ll re-do the first patio to match. Besides, I like these pavers better than my home-poured ones.
Belgard Portland 21-in L x 15-in W x 2-in H Silex Concrete Patio Stone
The only color in stock at Lowe’s was a grey-ish ‘Silex’, so I also bought some brown concrete stain to brush over the blocks.


The ground is hard-packed from having the excavator drive around on it for a few weeks, so I’m not too worried about renting a compactor. But I will start with landscape fabric, followed by leveling sand and paver base panels. They’re kind of expensive, but I expect to get a more perfect finished product and need less sand.

Pavers placed into the mud needed to be lifted and cleaned off.

With paver base leveled and landscape fabric down, it’s time for smooth sand, underlayment panels, and pavers.

Taking shape

Irregular edge blends into the gravel and stone edge of the pond.
Alliance Gator Maxx G2 Intelligent Polymeric Sand for Paver and Natural Stone Joints UP to 4”(Diamond Black) 50 Ib Bag

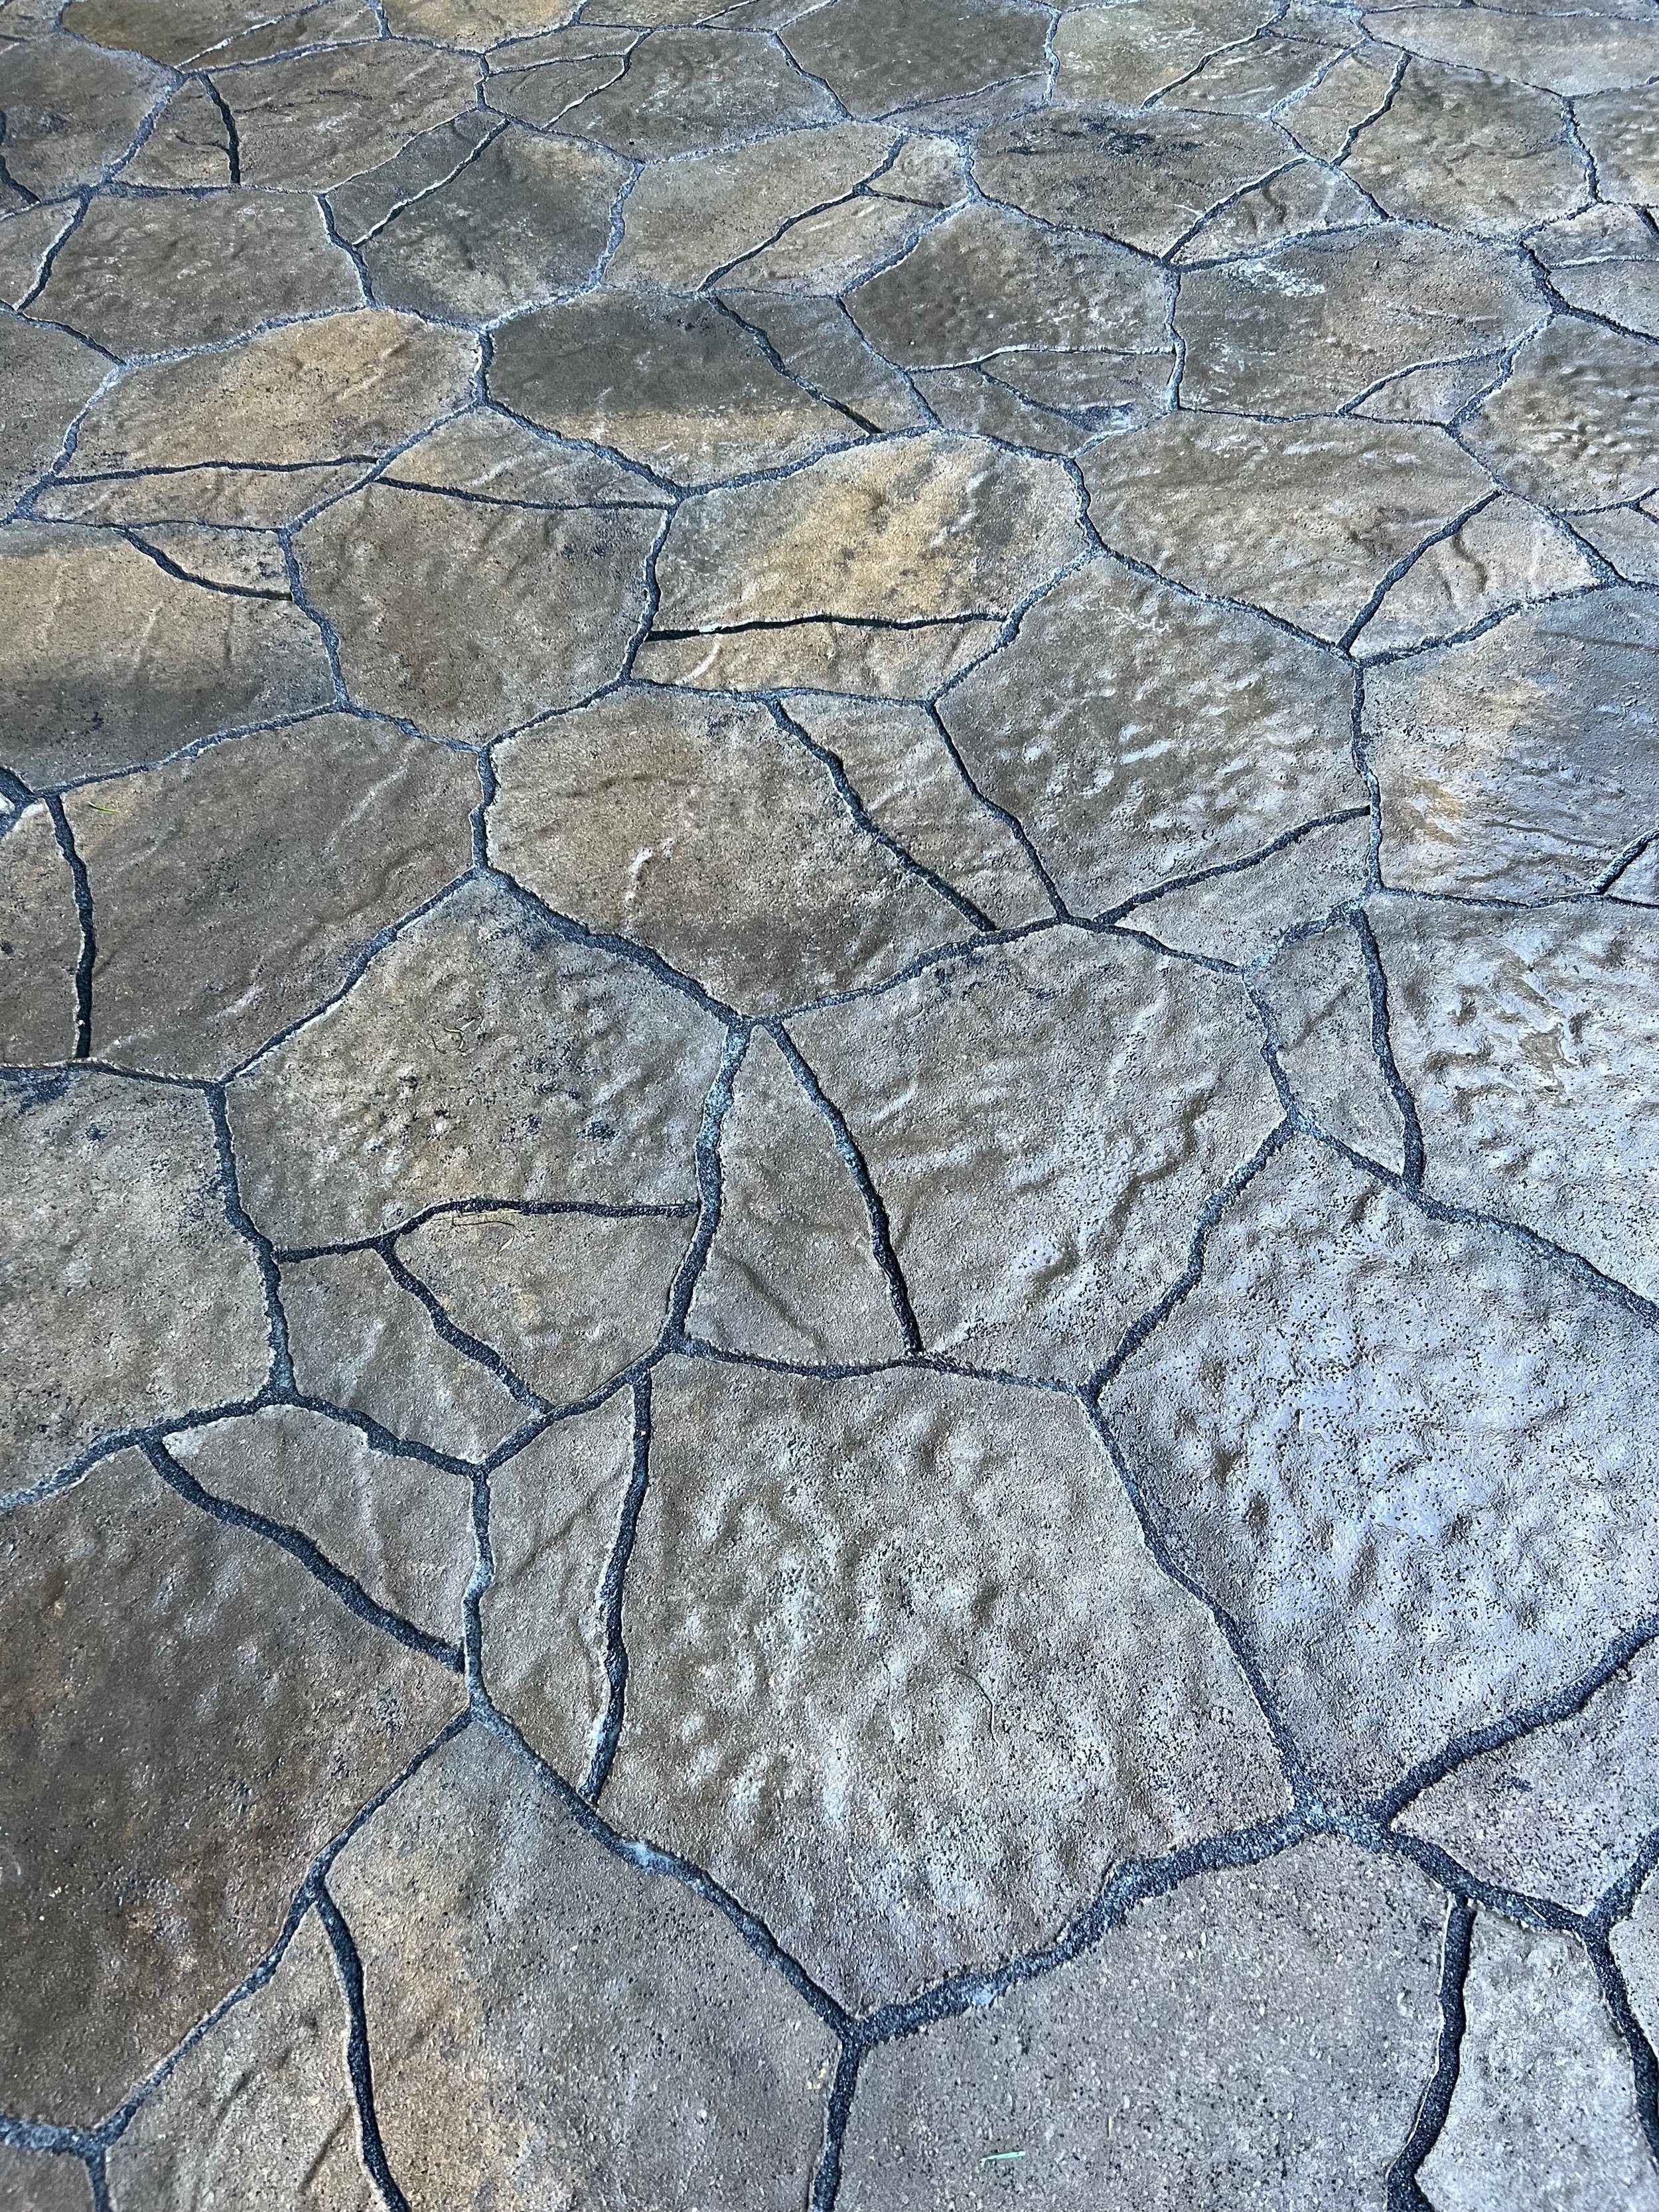
Black polymeric sand

Patio, planters, and chaise lounges… Maddox approves!


Taking a well-deserved rest.
