
New Kitchen Faucet
The faucet had been showing its age. It resisted swinging from left to right, and if I pushed it, the crackling sound of rust dropping below the sink would let me know my efforts were unwelcome. I procrastinated… it worked well enough.
And then the leaking. Dripping at first, then a constant dribble. It was time.
Overall, the job was super easy. A little swearing and discomfort as I bent myself backwards into the lower cabinet and rust fell in my face… but all told I spent more time in the kitchen aisle at Lowe’s picking the thing out.


Pond Flora and Fauna
You probably saw this coming: MORE plants.
The pond’s ecosystem is a new experiment for me. Luckily there’s plenty of information online to make the learning curve a little less steep.

Infographic from https://www.pondexperts.ca/pond-plant-depth-zones/
My Aquatic Collection
As I started browsing catalogs of aquatic plants, I was surprised at how many from my existing garden could thrive with their roots submerged in water. The aquatic plant expert at my local shop says to rinse off the roots… because these plants need nutrients dissolved in water, not actual soil, there’s no sense in dirtying the pond water.
Volunteer Nature
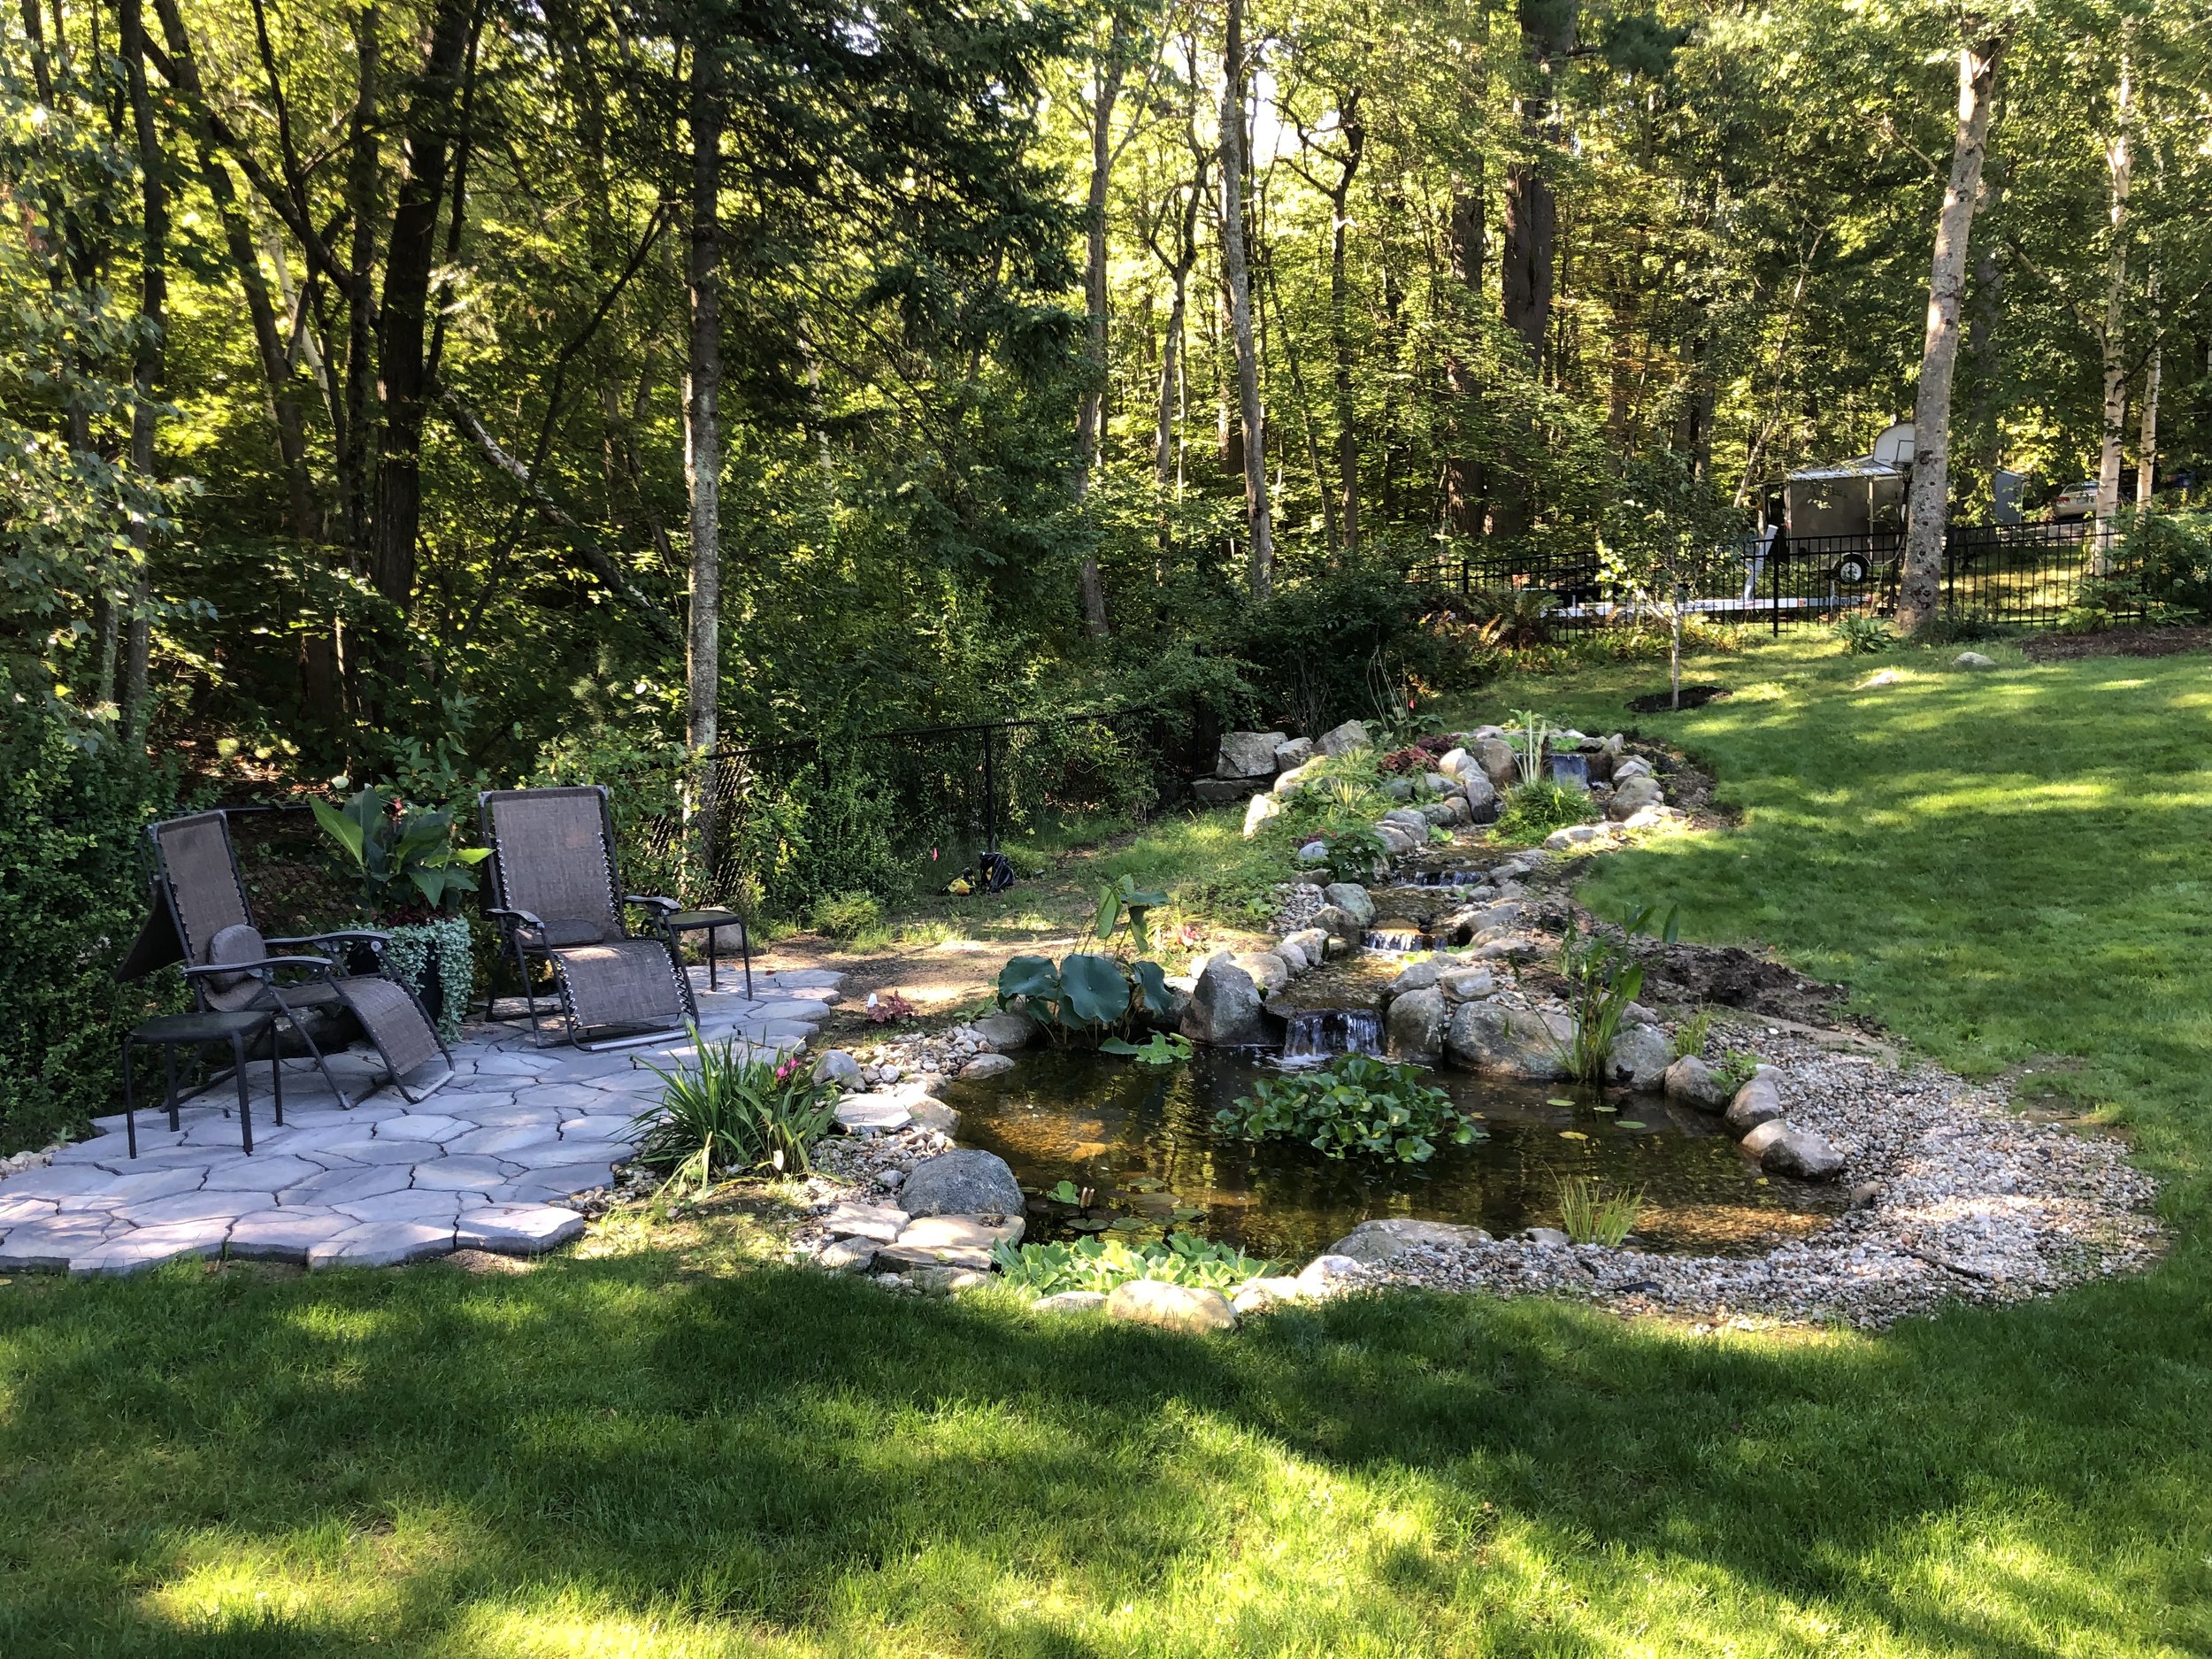
I decided I didn’t want to (yet) deal with fish in my pond, which would add another level of maintenance and complexity. Fish require feeding, correct pH, and winter aeration. Instead, I let my pond be a habitat for the woodland creatures that show up to visit, feed themselves, and do whatever they do in the winter. It has made for some interesting nature watching.


Stream Finishing Part 3: Pond Patio
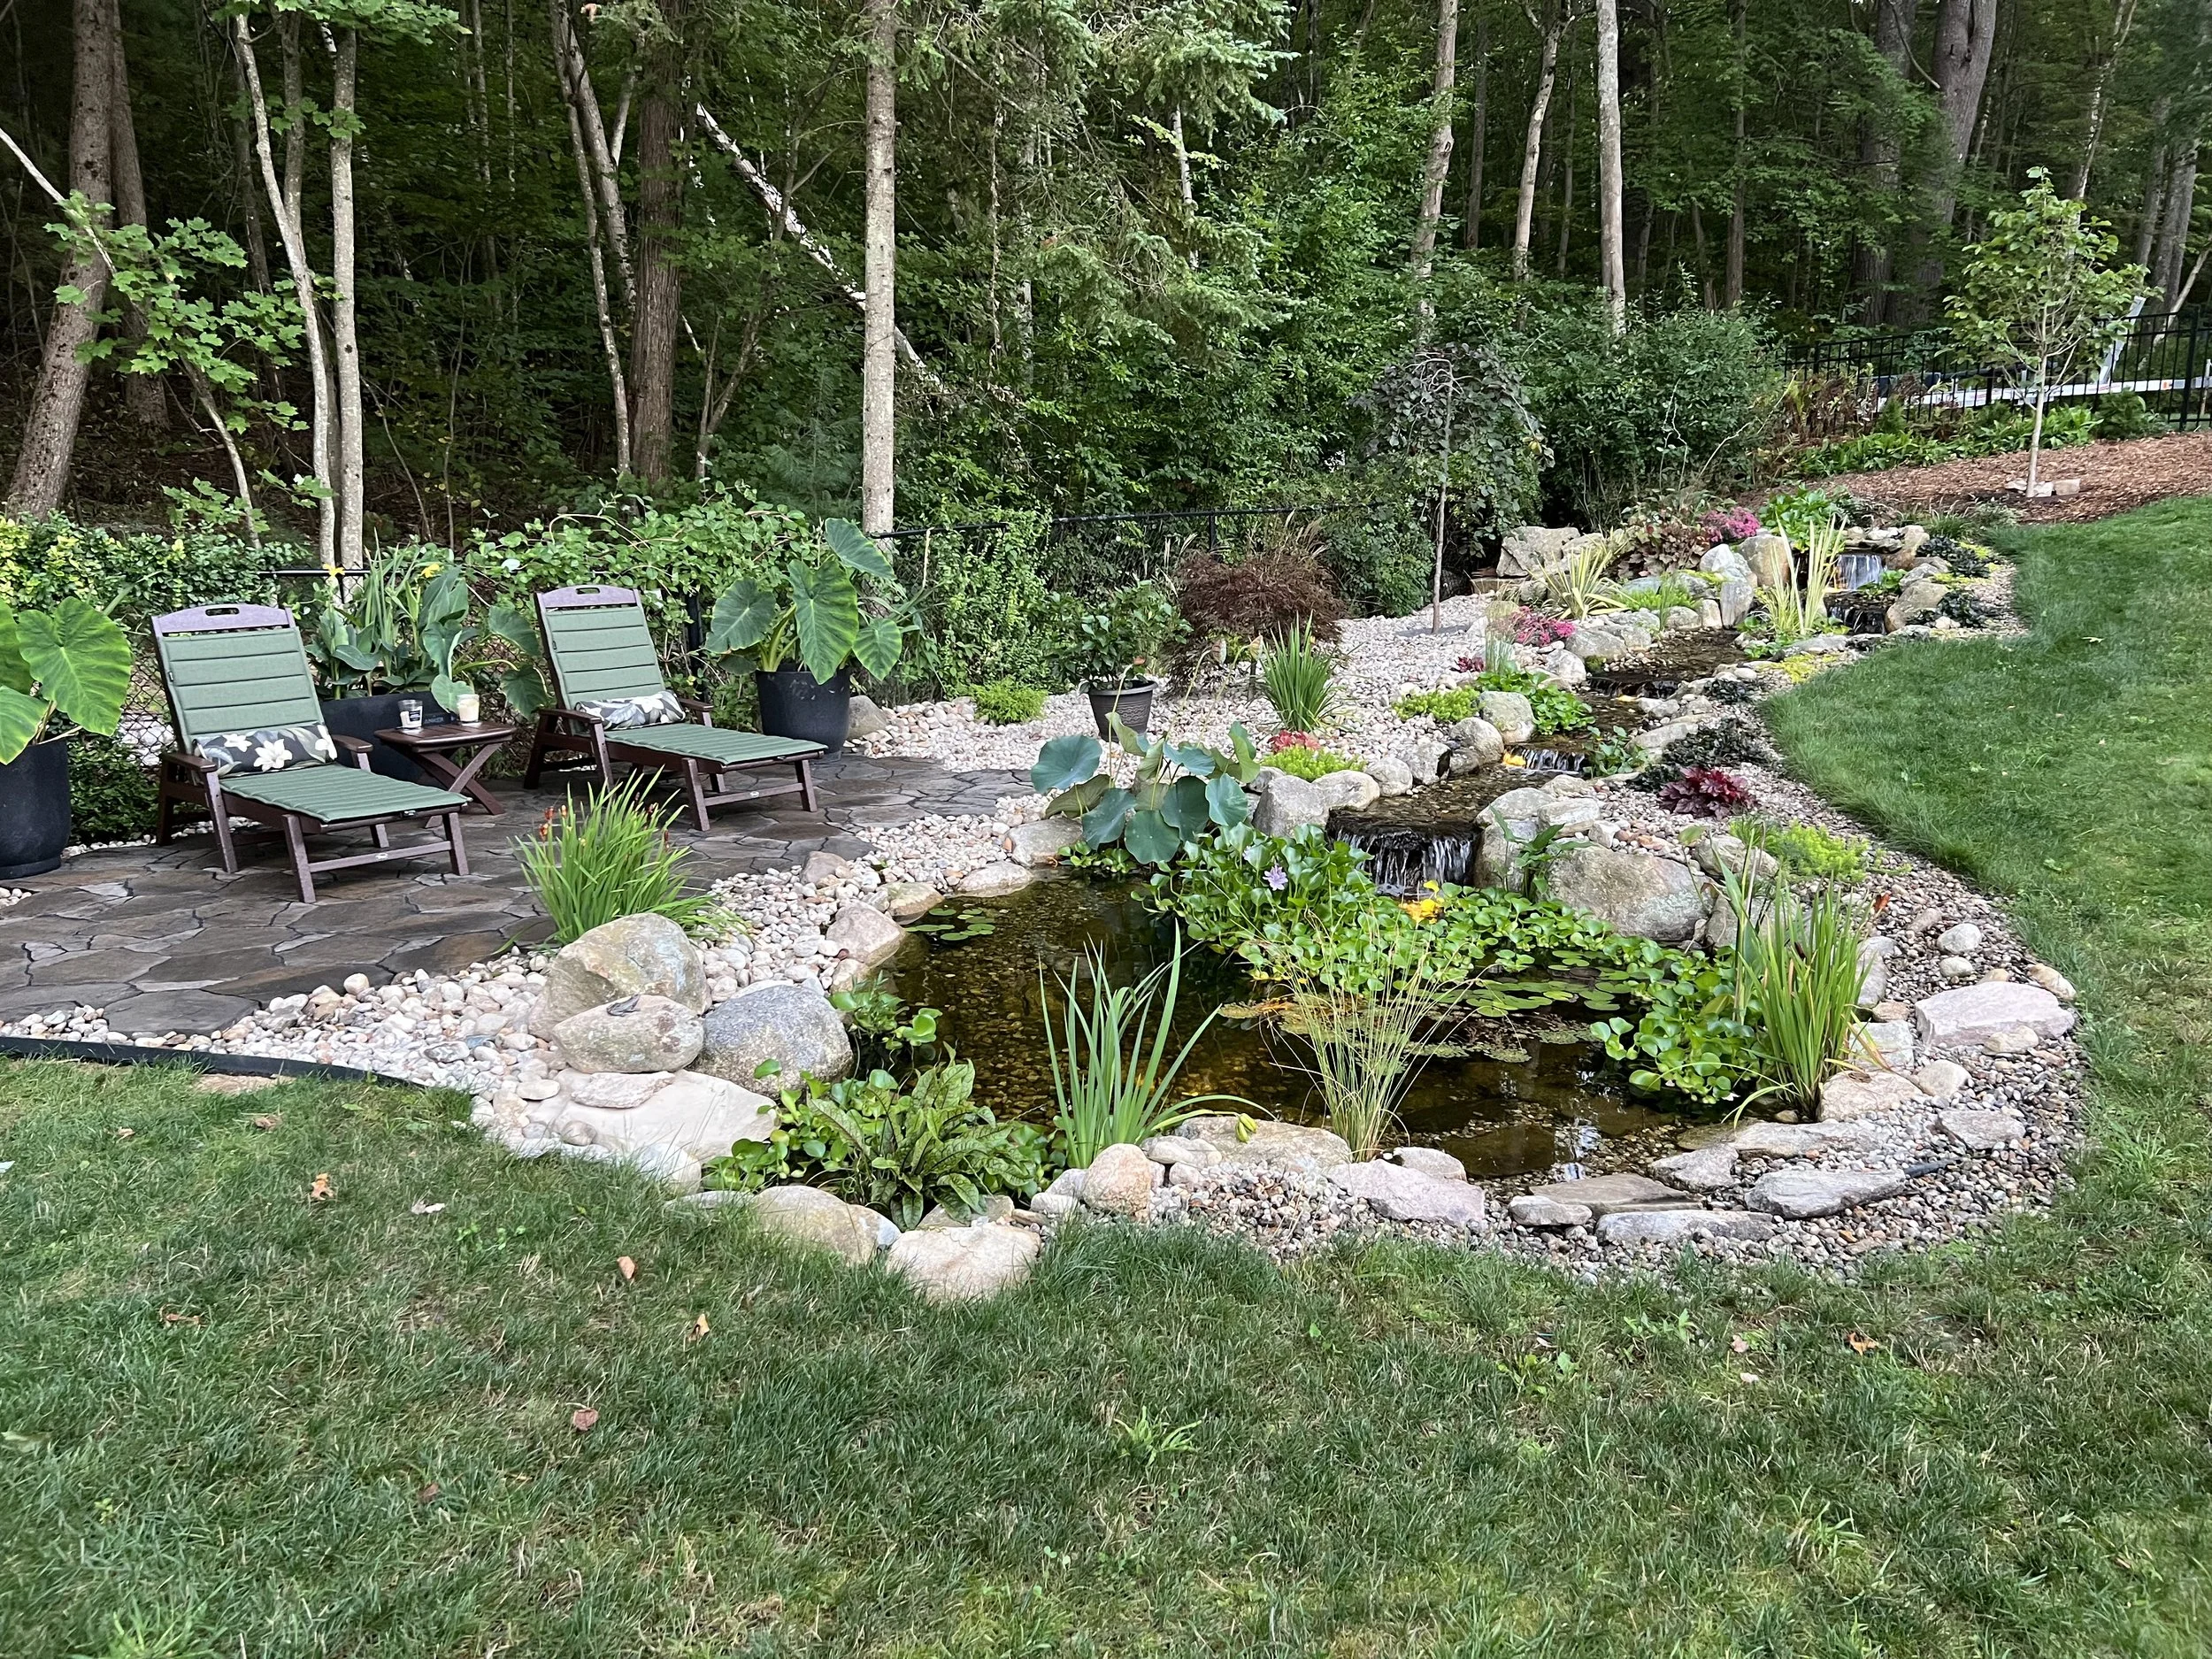
Once the pond was installed, I realized there would be a wide space between it and the fence… much more space than warranted by a lovely garden backdrop. I decided to create a seating area.
Tossing pavers down on the dirt solved the immediate problem of the mud pit left behind by the construction crew, and prevented the area from becoming overrun by weeds. As the season progressed, I considered it quite a successful proof of concept.

Now for the real deal.
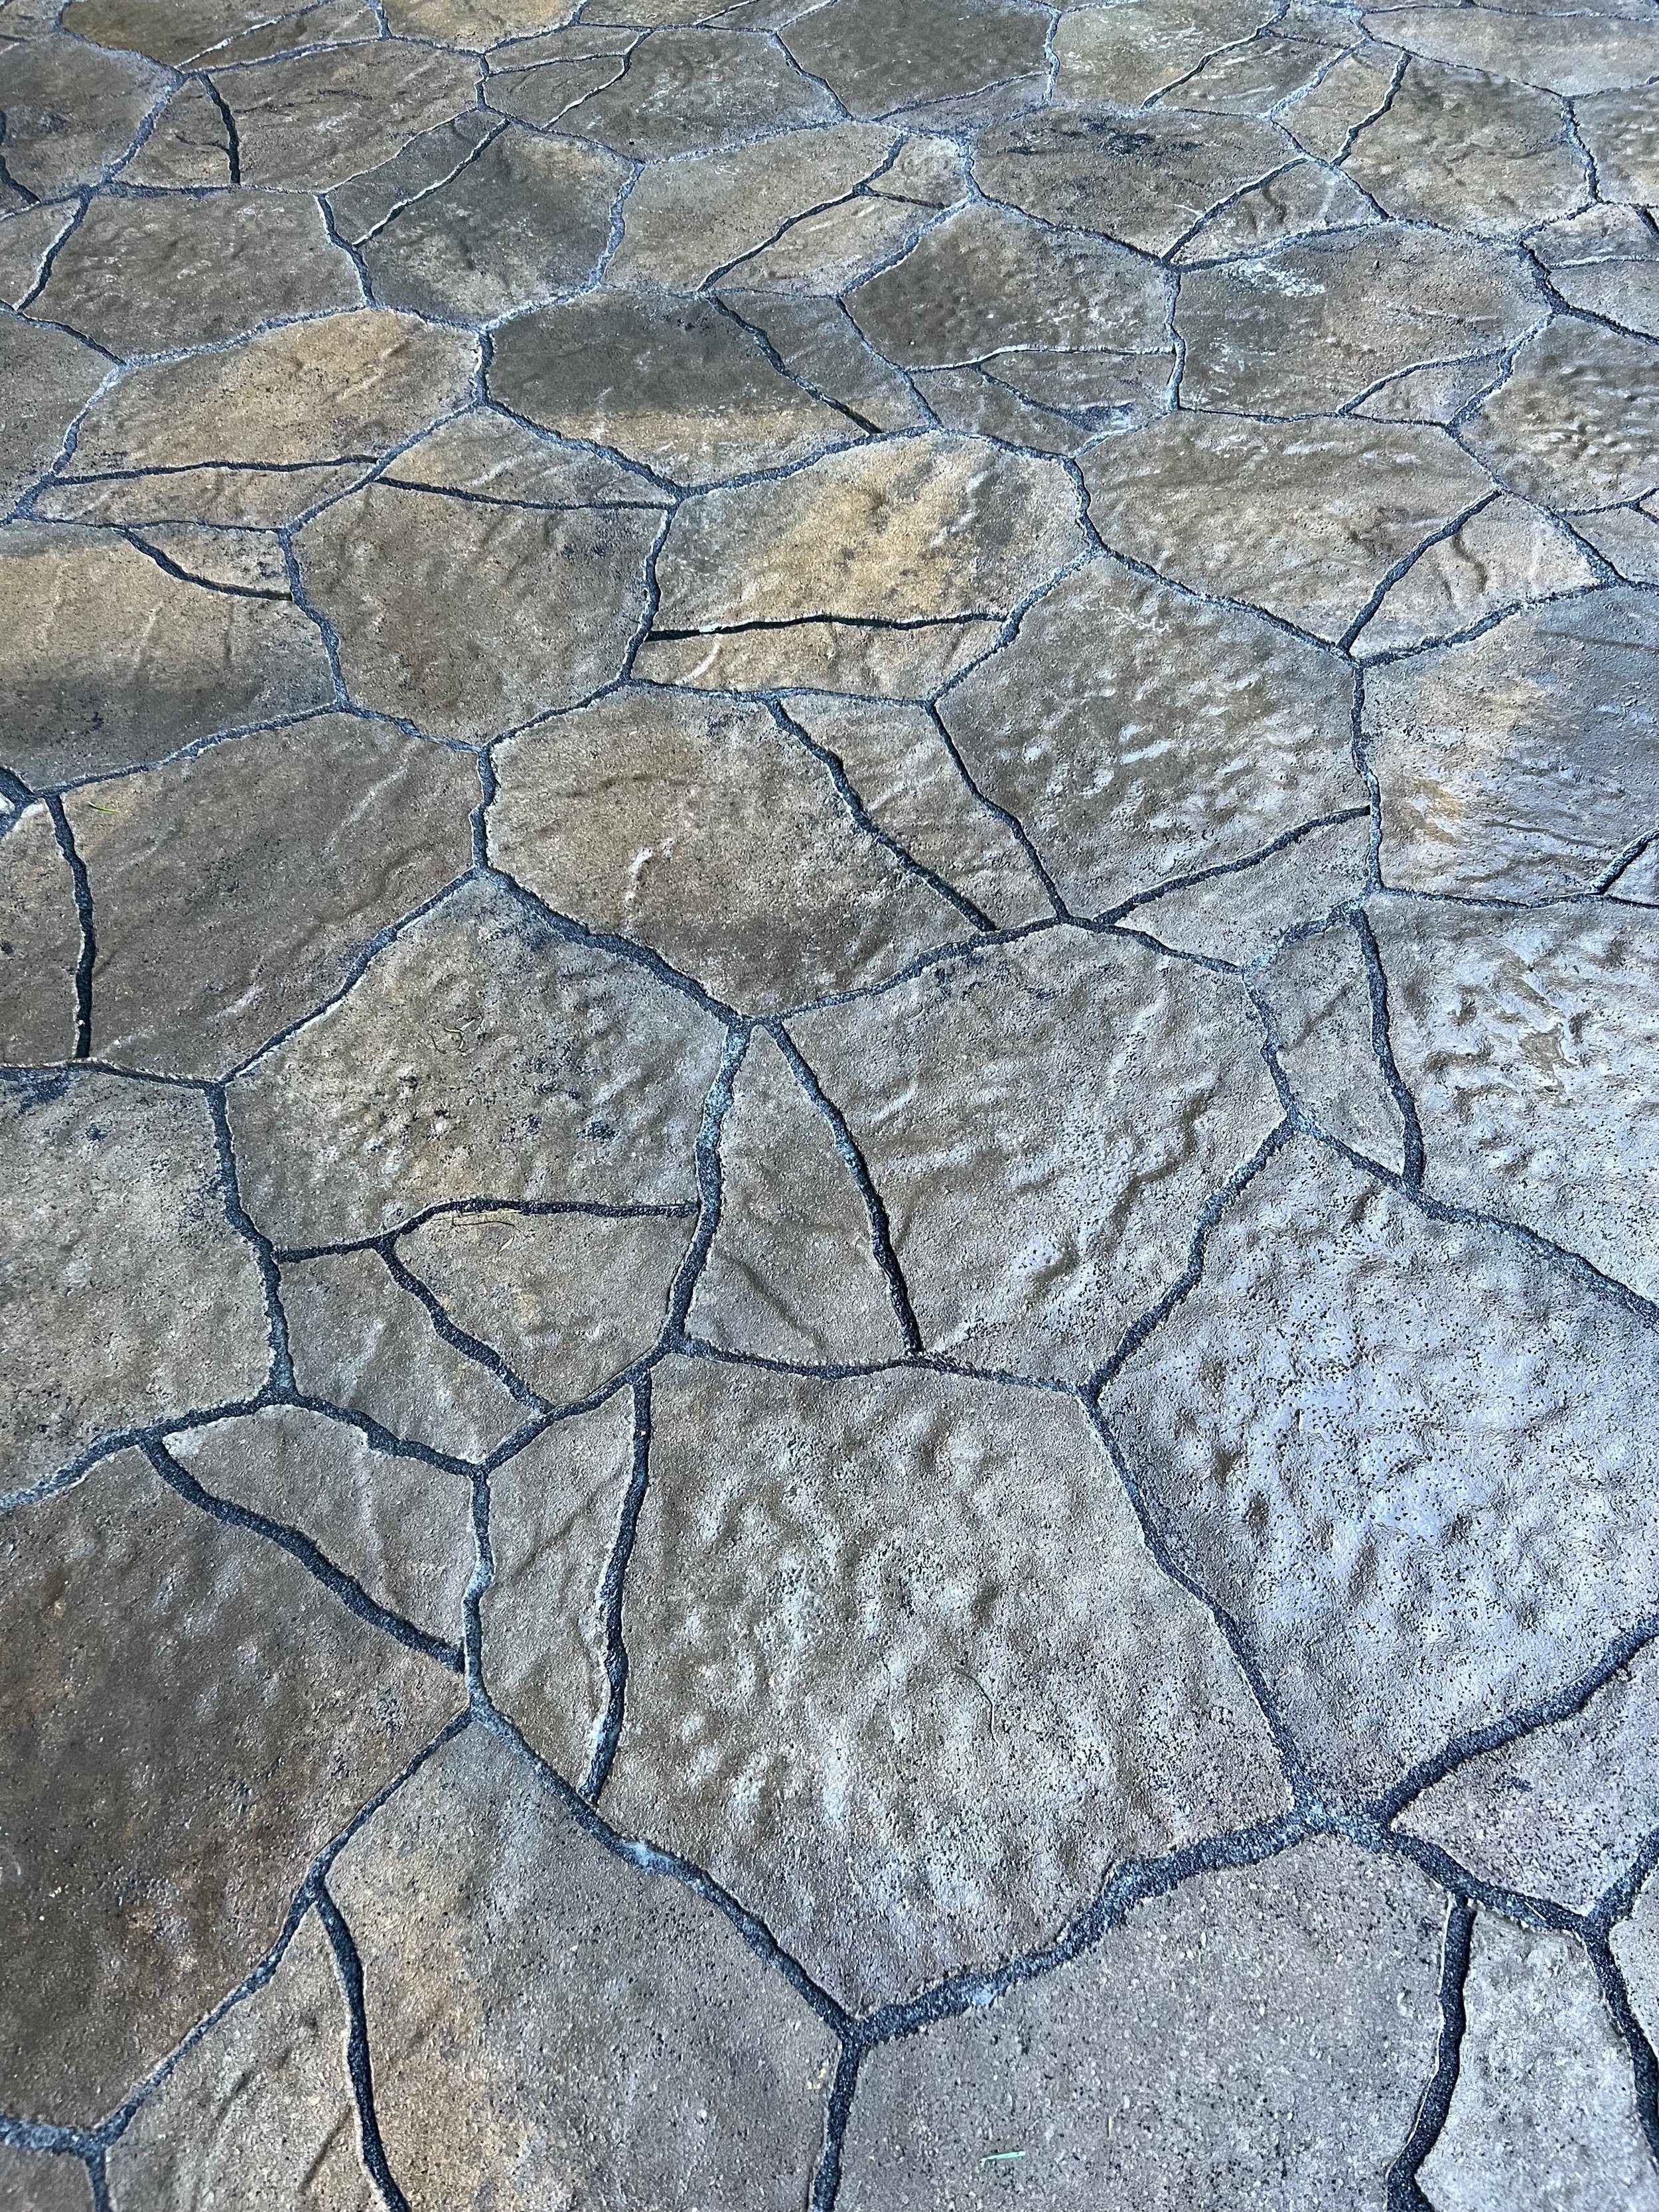
My first patio experiment back in 2016 was decent enough, but I’m already mad about the shifting pavers and endless weeds. I suppose it’s time to learn how to do it the RIGHT way… if it goes well, maybe I’ll re-do the first patio to match. Besides, I like these pavers better than my home-poured ones.
Belgard Portland 21-in L x 15-in W x 2-in H Silex Concrete Patio Stone
The only color in stock at Lowe’s was a grey-ish ‘Silex’, so I also bought some brown concrete stain to brush over the blocks.


The ground is hard-packed from having the excavator drive around on it for a few weeks, so I’m not too worried about renting a compactor. But I will start with landscape fabric, followed by leveling sand and paver base panels. They’re kind of expensive, but I expect to get a more perfect finished product and need less sand.

Pavers placed into the mud needed to be lifted and cleaned off.

With paver base leveled and landscape fabric down, it’s time for smooth sand, underlayment panels, and pavers.

Taking shape

Irregular edge blends into the gravel and stone edge of the pond.
Alliance Gator Maxx G2 Intelligent Polymeric Sand for Paver and Natural Stone Joints UP to 4”(Diamond Black) 50 Ib Bag

Black polymeric sand

Patio, planters, and chaise lounges… Maddox approves!


Taking a well-deserved rest.

Stream Finishing Part 2: Gravel Garden
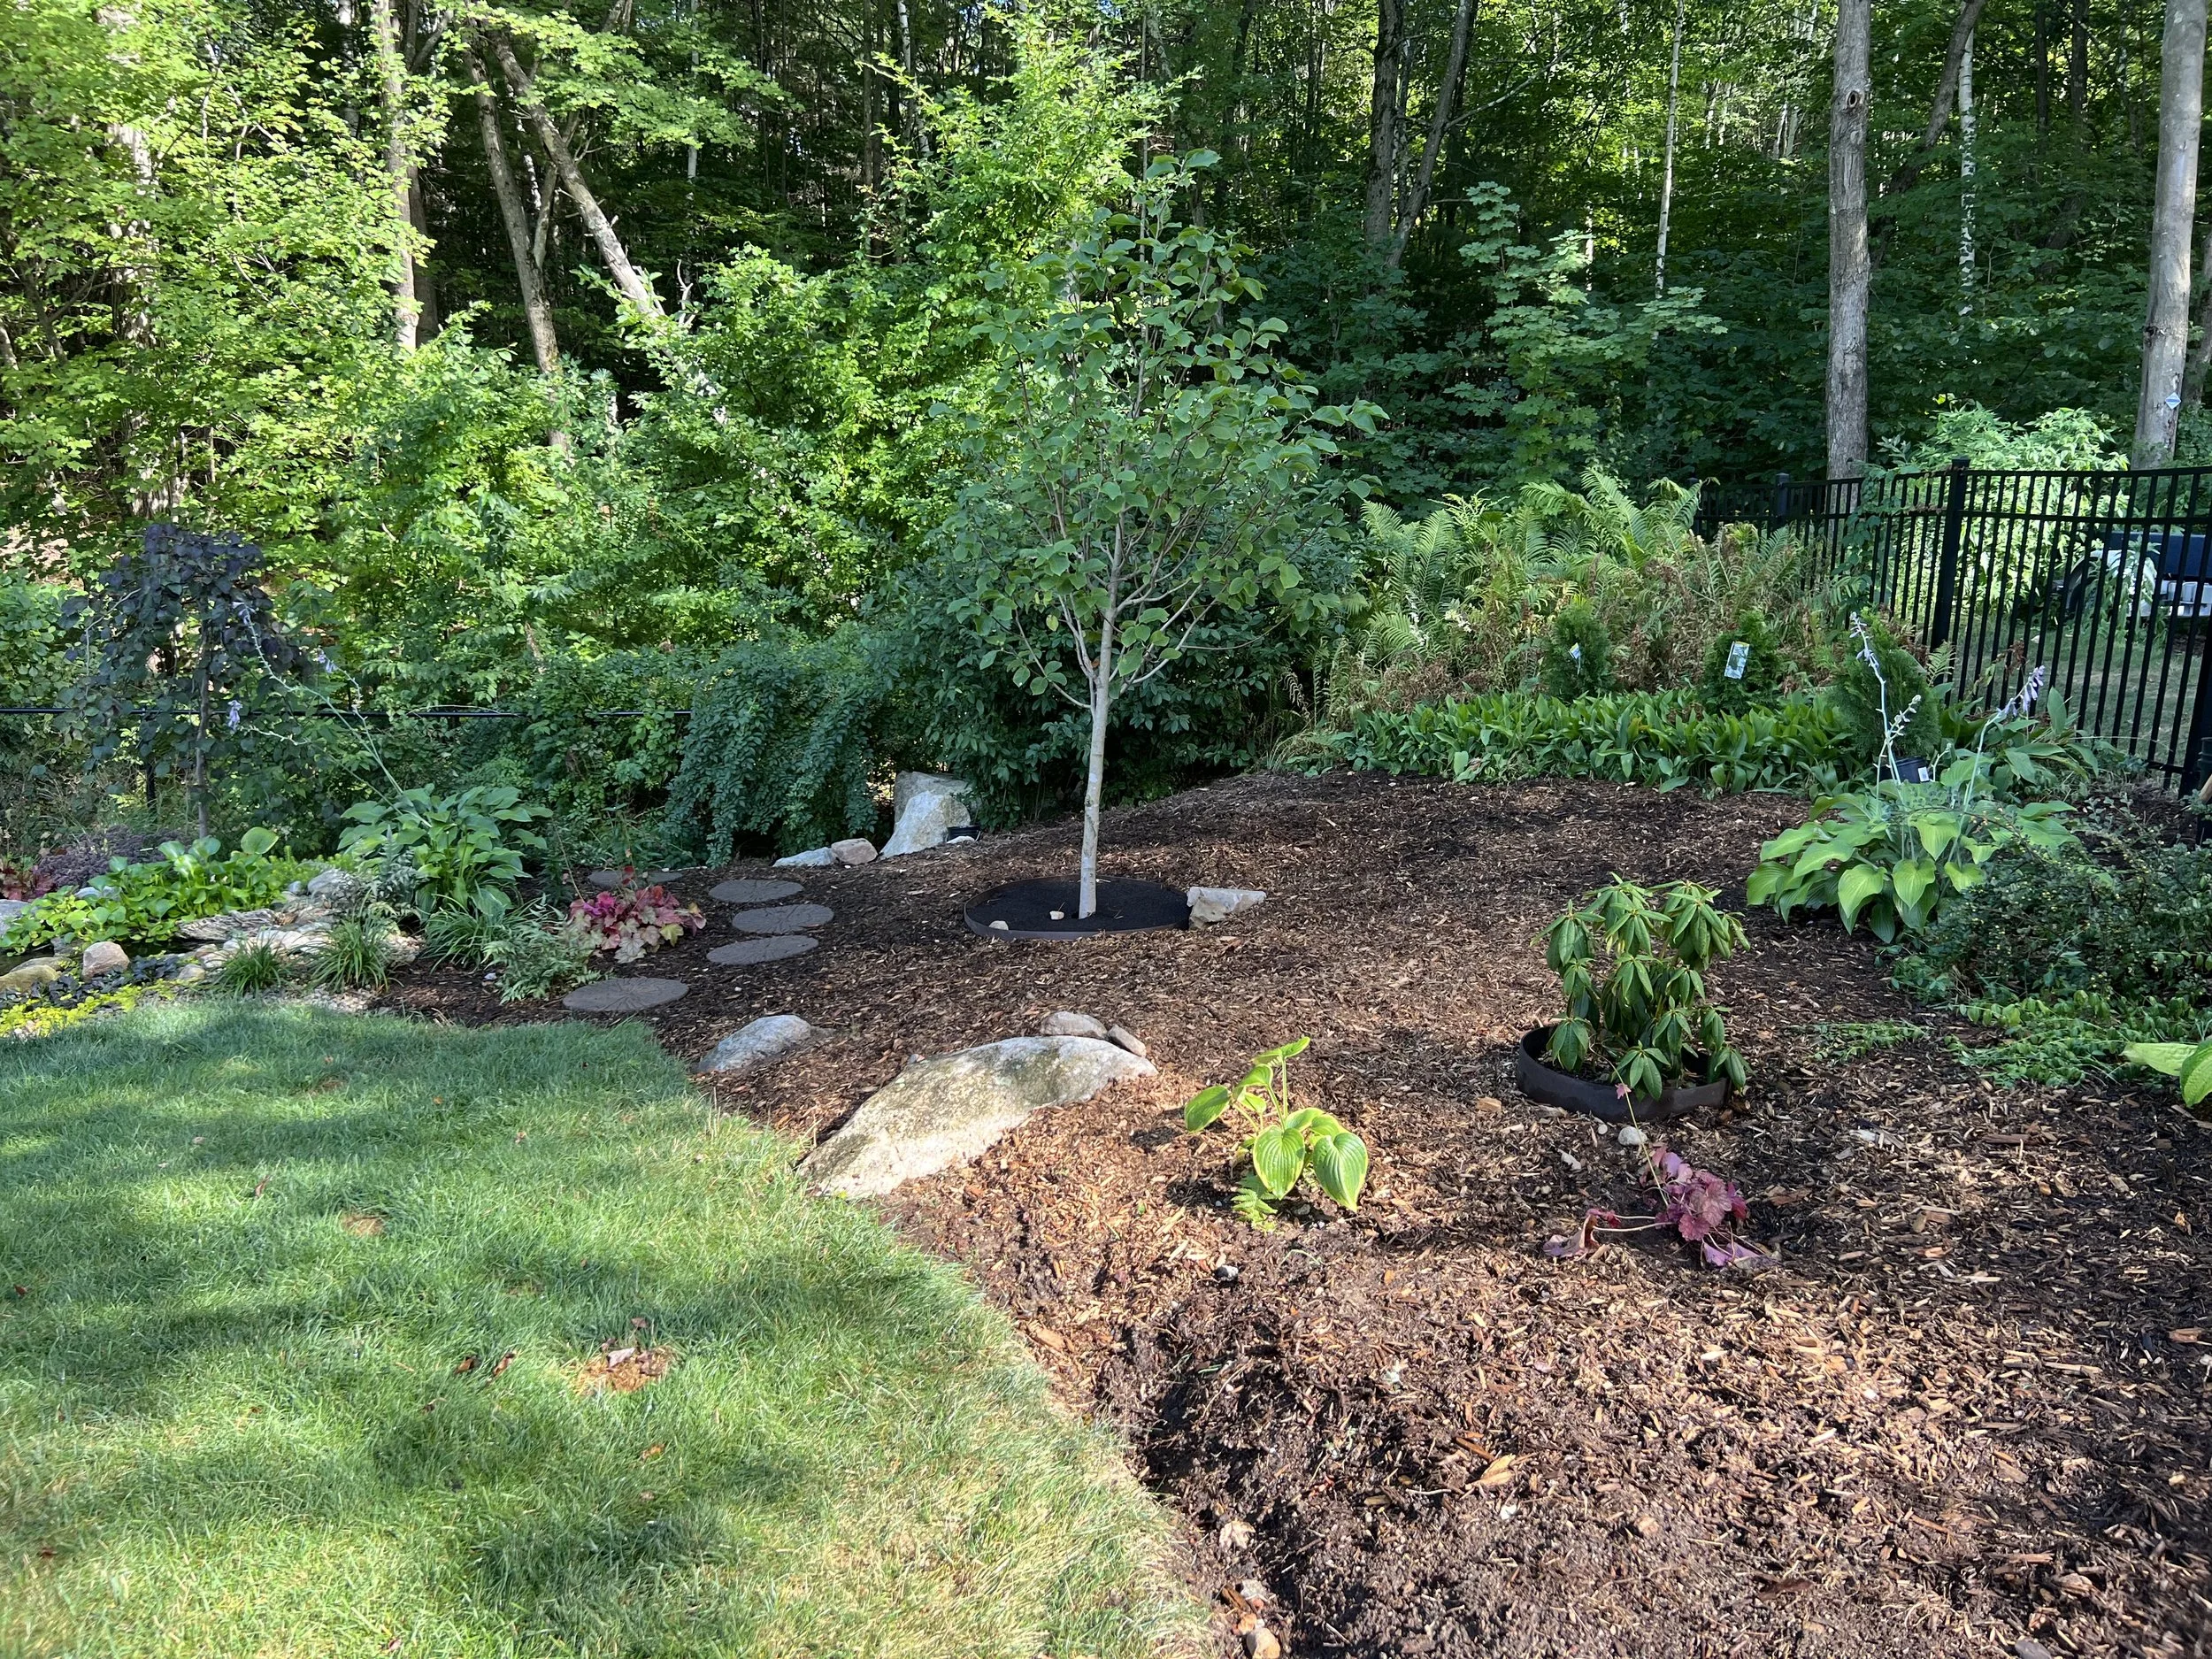
After Michele helped me clear the giant weed mess (see Stream Finishing Part 1: Mulch Corner), I pinned down landscape fabric to prevent the weeds from sprouting right back up again while I waited for my trees to be installed.

I picked out two beautiful trees to be installed by my local garden center. Like everyone else, they’re crazy busy and booked out. Finally my beauties arrived.

Ruby Falls Redbud: Cercis canadensis 'Ruby Falls'

Japanese Maple: Acer palmatum dissectum 'Red Dragon'

Acer Crimson Queen, Japanese Laceleaf Maple

Cercis Ruby Falls, Weeping Redbud

Trees behind the stream
Now the rocks. Despite the stream being a completely artificial construct, I want to at least try to give it the variation you might find in nature.

1.5” rounded stone

2 cubic yards of the 1.5” and 1 cubic yard of the 2-3”

2-3” rounded stone

First few wheelbarrow loads

Stream Finishing Part 1: Mulch Corner
My concept for the area between the stream and the fence is that it contains year-round interest, and it never needs mowing. This means focusing on plants that keep their structure throughout the winter, as opposed to most of my garden plants which die back to the ground. I decided to install a mulched garden at the top, and a gravel garden below.
I’m also hoping to reduce the amount of weeding it needs… because holy hell look at this mess:

In one of my all-too-frequent moments of garden despair and frustration, Michele came over to help. For those of you who don’t know Michele, she’s my friend & neighbor, and she’s a powerhouse in the garden. She frequently shares her divided plants, and everything in her care seems to flourish. See for yourself:

It started as just a little. And a little more. And a little later I mentioned that my back had started to ache… and Michele said, ‘Yep - mine too!’ and didn't miss a beat slamming the shovel into the weed pile. She’s a machine. We got the entire thing done in one go.
We decided to use plastic tarps to smother the established grass at the top of the stream.
Then the waiting.
Grass at the top of the slope is adequately smothered, and I’m tired of looking at the ugly tarps. This is where the elbow grease takes over.

The silver tarp smothered the grass during our 90+ degree heat wave and drought.

The area looks bigger from above.

Pulling clumps of dead grass, spreading landscape fabric, and covering with mulch.

Plantings at the top of the stream are coming along nicely.


Auto Mower
I’m glad to let robots do the yard work for me.
I’ve run out of neighbor kids who are interested in a summer mowing gig, so I’m going robotic. The benefits are:
Electric. No more worrying about stale gas and oil changes.
Silent. This thing can run in the middle of the night and not bother anyone.
Automatic. I no longer have to think about when my lawn gets mowed.
Damp-safe. The mower will run in dew and light rain, returning to the base station if it senses a downpour. But the ability to deal with a little moisture means I no longer need to time my mowings around the weather and irrigation schedule.
Irregular. By mowing in seemingly random patterns, you stimulate richer and fuller grass growth.
Less thatch, more nutrients. Because the mower razor-slices off only a few millimeters at a time, the confetti created falls down to the soil level and decomposes faster than a longer chopped piece of grass. No bagging, raking, or blowing the cuttings is required.
Constant height. Best of all, the grass is always the perfect height. It can be kept a little shorter than the typical 3” New England standard… that’s only required if your grass grows out to 6” or so between weekly cuttings, which mine does. Lawns grow to be extra plush and thick when the blades aren’t chopped in half once a week.
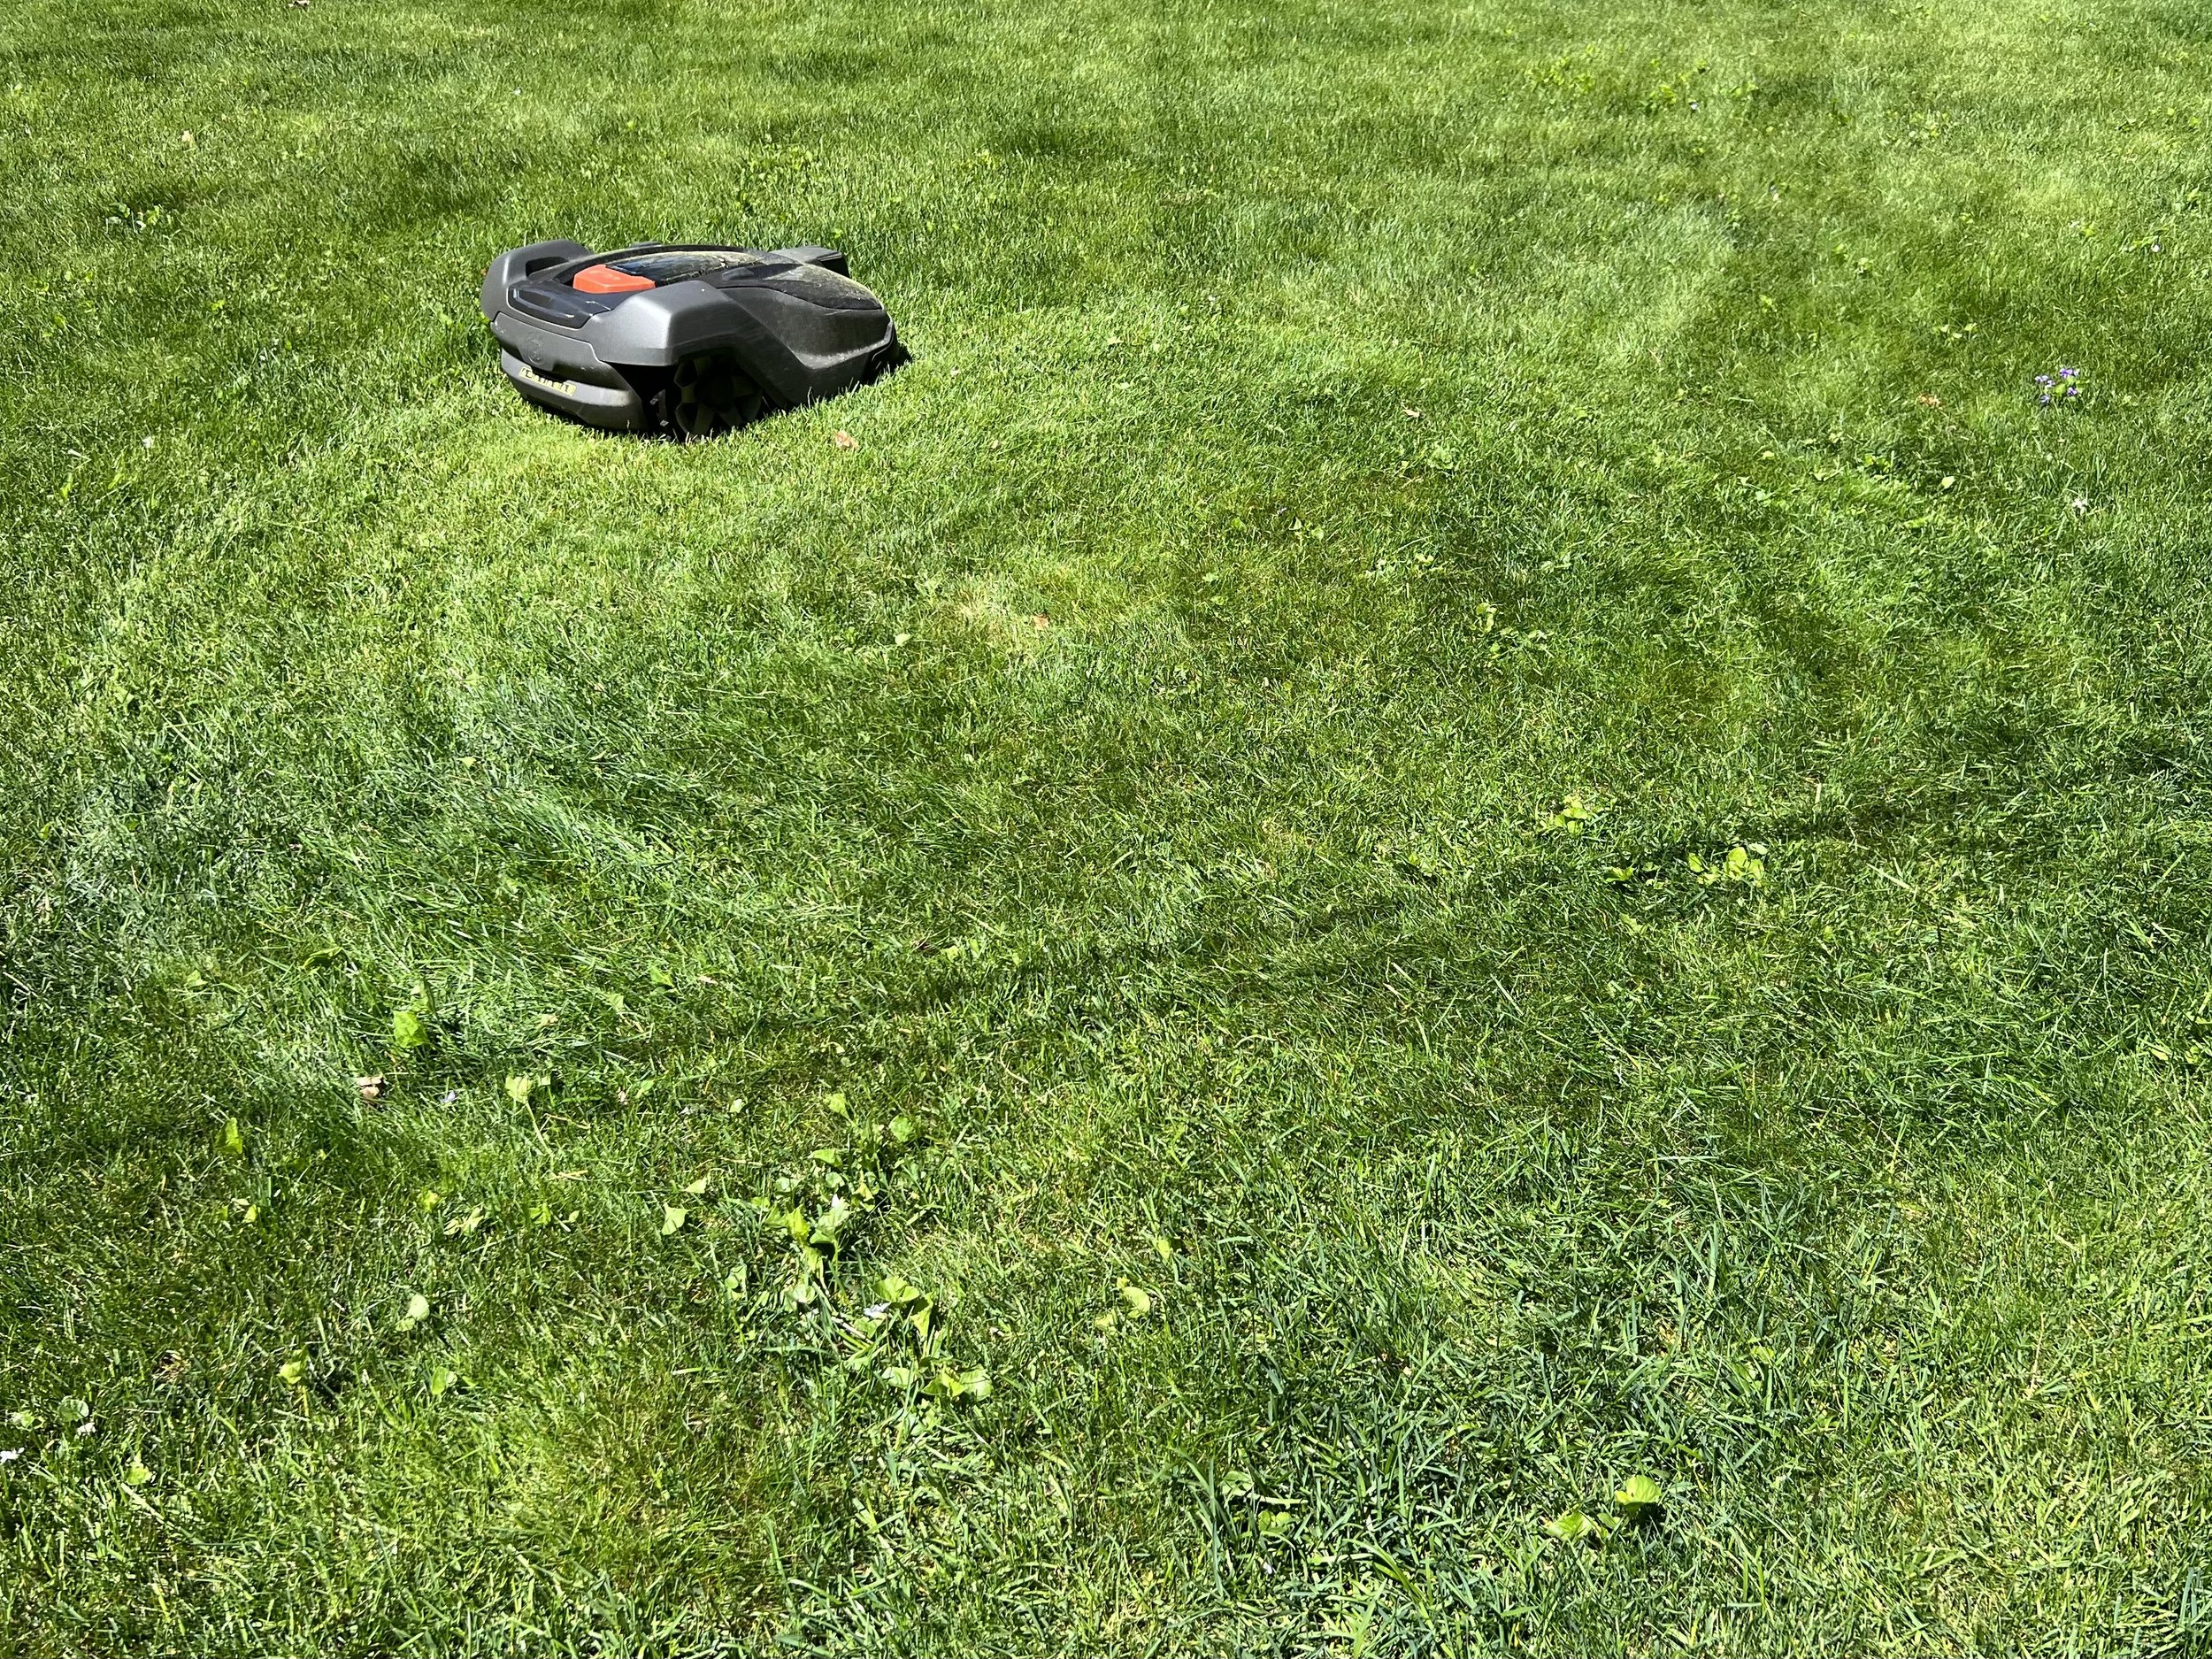
My New Robot
I got a Husqvarna 450X - nicknamed ‘Husqi’ - used from friends who upgraded. Because we saw it in use on the block, I got to see how Maddox will react. She’s curious, but not too bothered. I think she just wanted to sniff its butt.


Boundary Wire Installation
The area to mow (outlined in pink) is a far cry from the boring perfect rectangle, which is why I love it… but it means a lot of boundary wire. The perimeter is about 1200 feet, and the area is about 8200 square feet.
Buying used saved me a good deal of money, but cost me a few days of backaches getting the wire installed myself. I could hire someone to run the line using a grass-slicing machine, but tacking it to the surface is an appealing way to get the placement right… and easily adjust if it’s not. I’ll need to be mindful when it comes time to de-thatch or aerate, but in a few months the wire will be completely hidden.
A guide wire (one of three, potentially) helps the mower find its way back to the charging station.

Lawn area shown in pink
Required tools: hand shovel, hammer or mallet, and pliers.
Guide wire (mine happens to be green) spliced into the black boundary wire.
Wire gets hidden quickly by grass. Within a month or so, I have to really search if I want to find the wire.
Getting started in the tall grass
The front lawn doesn’t have the criss-cross ball field striped look, but I’m just fine with that.
GPS tracking leaves something to be desired, but gives the general gist of coverage.
Maddox gets nudged every now and then, but has learned to stay out of Husqi’s way.
Notifications to my phone tell me when Husqi is out of bounds. After a few drops off this corner, it was time to move the boundary wire another inch farther from the sloped curb.
Looks good with zero effort. If only they made robots for the rest of life’s chores.
Crop circles handle the areas of tall grass.
Here’s a quick (well, 27 sec, sped up 8x from the original) video of Husqi following the guide wire from the far front corner, over the narrow driveway crossing, across the wide front yard, through the gate in the fence, and lining up to the docking station. For all the complications I created for it, Husqi has never failed to find its way home.