I love using Christmas stay-cation to hole up in the cold weather and work on indoor home improvement projects. Instead of starting a new project, I made a list of the odds and ends that were never completed from my previous projects. You know the ones… the good-enough-for-now, I’ll-finish-it-someday sorts of chores.
Well, the dining room wallpaper came down in Nov 2014, and with it the sticker-wrapped-plastic floor molding. Two years later, I busted out the wall to make space for the new fridge. The next spring, my multi-talented arborist offered to help me fix the tile and drywall while he was here for my big tree removal project. (He later also built my pergola using local lumber!)
Even though I’m sure I’ll have to rip the molding back out when I replace the floors, I’m just sick of looking at the bottom three inches of rough unpainted drywall. Plus, now I get to buy an automatic nailer, and justify keeping the chop saw from Mom’s garage.

I started with the corner that’s hidden behind the bookshelf.

Not bad for a first attempt.

I’m certainly getting a lot of practice with corners.
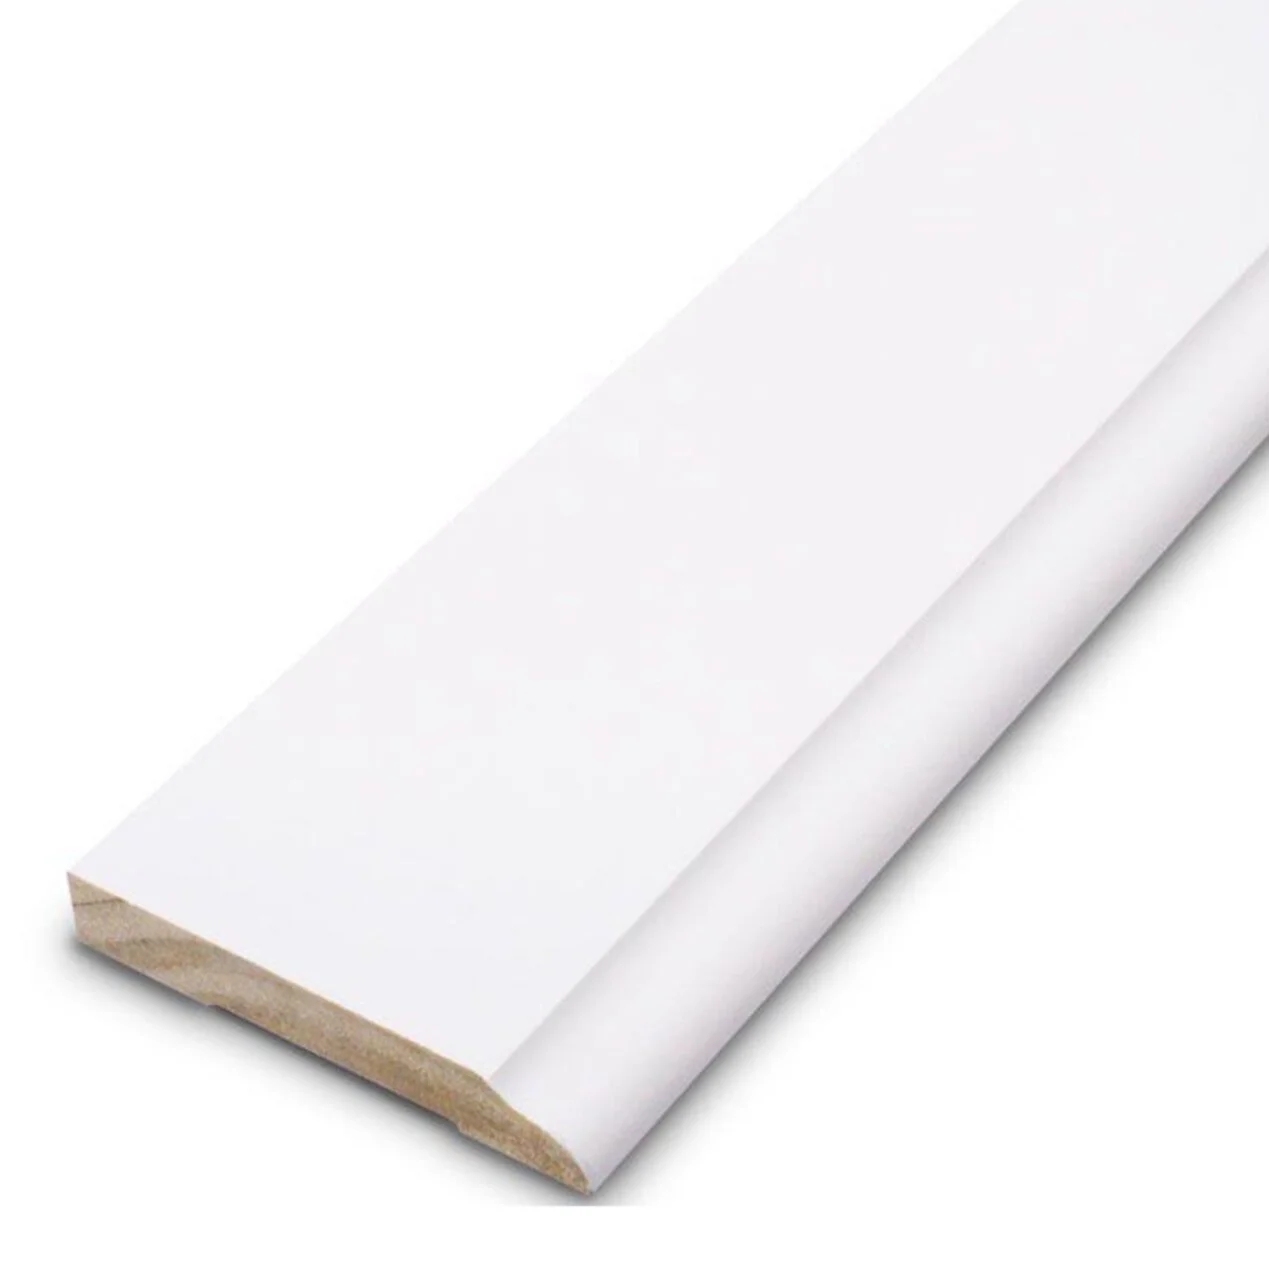
Nothing too fancy, but matches the trim in the other rooms of the house: WM 662 9/16 in. x 3 1/2 in. Pine Primed Finger-Jointed Base Molding