Greenhouse Part 2: Assembly
First, go read the previous greenhouse post.
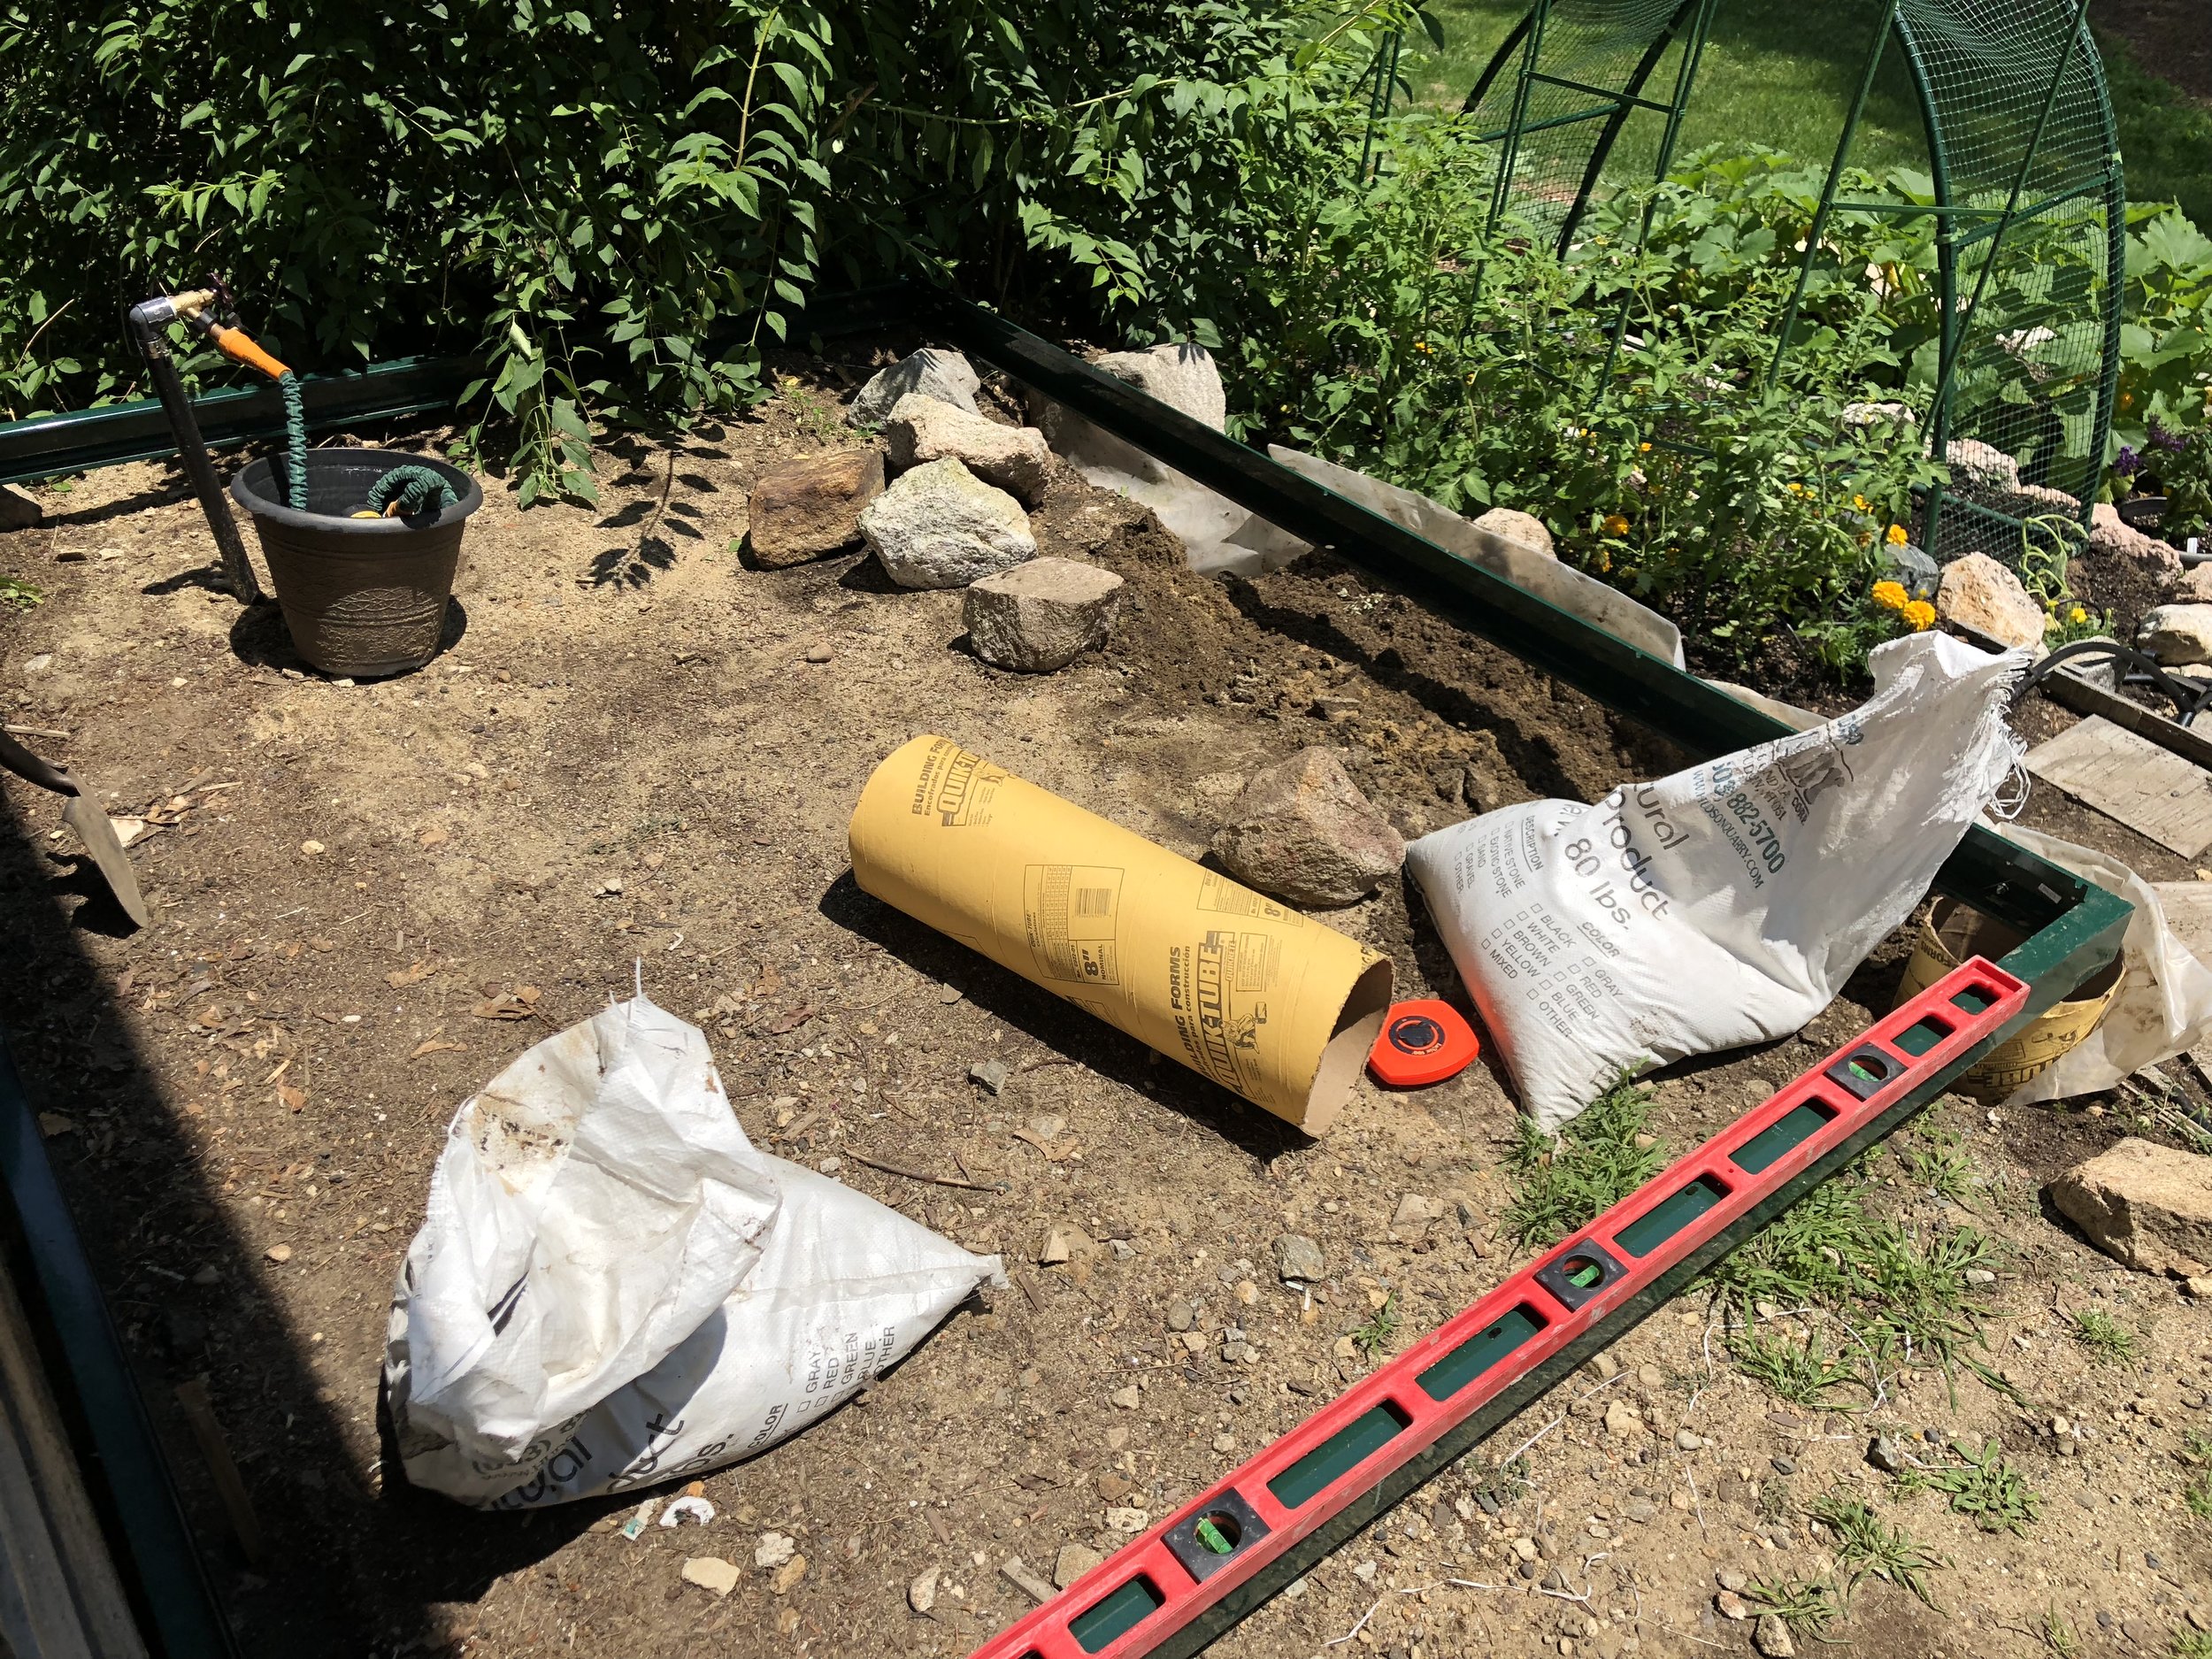
My project started with needing to bump out the top shelf of the garden terrace. The top step was plenty big for my little 5' x 5' temporary greenhouse, but it needed to be a little wider to accommodate new the 6' x 8' footprint. Also, since the sandy slope was likely to erode if not properly stabilized, I lined it with plastic and stone dust to direct water out the edge rather than down slope.
Here's the base kit resting on top of the in-the-way rocks. Also, notice the spigot that I’d added when the irrigation system was installed… this will give me easy access to running water inside the greenhouse.

The earth anchor kit provides (10) 12" L-bolts that are sunken into concrete. Of these 10 anchors, I opted to put two of them into 24" deep cylinders. These are on the down-slope corners, specifically where the softened terraced earth might not be very stable. Since the greenhouse is exceptionally light, the anchors are more about keeping it from blowing away, and less about supporting it.
Here's the stainless steel base kit leveled, squared, and ready for concrete:
Day 1: Time for assembly! Start at the beginning... of the SIXTY-FOUR page assembly instructions. (Yeah, I was a little intimidated, but I wanted this pile of parts out of my carport.) My first day at this took about 6 hours. This included finding all the right parts (there are a LOT of parts), and learning all the tips and tricks of the kit. Plus a hundred water and subsequent potty breaks, since it's a million degrees out. But finally I had something that resembled the ends of a giant clear gingerbread house. I left these flat on the driveway overnight.


Day 2: Stand it up! The sides and roof went significantly faster... maybe because I had learned from all my Day 1 mistakes. Roof, sides, vent windows, gutters, sliding doors... all done in about 12 leisurely hours.

Assembly complete! I still have some finishing touches... the downspout kit, the automatic vent openers (they're cooling off in my fridge to retract the piston)... but it's pretty much assembled.


Now ready for a floor. The plan is to do pea gravel and pavers... but that's going to need to wait until next weekend. (Go see!)
